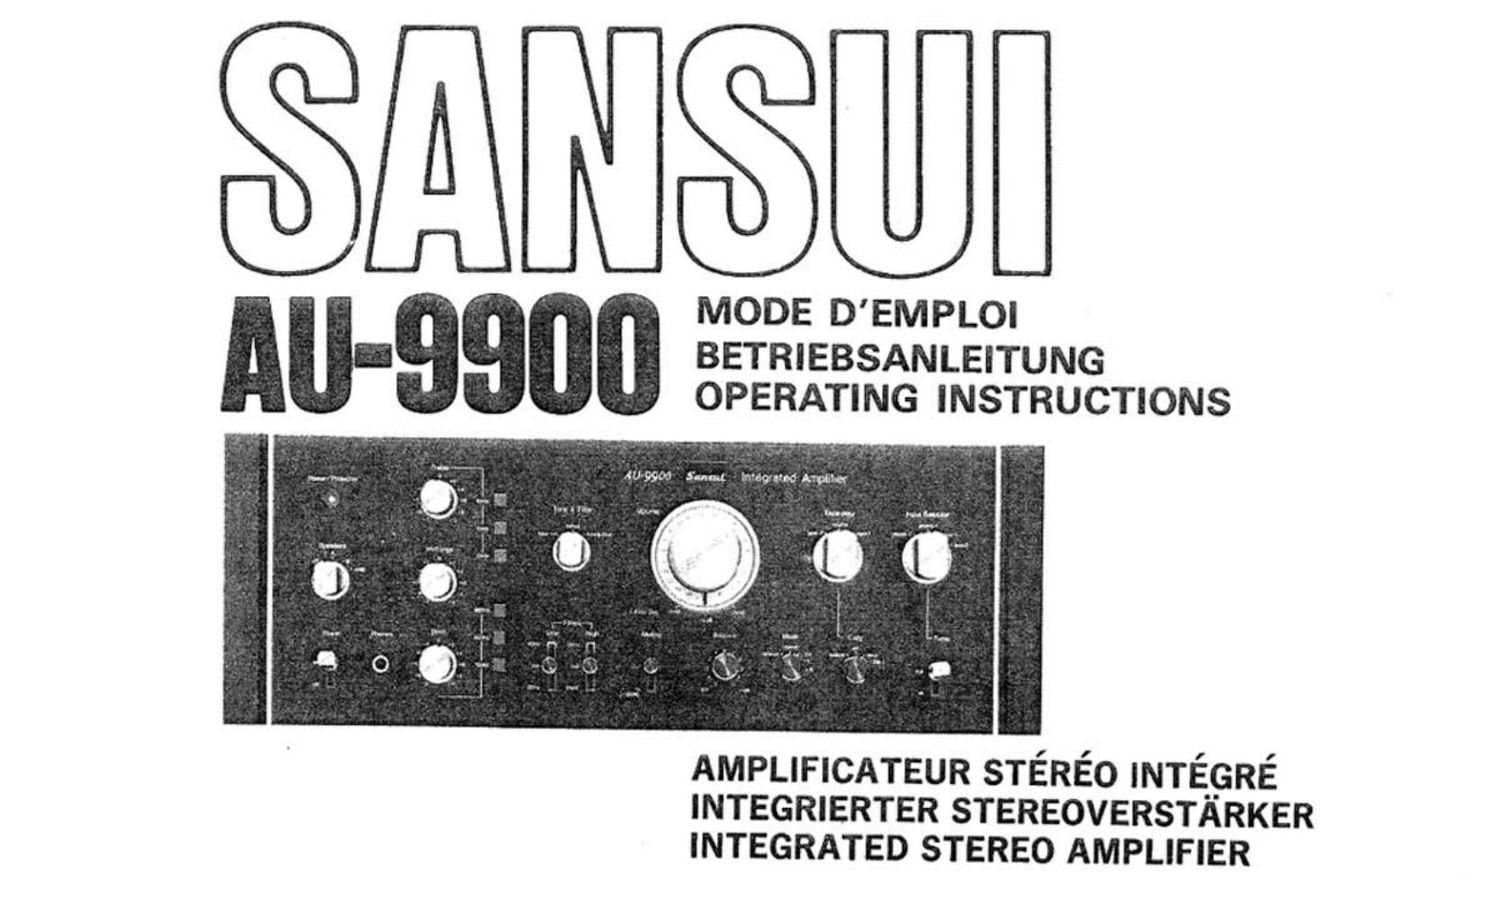
Sansui AU 9900 Owners Manual

This is the 29 pages manual for Sansui AU 9900 Owners Manual.
Read or download the pdf for free. If you want to contribute, please mail your pdfs to info@audioservicemanuals.com.

Page: 1 / 29
left right
Sansui AU 9900 Owners Manual

Extracted text from Sansui AU 9900 Owners Manual (Ocr-read)


Page 1

§IWSIII

MODE D'EMPLOI

BETRIEBSANLEITUNG
OPERATING INSTRUCTIONS


AMPLIFICATEUR STéRéo INTégRé
INTEGRIERTER STEREOVERSTARKER
INTEGRATED STEREO AMPLIFIER

Page 2

We are grateful for y0ur choice of the AU- 9900 stereo integrated
amplifier. Before yoo begin operating y0ur AU 9900, we suggest that
you read this booklet of operating instructions once carefully. You will
then be able to connect and operate it correctly. and enjoy its superb
performance years to come.

Lfl-i l . "MA-V 4»: a. "V" 34 -" f 4 :V '7 fps "In 1 it! 'I :13 w
3 :31" 1.1.111: 3f at"- ~11?
IMPORTANT PRECAUTIONS ..................... 2-5

Details important cautions to be fully comprehended prior to

operation. Even if you are an experienced audiophile, be sure to
read this section

FUNCTIONAL FEATURES ...................... 6 7
Outlines major capabilities of your unit.
PANEL INFORMATION ....................... 8-11

Informs you of the name of each switch and terminal on the front,
rear and side panels of the unit.

CONNECTION ............................. 12-23
What to do and what not to do in connection are detailed. Useful
hints are also suggested.

BASIC OPERATING PROCEDURES ................ 24-31
Details what witches and controls to use in playback operation.
CONTROLLING SOUND TO YOUR TASTE ........... 32-35

Instructs how to use the switches and controls to adjust sound
reproduction to your taste.

SOURCE PLAYBACK PROCEDURES ............... 36-41
Details playback, recording and dubbing procedures of program
sources such as records, broadcasts and tapes. Also advice is sug-
gested for cases where yen perceive deteriorated reproduction.

SOME USEFUL HINTS ........................ 42.43
Some hints are suggested to assure years of safe and optimum
operation.

SPECIFICATIONS ........................... 44-49
Contains valuable information about the unit for those well versed
in electronics.

«u» w»--~.- n.»

ATTENTION: Pour éviter les dangers délec-
trocution cu d'incendie, ne pas exposer cet
appareil a la pluie ou a l'humidité.

L..........,.. M u .

WARNUNG: Setzen Sie dieses Gerat zur

Verhijtung v0n Feuer- und Stromschlaggefahr
weder Regen noch Feuchtigkeit aus.

»_-._ rm...-

w

WARNING: To prevent fire or shock hazard,
do not expose this appliance to rain or
moisture.

Page 17

o The TAPE PLAY switch should b at the SOURCE position at all
times except for when you listen to tapes; check this switch when
you hear no sound while trying to play records or radio broadcasts.
Also check that the TUNER switch is OUT when playing records.

Listening to records
05 lNPUT SELECTOR Switch

Use this switch to hear a component connected to the PHONO or AUX
terminals.

PHONOJ, 2: To play records.
With the PHONO-l circuit, you can change the input sensitivity and
pickup load. For details, refer to pp. 16. 17.

AUX-1, 2: To hear a component connected to the AUX terminals.

Listening to radio broadcasts
06 TUNER Selector

Flip this witch down to W to hear radio broadcasts through the tuner
connected to the TUNER terminals.

Tape play (and recording)

07 TAPE PLAY Switch

Turn this switch to TAPEoi or TAPE-2 only when you operate the tape

decklsl (for playback or recording) connected to the TAPE terminals.

At all other times. it should be at the SOURCE position.

TAPE-l, 2: To hear playback of a tape or monitor sounds as they : re
recorded.

SOURCE: To hear sources other than tapes.

Tape recording

08 TAPE OOPY Switch

Use this switch when recording. When not recording, keep it at the OFF

position.

SOURCE: To record disc records and radio broadcasts.

OFF: To hear a program source without recording it.
With the switch set at OFF, the unit's TAPE REC terminals are
separated from the connected tape decks. Thus you can avoid
harmful electrical interference of the tape decks while you listen to
records and radio broadmsts without recording.

lb2, 2 >1: To facilitate tape dubbing.

27

Page 20

CONTROLLING SOUND TO YOUR
TASTE

' AdjuStme'nt of tone

14 TONE & FILTER Switch

To adjust tone with the tone selectors and tone controls, first set the
TONE & FILTER switch to the TONE 8i FILTER position. To obtain a
flat response, set it to the DEFEAT position. Then the tone control
circuits are switched out of circuit irrespective of the positions of the
tone selectors and tone controls.

Bass adjustment

15 BASS Tone Selectors

16 BASS Tone Control

Use the BASS tone selectors and control to adjust the bass or low-
frequency response of such an instrument as a bass. The BASS tone

selector select the treQUency below that to which the BASS tone
control has been adjusted; use one of the three positions (600Hz,
300l-lz or lSOl-lz).

Midrange adjustment

1'] MIDRANGE Tone Control

Use this control to adjust the midrange or middle-frequency response of
the human voice, etc. lts adju5tment affects the frequencies centered
around 1,500Hz.