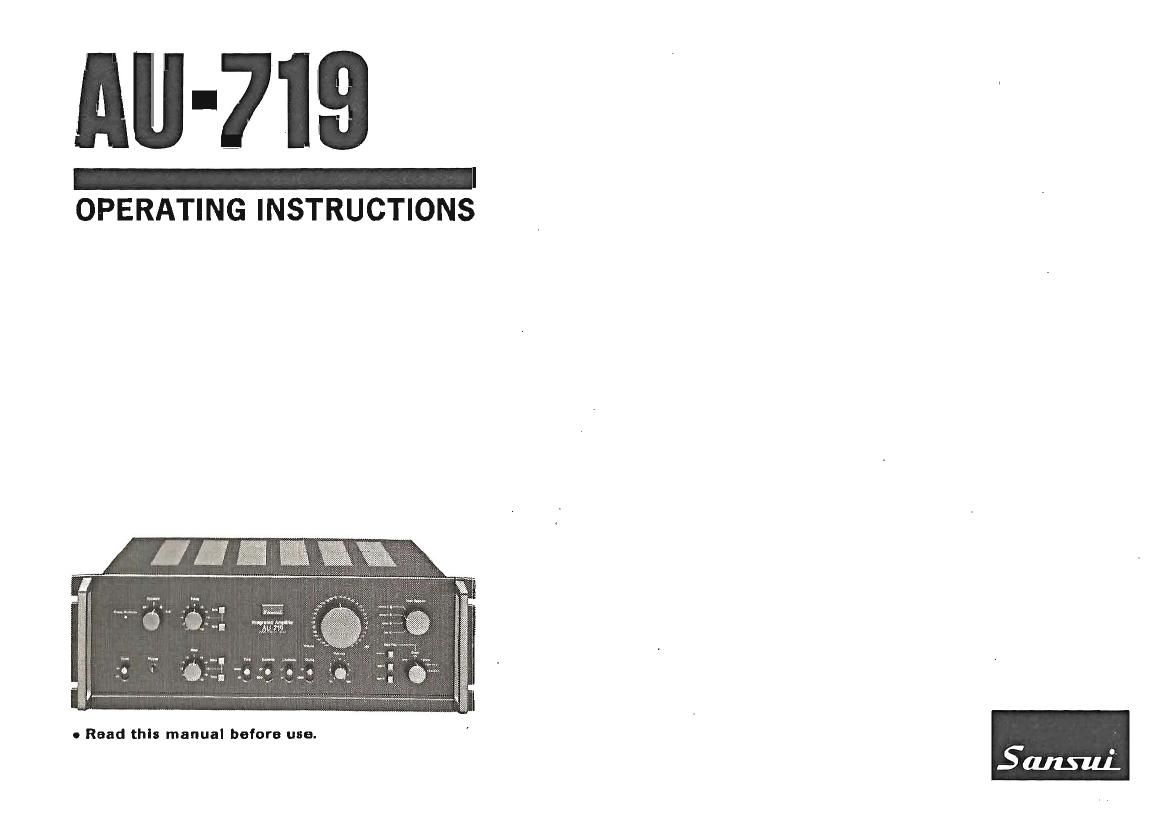
Sansui AU 719 Owners Manual

This is the 26 pages manual for Sansui AU 719 Owners Manual.
Read or download the pdf for free. If you want to contribute, please mail your pdfs to info@audioservicemanuals.com.

Page: 1 / 26
left right
Sansui AU 719 Owners Manual

Extracted text from Sansui AU 719 Owners Manual (Ocr-read)


Page 1

All-719

OPERATING INSTRUCTIONS

o Read this manual before use.

Page 2

We are grateful for your choice of this Sansui high fidelity producti
Before you operate it, we suggest that you read this booklet ones
through carefully, familiarizing yourself with the important pre-
cautions, operational procedures and every one of the products many
features. It will help to ensure that you will avoid possible damage and
that the products superb performance will be yours to enjoy for many
years to come.

Table of contents
Precautions .................................. 4
Connections ................................. 8
Panel information ............................. 13
Operating procedures ..... ' ...................... 24
About rack mounting adaptors ...................... 36
Specifications ................................ 38

WARNING: To prevent fire or shock hazard,
do not expose this appliance to rain or
moisture.

0 The Model No. and Serial No. of your unit are shown on its back
panel.

0 Do not lose the Warranty Card that carries your units Model No.
and Serial No.

Page 12

Input Selector
phone-2 o
phone-1 .
tuner o
aux 0
Tape Play
Still")!
tape-1

tape-Z

5 INPUT SELECTOR SwitCh

Use this switch when listening to records and broadcasts.

PHONO-2: For playing disc records on a turntable connected to
PHONO-Z terminals.

PHON0-1: For playing disc records on a turntable connected to
PHONO-i terminals.

TUNER: To hear radio broadcasts through a connected tuner.

AUX: To hear components connected to the AUX terminals.

6 TAPE PLAY Switches

Push one when wanting to hear a tape or monitor a recording. The

switches are mutually exclusive.

SOURCE: Operate (push) this switch when hearing records and radio
programs but not tapes.

TAPE-1: Push this switch when hearing tapes played on a tape deck
connected to the rear-panel TAPE-1 PLAY terminals.

TAPE-2: Push this switch when hearing tapes on another deck con-
nected to the TAPE-2 PLAY terminals.

0 Keep the SOURCE switch depressed unless you want to hear tapes;
so long as either the TAPE-1 or TAPE-2 switch is depressed, you do
not hear records or radio broadcasts from speakers.