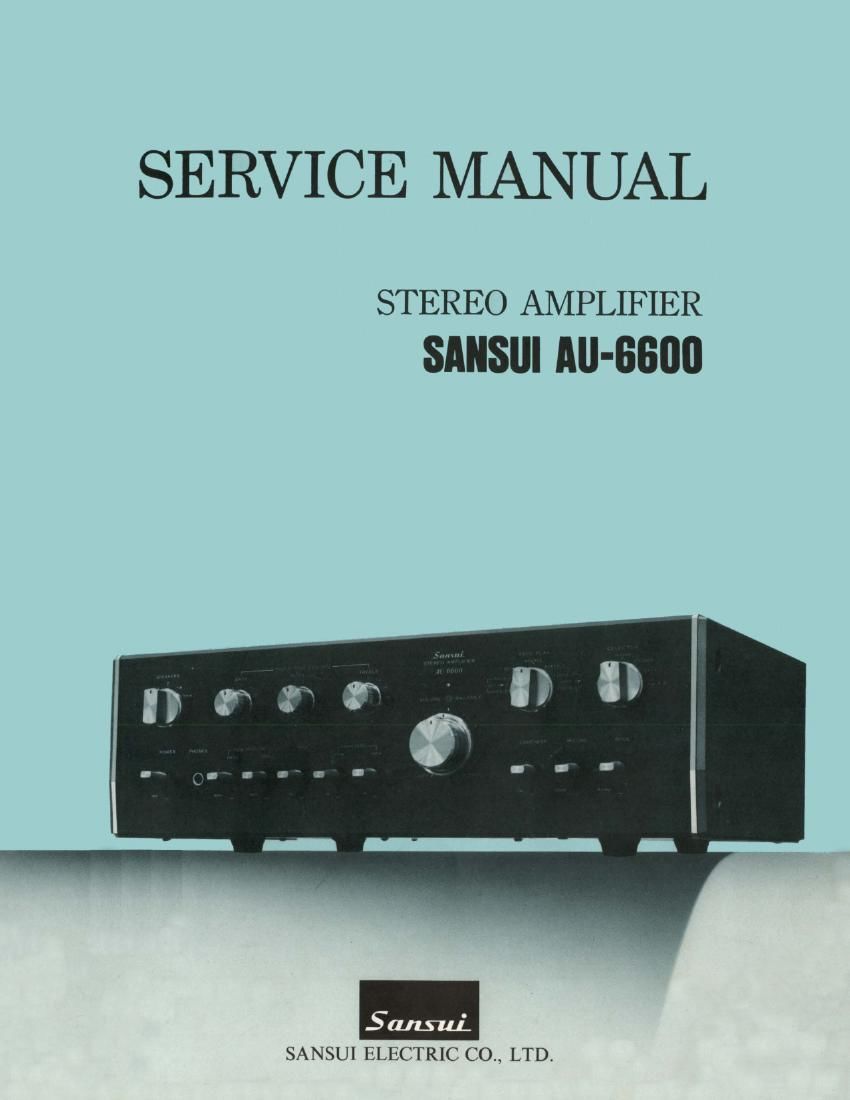
Sansui AU 6600 Service Manual

This is the 20 pages manual for Sansui AU 6600 Service Manual.
Read or download the pdf for free. If you want to contribute, please mail your pdfs to info@audioservicemanuals.com.

Page: 1 / 20
left right
Sansui AU 6600 Service Manual

Extracted text from Sansui AU 6600 Service Manual (Ocr-read)


Page 2

buluuL

AU-6600

This service manual is designed for service engineers to repair, adjust,
maintain and order the replacement parts of the AU-6600 correctly.
when ordering the parts, use the stock number and parts name speci-
fically referring to the Parts Locations & Parts Listsi
For general usage and maintenance of the unit, please refer to the

Operating Instructions attached with the unit.

TABLE OF CONTENTS

Section Ltle Pat-gt?
1. SPECIFICATIONS ................................................ 2
2. BLOCK DIAGRAM AND EACH LEVEL ............................ 3
3. ADJUSTMENT .................................................. 4

3-1. Driver Circuit Board Adjustment .............................. 4
4. TROUBLESHOOTING CHART .................................... 5
4-1. Troubleshooting on Power Supply Section ...................... 5
4-2. Troubleshooting on Audio Section .......................... 5. 6
5. PARTS LOCATIONS AND PARTS LISTS ........................ 7
5-1. F-2092A Equalizer & Power Supply Circuit Board .............. 7, 8
5-2. F-2099 Volume Circuit Board .................................. 8
5-3. F-2412 Tone Control Circuit Board ............................ 9
5-4. F-2413 Accessory Switch Circuit Board .......................... 10
5-5. F-2097A Driver & Power Supply Circuit Board. . . .11, 12
5-6. F-2098 Accessory Switch Circuit Board ............... 13

5-7. Other Parts (Front Side)
5- B. Other Parts (Top Side).
5- 9 Other Parts (Bottom Side) .................

6. REPLACEMENT OF POWER TRANSISTORS ...................... 17
7. PACKING LIST .................................................. 17
8. ACCESSORY PARTS LIST . . 17
9. SCHEMATIC DIAGRAM .......................................... 18

Page 5

Sluuui

3. ADJUSTMENT

3-1. Driver Circuit Board Adjustment (See Fig. 3-1 and 3-2)

Note: Confirm the AC power supply voltage.
. MASTER VOLUME t. ,,,,,,,,,, Minimum
. SPEAKERS Selector .. . ........... A

. For adjustment, run the unit for more than 3 minutes after the power is switched ON.

1.

2

3

4. Make the SP terminals free (no load).

5

6. Room temperature should be 18~28°C (65~B3° F) for bias current adjustment.

STEP SUBIECT EQUIPMENT MEASURE OUTPUT ADIUST ADJUST FOR CONDITION
1 DC 0V Lch DC volt meter SP terminal L-ch F-2097A 0V:10mV aTurn volumes of VR03, VR04
(See Fig. 3-2) VR01 CCW
2 DC 0V R-ch Same as above SP terminal R-ch F-2097A Same as above
(See Fig. 3-2) VROZ
3 Bias current DC milliammeter F-2097A F01 F-2097A 25110mA oStep down meters range
L-ch (See Fig. 3-1) VR03 accordingly
4 Bias current Same as above F-2097A F02 F-2097A Same as above
R-ch (See Fig. 3-1) VRO4
Fig. 3-1 milliam
/ rnetere
l
milliam
/ metefig VRos.
VRM + _ + _ /
I||l||||||||||||||||||||||||||||||||||ll||||||||||||||||||||||||||||l||lllll||||l||||l||ll|||||||l||l|||||||ll||l||||l||||||||||||||||l|||l|||||l|||||||||||||||l|||||||||l||l||||l|ll|||||||l||||||||l|||||||||||||||||||||||||||ll|||||||l||||l||||ll||||||||l||||||||||l||l||||||l|||||||||||||||||||||||||l||||||||||||l||l|||||||||

Condition of Level Measuring

*Value of each level in block diagram was measured by
the followings.

1. MASTER VOLUME control .............. Maximum
2. BASS, MlDRANGE, TREBLE & BALANCE
volume controls .................... Center
3. TONE 8: FILTER switch control ............ IN
4. Input ............ PHONO-1 2.7mV1kHz Sine Wave

AUX-1, 2 110mV lkHz Sine Wave

(output impedance of 6000. at an
auclio oscillator)

5. Output .......... 17.9V (40W) 8.!)

Note: Each voltage value is for reference and measured
by a VTVM. In some recorders, the actual volt-
age value is in minor difference from the refer-
ence value.