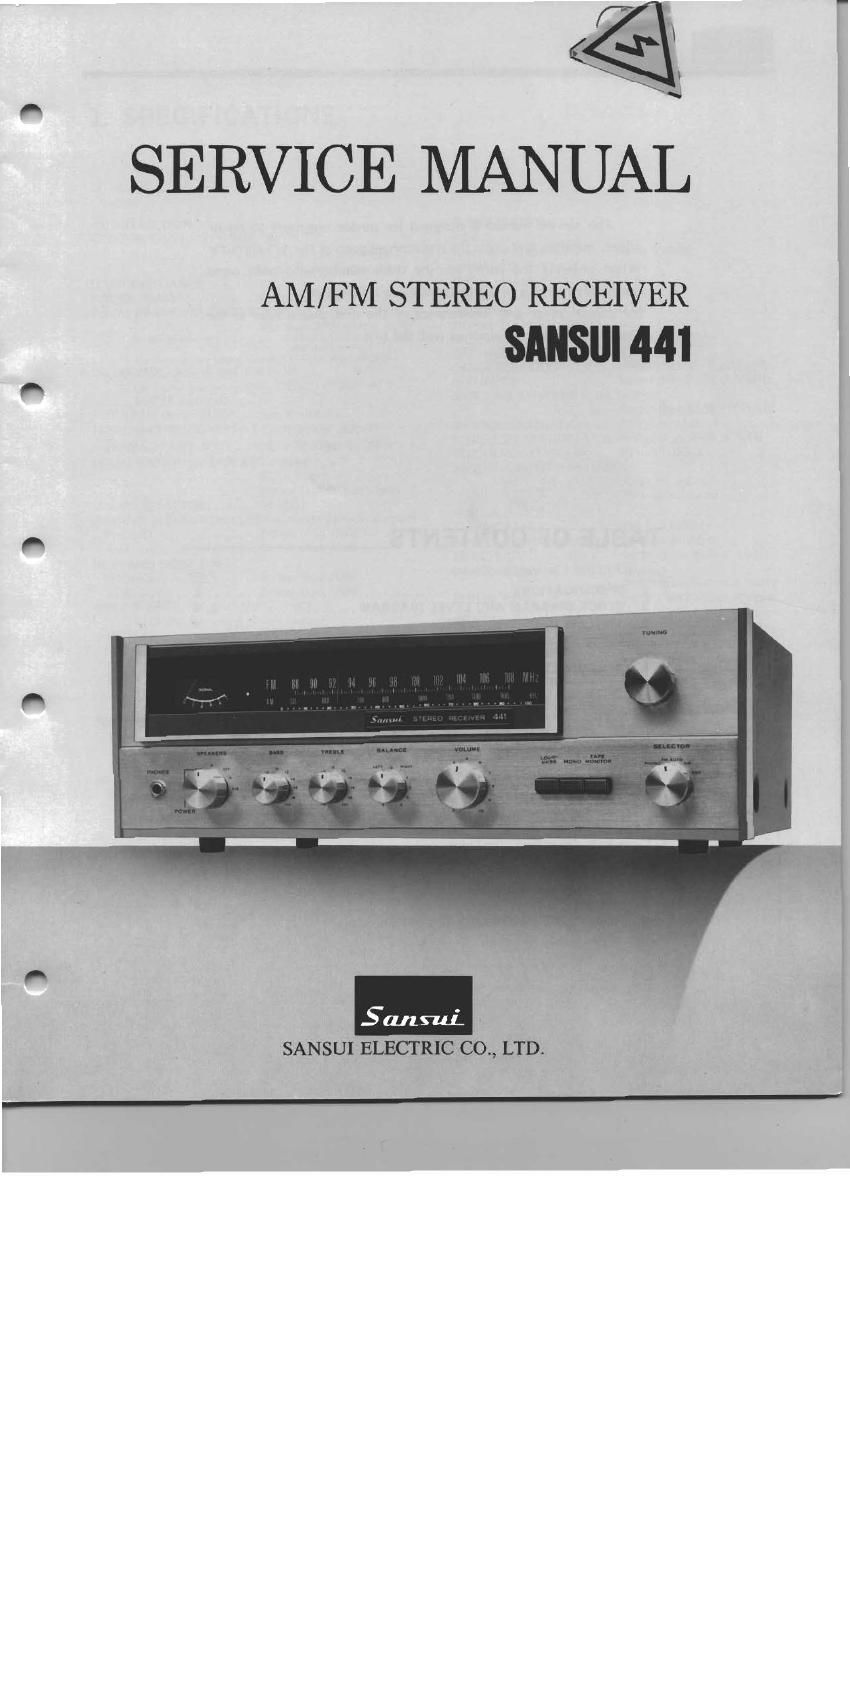
Sansui 441 Service Manual

This is the 24 pages manual for Sansui 441 Service Manual.
Read or download the pdf for free. If you want to contribute, please mail your pdfs to info@audioservicemanuals.com.

Page: 1 / 24
left right
Sansui 441 Service Manual

Extracted text from Sansui 441 Service Manual (Ocr-read)


Page 2

This service manual is designed for service engineers to repair,
adjust, maintain and order the replacement parts of the 441 correctly.
When ordering the parts, use the stock number and parts name
specifically referring to the Parts Locations & Parts List.

For general usage and maintenance of the unit, please refer to the
Operating Instructions attached with the unit,

TABLE OF CONTENTS

Section w __

1. SPECIFICATIONS ..............................................

2. BLOCK DIAGRAM AND LEVEL DIAGRAM ..

3. THREADING OF DIAL CORD ............

3-1, Threading of Dial Cord ........
3-2. Attachment of Dial Pointer ................................

4. ALIGNMENTS AND ADJUSTMENTS ............................. 5
4-1. FM IF Alignment .......................................... 5
4-2. FM Dial Calibration, MONO Distortion and RF Alignment . 6
4-3. MPX Alignment ......................................... . 7
4-4, AM IF, Dial Calibration, RF Alignment ...................... 8

5. TROUBLESHOOTING CHART .................................. 9
5-1 Troubleshooting on Power Supply Section ............. 9
5-2. Troubleshooting on Audio Section ..................... . 9
5-3. Troubleshooting on Tuner Section .......................... 9

6. PARTS LOCATIONS AND PARTS LIST ........................ 10
6-It F-1506F Tuner Circuit Board .................. , 10, 11, 12
6-2. F-l508 Pre-Main Amp & Power CirCUit Board. ...... 13. 14
6-3. Other Parts (Top Side) .................................... 15
6-4. Other Parts (Bottom Side) ................................ 15
6-5 Other Parts (Front Side) .................................. 16

7. SCHEMATIC DIAGRAM ........... .. 17

8. PACKING LIST ................................................ 18

9. ACCESSORY PARTS LIST .................................... 18

Page 7

4-2. FM Dial Calibration, MONO Distortion and RF Alignment


Note: 1. Selector. FM AUTO (See Fig. 4-5 on page 8)
2. Master Volume Minimum
3, Confirm start point of dial pointer before alignment,
VTVM SCOPE
FM 556 UNIT
OUTG o TAPE 0
ANT REC°_ y,
0 O o- -o
I
' I
' I
' l
I
I I
I L--
L__-_
FEED SIGNAL MEASURE
STEP SUBIECT FROM TO OUTPUT ADJUST ADJUST FOR CONDITION
1 90MHz 90MHz FM ANT REC OUT L04 Max. Output a Set DiaI on 9OMHz
Dial CaIibra- ANT input 60dB terminal L or R-ch (Fig. 4-5) ,V
tion 400HZ (100% MOD) 300.0 VTVM 8: FM 3 92
FM 556 Scope 'mw u-m'm'
2 106MHz 106MHz Same as Same as TC03 Max. Output 0 Set Dial on 106MHz
Dial Calibra- ANT input 60dB above above (Fig. 4-5) '
tion 400Hz (100% MOD)
FM 556
3 Confirm Same as Step 1 Same as Same as Confirm 0 If not, repeat from Step 1
90MHZ Dial above above 90MHz
Calibration Dial Calibration
4 Confirm Same as Step 2 Same as Same as Confirm 0 If not, repeat from Step2
106MHz Dial above above 106MHz
Calibration Dial Calibration
S 90MHz 90MHZ Same as Same as L01 Max. Output 9 Tune FM 550 (Max. indi-
RF Adj. ANT input SOdB above above L02 cation ofSignal Meter)
400Hz(100% MOD) (Fig. +5)
FM 556
6 106MHz 106MHz Same as Same as TCO1 Max. Output Same as above
RF Adj. ANT input SOdB above above TC02
400Hz(100% MOD) (Fig. 4-5)
FM 556
7 Distortion 98MHz Same as REC OUT T03 Min. Distortion 6 Turn core T02 Max.
ANT input 60dB above L or R-Ch (Fig. 4-5) output
400Hz<100% MOD) Dist. meter&
FM SSG Scope, VTVM