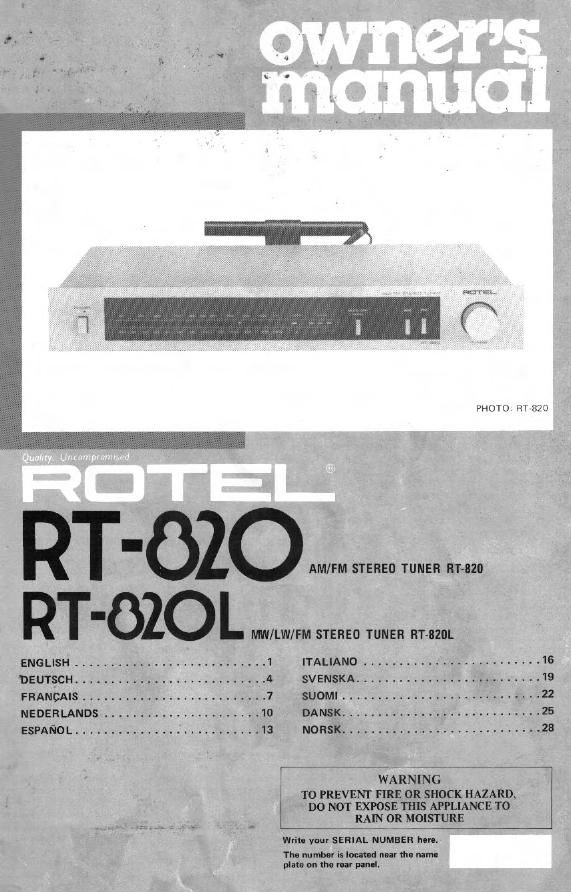
Rotel RT 820 OM

This is the 4 pages manual for Rotel RT 820 OM.
Read or download the pdf for free. If you want to contribute, please mail your pdfs to info@audioservicemanuals.com.

Page: 1 / 4
left right
Rotel RT 820 OM

Extracted text from Rotel RT 820 OM (Ocr-read)


Page 2

[NEIISII

AM/FM STEREO TUNER RT~820

MW/LW/FM STEREO TUNER RT-820L

INTRODUCTION

We al Ratel want to thank you tor purchasing
our audio products

Rutel audio products are designed to use the
latest electronic technology, and they incorpo-
rate our long experlence as a spec-allst manufav
turer 0! audio equipment. We are cpnlident
that you WIII tind satisfaction in the high
quality sound and top pertarmance, and that
you Will lino pleasure lll the lunctional beauty
achieved through humanrenglneerlng concept,
Belore starttng operation, please read this
instruction manual thoroughly and acquainl
yourself with the proper mode of using the unit
and all its connections

We hope you Will enlov topnotch pettormance
ID! many years to come.

INSTALLATION

Be sure to place the unit in a level and llat place
where it is lree lrorri humidity, Vibration, high
temperature and not exposed to direct sunlight.
Be carelul not to place the unit In a highly
enclosed place such as near a wall or on a
bookshell. A poor ventilation WIII cause unde-
sirable eflecls lo the unit.

POWER SUPPLY CONNECTION

For power the unli requvres the normal house
electrical current (As). You may stmply plug
the unit into a wall outlet, or into your ampll»
fier's convenience AC outlet,

CAUTION: [)0 not apply power without IlrSl
making sure the proper connecllnns are comr
pletad. It you live in U.K. and your unit comes
With Zrcore card without a plug be Sure to read
the exclusive caution for U K

l

EXCLUSTVE NOTE FOR U.K.

II your unit comes with a Zcore Cable
without a plug, make certain live and
neutral leads are connected to the proper
terminals Check that the terminals are
screwed down tirmly and no loose strands
oi wire are present

IMPORTANT: The wires In this mains lead
are coloured m accordance wlth the IOIIDWr

r lng code.
BLUE NEUTRAL
BROWN LIVE

As the colours of the WIIES in the mains lead
at this apparatus may not correspond With
the coloured markings identifying the
terminals in your plug proceed as lollows
The wire which is coloured BLUE must be
connected to the terminal which is marked
with the letter N or coloured BLUE or

BLACK The Wire which is coloured

BROWN must be connected to the terminal
which Is marked With the letter L 0! colour-
ed BROWN 0t RED.

CONNECTION TD INTEGRATED
AMPLIFIER

A pair ol RCA curds marked OUTPUT ex»
tends out lrom the rear panel oi the unit.

These cords should be plugged Irtlo the TUNER
or AUX terrmnals ol the amplllier Be sure to
connect the cord wnh whim plug to the lell
channel IL) terminal, and cord with red plug
to the right in) channel leimlflals

ANTENNA INSTALLATION AND
CONNECTION

I FM Antenna

Propet Installation at antenna is the key tn
smooth signal TECSDIIOIL To install the attached
Trshape indoor antenna, stretch it taut and
secure horizontally airing a wall or the like
in a location where signal reception l5 optimal
Securely connect the antenna to FM antenna
terminals marked "300m" on the rear panel.
ll outdoor type FM nntcnnn IS Installed, the
T-shape antenna Is not necessary For proper
uw DI your outdoor FM antenna, follow the
instructions below


I, Be sure to select the most appropriate
lype of antenna int the signal reception condlv
tions in your area

2, A 750nm coaxial cable ls recommended
in connecting the antenna to the unit.

3. Set the antenna in a posrtlun as high as

possmle rt buildings. mountains or other
obstructions nearby allect reception
4 The 751mm coaxlal antenna cable

shuulcl be properly hooked up lo the designated
anlanna terminals on the rear panel Locate the
terminals laneled 7551 Cannes! the center
conductor ol the cable to the left hand ter
mlnal and cannecl the outer braided conductor
of the cable to the Ilghlrhand terminal (marked
6").

RTtBZOL
(or UK modal only)

.m Tr. 1 m In, 1 r
if) ct K) i'. i ii) t5 a. (or .rj lg
\ I\\ mum Ila ANWW 4
E \\ \- fl

I AM Antenna

Erect the AM ferrite bat antenna provlded on
the rear panel, If you install outdoor AM
antenna connect the antenna lead Wire to the
antenna terminal marked AM,"

BUI LTvIN AM ANTENNA

mm

OUTDOOR AM ANTENN A