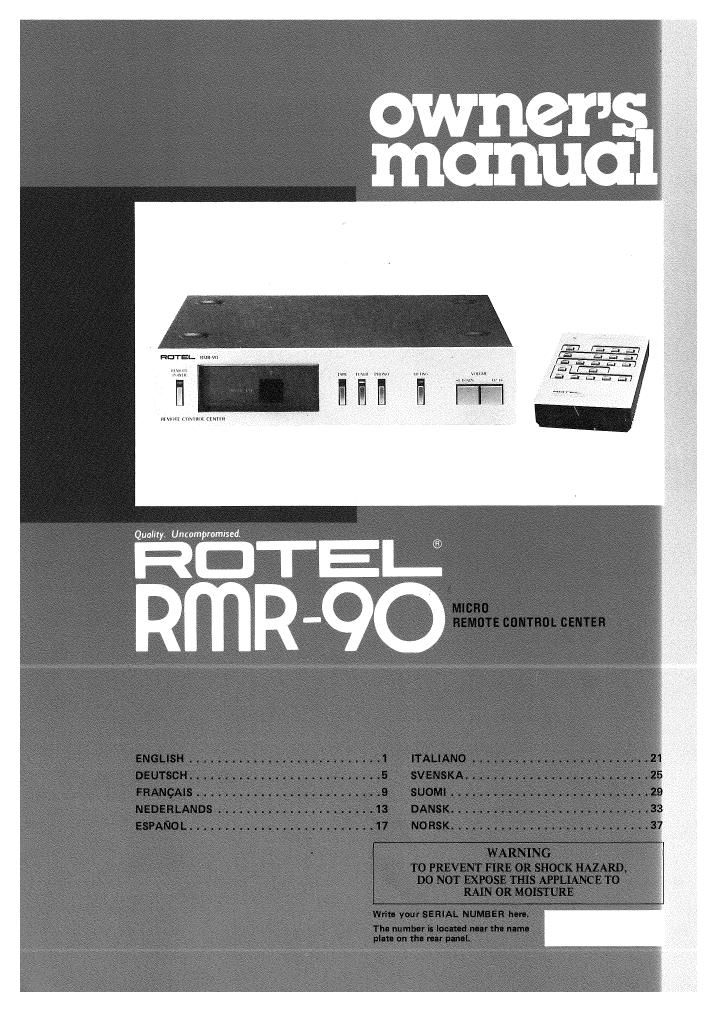
Rotel RMR 90 OM

This is the 23 pages manual for Rotel RMR 90 OM.
Read or download the pdf for free. If you want to contribute, please mail your pdfs to info@audioservicemanuals.com.

Page: 1 / 23
left right
Rotel RMR 90 OM

Extracted text from Rotel RMR 90 OM (Ocr-read)


Page 2

llllillSH

MICRO REMOTE CONTROL CENTER RMR-90

INTRODUCTION

We at Hotel want to thank you for purchasing
our audio product

Hotel audio products are designed to use the
latest electronic technology, and they incorpo-
rate our long experience as a specialist manufac-
turer of audio equipment. We are confident
that you Will find satisfaction in the high
quality sound and top performance, and that
you will find pleasure in the functional beauty
achieved through human-engineering conceptl
Before starting operation, please read this
instruction manual thoroughly and acquaint
yourself with the proper mode of using the unit
and all its connections

We hope you will enjoy top-notch performance
for many years to come,

POWER SUPPLY

Before plugging the main unit oi the RMR-eo
into a wall outlet, make sure its voltage rating
which appears on the rear panel matches the
voltage of the power source. Never attempt to
connect the unit to a power source with voltage
other than specified.

Power for components to be run under remote
control with the FlMR-QO transmitter unit,
which include turntable, tuner, and amplifier/
tape deck, is supplied through the a.c. outlets
on the rear panel of the main unit. Never
attempt to use those outlets to connect any
electric or electronic equipment other than
those items mentioned above. Do not apply
power without first making sure the proper
connection are completed.

it you live in U.K. and yourunit comes with 2-
core code without a plug, be sure to read the
exclusive caution for UK.

The FiMR-90 can supply power to the follow-
ing components simultaneously: Rotel stereo
integrated amplifier EMA-90, AM/FM tuner
RMT-90 (or EMT-90L), stereo turntable RPr
700 and stereo cassette deck RMD-QO.

EXCLUSIVE NOTE FOR U.K.

If your unit comes with a 2-core cable
without a plug, make certain live and
neutral leads are connected to the proper
terminals. Check that the terminals are
screwed down firmly and no loose strands
of wire are present.
IMPORTANT: The wires in this mains lead
are coloured in accordance with the follow-
ing code:

BLUE: NEUTRAL

BROWN: LIVE
As the colours of the wires in the mains lead
of this apparatus may not correspond with
the coloured markings identifying the
terminals in your plug proceed as follows.
The wire which is coloured BLUE must be
connected to the terminal which is marked
with the letter N or coloured BLUE or
BLACK. The wine which is coloured

RP' 700

To wall
outlet