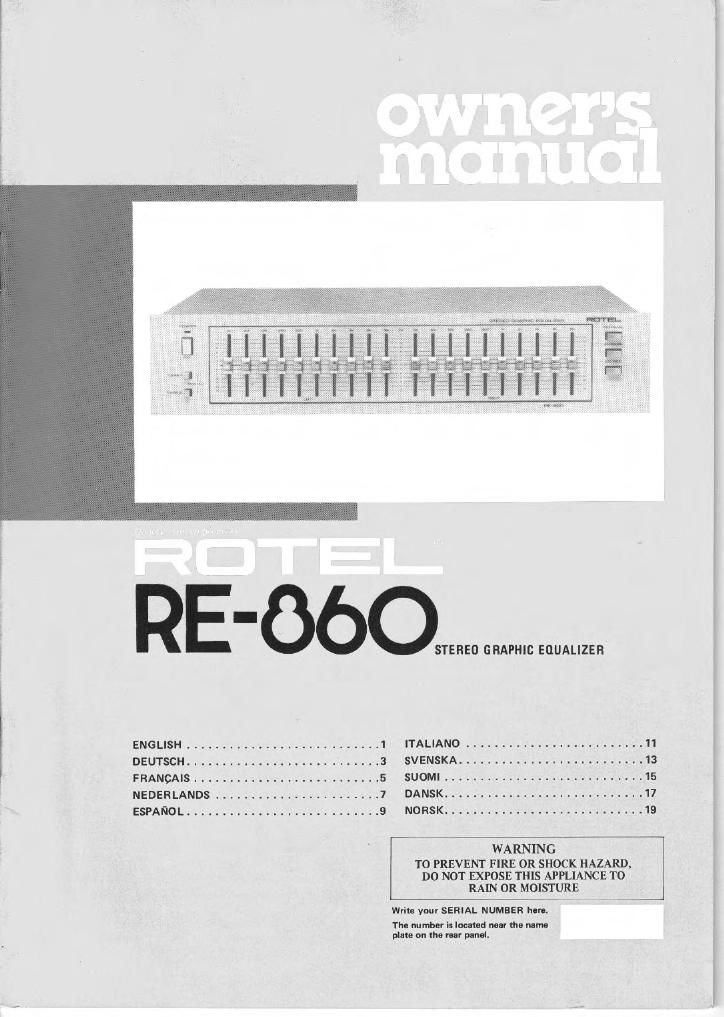
Rotel RE 860 OM

This is the 4 pages manual for Rotel RE 860 OM.
Read or download the pdf for free. If you want to contribute, please mail your pdfs to info@audioservicemanuals.com.

Page: 1 / 4
left right
Rotel RE 860 OM

Extracted text from Rotel RE 860 OM (Ocr-read)


Page 1

?

Elfiiffiég

RE-Omem

ENGLISH ........................... l ITALIANO ......................... 11
DEUTSCH ........................... 3 SVENSKA .......................... 13
FRANCAIS .......................... 5 SUOMI ............................ 15
NEDERLANDS ....................... 7 DANSK ............................ 17
ESPANOL ........................... 9 N0 RSK ............................ 15

WARNING
TO PREVENT FIRE 0R SHOCK HAZARD,
DO NOT EXPOSE THIS APPLIANCE T0
RAIN 0R MOISTURE

wm- ynur SERIAL NUMBER hurt.

Th- numbor is locmd may thl nun.
plan on in Mr mild.

Page 2

llllillSll

STEREO GRAPHIC EOUALIZER R5860

INTRODUCTION

We at Hotel want to thank you Ior purchasing
our audio product.

Rate! audio products are designed to use the
latest electronic technology, and they incorpo
rate our long experience as a specialist manufac-
turer oi audio equipment, We are cont-dent
that you will find satisfaction in the high
quality sound and top performance, and that
you will Ilnd pleasure In the functional beauty
achiavad through human»engineering concept.
Bolore starting operation, please read this
instruction manual thoroughly and acquaint
yoursall with the proper mode at using the unit
and all its connections.

We hope you will enioy top-notch performance
for many years to come.

INSTALLATION

Be sure to place the unit in a level and flat place
where it is free lrom humldllyy vibration, high
temperature and not exposed to direct sunlight,
Be careful not to place the null in a highly
enclosed place such as near a wall or an a
bookshelf A poor vantilation will cause unde~
urable attests to tha unitl

POWER SUPPLV CONNECTION

For power the unit requires tho normal house
electrical currant (AC). You may simply plug
the unit into a wall outlet, or into your ampli~
tiers lur receiver's) convenience AC autIeL
CAUTION: Do not apply power without lirst
making sure the proper connections are com
pleted. ll you live in U.K. and your unit comes
with 2-core cord without a plug, be sure to read
the exclusive caulion tor U.K.

EXCLUSIVE NOTE FOR U.K.

ll your unit comes with a 2-coro cable
without a plug] make certain live and
neutral leads are connected to the proper
tnrmimsls. Check that the terminals on
screwed down firmly and no loose strands
of wire are present

IMPORTANT: The wins in this main: lead
are coloured in accordance with the lollow

ing code:
BLUE: NEUTRAL
BROWN: LIVE

As the colours of the wires in the mains lead
at this apparatus may not correspond with
the coloured markings identifying the
terminals in your plug proceed as follows.

CASETTE DECK

TAPE DECK

wit

out

ihrmi R

. mam

{ onnr \ W
l

w ©©©


The wire which Is coloured BLUE must be
connected to the terminal which is markad
with the letter N or coloured BLUE or
BLACK, The wire which is colourld
BROWN mun be connected to the terminal
which is marked with the letter L or colour-
ed BROWN or RED.

CONNECTING COMPONENTS

Using the accompanying RCA pin cords. con-
nect INPUT and OUTPUT terminal! on the rear
ol the RErEGO to (he TAPE MONITOR turmi-
rials on your amplifier or receivarl (Il your
ampiiiiar or receiver her two Se or TAPE
MONITOR terminals, "I and "2", use TAPE
MONITOR "1"terminalsrl

To hook up tape deck connect TAPE MONIr
TOR terminals on the IRE-560 [0 the LINE IN
and OUT terminals on the tape deck,

In making the above connections, be sure to
carry out correct Iait (L) and nghl IR) com
nections; RCA pin cords with whita plugs
are used for left channel connsctiom, and cards
with red plugs are lot right channel connec-
lions

See the illustration lot
connections

properly completed

AMPLIFIER OFI fiECEIVER
raw

I mm; tin 'Muhl'ai'

©©© W

© © r
Q? (33 J

m our