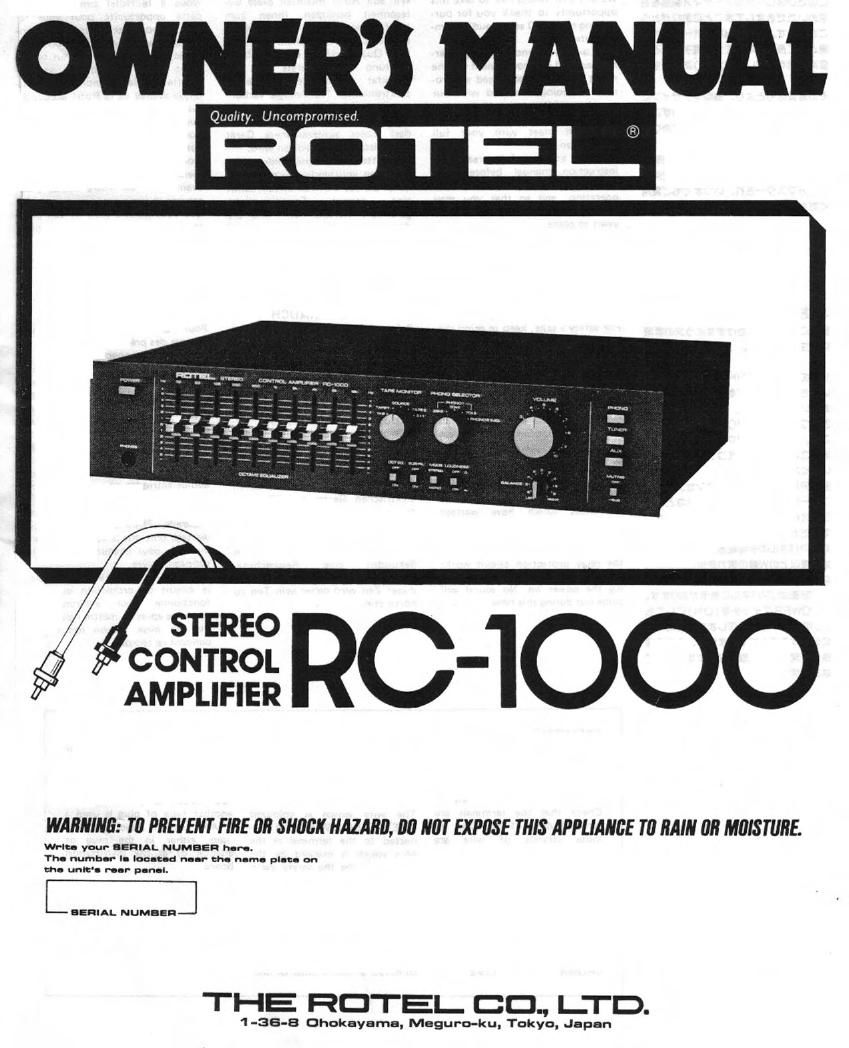
Rotel RC 1000 OM

This is the 6 pages manual for Rotel RC 1000 OM.
Read or download the pdf for free. If you want to contribute, please mail your pdfs to info@audioservicemanuals.com.

Page: 1 / 6
left right
Rotel RC 1000 OM

Extracted text from Rotel RC 1000 OM (Ocr-read)


Page 1

OWNERS MANUAI.

Quality. Uncompromnsed

F322 [QC-1000

" AMPLIFIER

WARMING.- Tfl PREVENT FIRE an SHULK HAZARD, 00 WT EXPUSE THIS APPLIAWE TU MI (I MUISTUNE.

eru- you- 31mm. NUMBEH ham.
Th. numb-r a. lac-cod a.» the rum. pI-I. on

an. unit's ru-r pun-L

E BERI AL NUMBEfi ]

THE HOTEL. CD" I-TD.

1-35-3 Dhakayama, Meguro-ku. Tokyo. Japan

Page 2

INTRODUCTION

We at Floral would like to take this
opportunity to thank you for our-
chasIng our 1000 series audio com-
DOHEDIS.

The quality sound and high per-
lorrnance ol this component are the
result ol Hotels advanced electro-
nics technology coupled WIth our
own love ol line musrct We are con»
lident that this superb compo-
nent will meet With your lull

INSTALLATION

Be sure to place the Unll rn a level
and flat place where It Is lree lrom
humtdlty, vIbralIon high temper-
ature and no! exposed to dlrecl
sunlight.

Be careful not to place the unit In a
hIghly enclosed place such as near
a wall or on a bookshelf. A poor
ventilation wlll cause undesirable
effects to the unit.

sauslaction.
We ask you to lully read this CONNECTION OF CONTROL
instrucnon manual before using AND POWER AMPLIFIERS

your unit, in order to assure proper
operation, and so that you may
enjoy its lull performance for many
years to come

Connect the OUTPUT terminals ol
the control amplifier to the INPUT
terminals ol the power amplilier
Be certain that respective right and
left terminals are properly match-
BEFORE ENJOYMENT Ed

For saletys sake keep In mind the

lollowmg cautrons.

I. Do not connect the mm to the

power source Without other com- COMPONENTS CONNECTION
ponents connected to the unit oe-

lorehand,

2. Before plugging into the AC

outlet, make sure the power swnch

Is oll, and the volume control Is set

al mummum,

3 Do not connect non-audio

electrIc appliances to the conveni-

ence AC Guile 0" teat Panels EXCLUSIVE NOTE FOR UK. As the colours of the wires in nected to the lflfl'I'IInaI which is
4' Do not connect my electric ll your umt comes With a 3- the mains lead of this apparatus marked with the letter L or
annliances which have mirage core cable Without a plug make may not correspond with the coloured BROWN Or RED.

male than the faled value Indicaled certain live, neutral and (where coloured makmg; idenrilymg The apparatus must be protect-
lcr Each oullfl 0" the '23! panel appropriate) earth leads are con- the terminals in your plug pro- ed by a 3 Amp luse il a 13 Amp
Noxe: Below normal comet-on, nected to the proper terminals. coed as follows. (BS 1363) plus; is usad. Il
"9 'Elav Own-Who" cllcu'l works Check that the terminals are The mm which is coloured another type ol plug I: used 3
'°' 350 "9" 0"! 5"9' ''"' screwed down firmly and no GREEN/YELLOW mustbecon- 5 Am fuse or lower must be
"9 the POW OIL N0 sound W' loose strands ol wrre are heeled to the terminal In the used, eIther In the plug or
come out during thIstImu, 9,959an my winch .5 myked by the adapter ur til the oistnoution

WARNING: THIS APPAv letter E or by the salety earth board.
HATUS MUST BE EARTHED. symbol -..},- , or coloured
IMPORTANT: The WIres In this GREEN/YELLOW.

mains lead are coloured in The Wire which Is coloured
accordance wllh the lollowrng BLUE must be connected to the

Code: termmal thch Is marked wIth
GREEN/YELLOW: EARTH the letter N or coloured BLUE
BLUE , NEUTRAL or BLACK. The ere whlch Is
BROWN : LIVE coloured BROWN must be con-

CONNECTIONS GUIDE

AUDIO COMPONENTS (Roma)
TERMINALS lon the rear panel)


L
TURNTABLE Fl
lwrrh MC type cartndge) G
,. ., mm
L ,
IHDNU
TURNTABLE . R , A. [Mm
IWIth MAGNETIC type cartridge) (3
7 I L TUNER
l
TUNER R
L
TAPE PLAYER R
L
LINE OUT IN (p8,
P R r \PE
EEC: (II l L MONl TOR 11)
NE W OUT (RECl

l i R

TAPE DECK l2) DIN

L
FI


a TApE MONITOR 12)
am we: REC PB CORD

POWER AMP 'NPUT