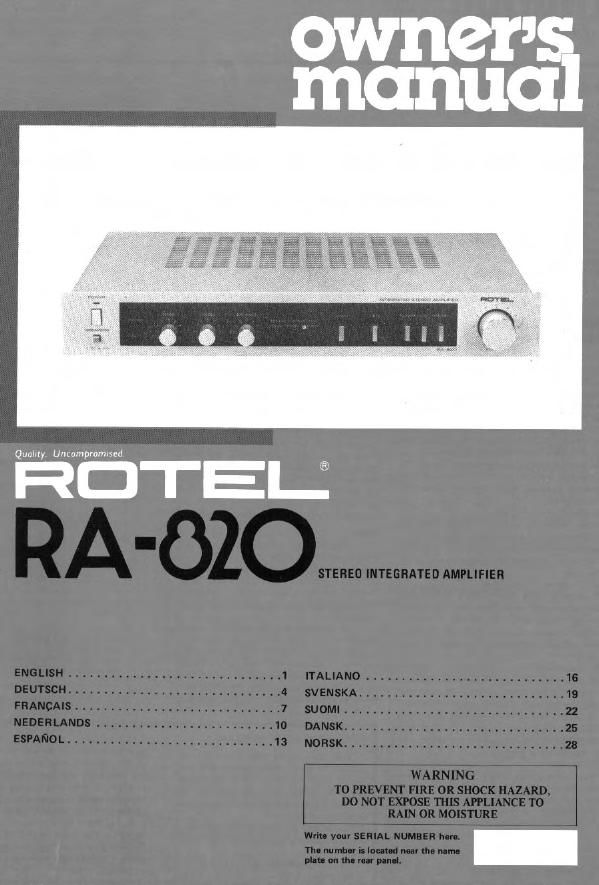
Rotel RA 820 OM

This is the 4 pages manual for Rotel RA 820 OM.
Read or download the pdf for free. If you want to contribute, please mail your pdfs to info@audioservicemanuals.com.

Page: 1 / 4
left right
Rotel RA 820 OM

Extracted text from Rotel RA 820 OM (Ocr-read)


Page 2

IIIIrllISII

STEREO INTEGRATED AMPLIFIER RA-820

INTRODUCTION

We at Rotel want In thank you [or purchztsmg
our audlp product.

Hotel audr'o products are designed to use the
latest electrcnlc technology. and they lncorpo-
rate our long experlence as a speciallst manufac-
turer all audio equipment, We are conlldenl
that you wrll linu sallslactlon ill the high
quality sound and top perlormnrlce~ and that
vou will lind pleasure In the lunctlonal beauty
achleved through ltumanenglnlserttlg concept
Belote starllng DDBIHIIDH please read this
instruction manual thoroughly and acounrnl
vuurtell With the proper mode ol using the unit
and all Its connectlons,

We hope you will enluy topnotch perlormance
for many years to come.

BEFORE ENJOVMENT/
POWER SUPPLY

Follow the innrucllons below lor maxrmum
Salaty:

1. U). I VII" curl" for power supply

Be sure to connect the AC Ilne corn directly to
a household will outlet, and not to an auxiliary
outlet on another component Be certain that
the outlet voltage matches the electrical rating
or tn. unit. lound on the rear panel name plaw
2. cont-mm; Ind r-nlovlng AC cont

Be sure to connect or disconnect lhl AC llna
cord cnly alter turning off the power swrtch to
pruvent pmtible shock noise or damage to
the speakers,

3. Vontlllte the unit well

Never block any ventilation holes at the top
and bottom of the ttnll. Be sure also to provide
ample ventllation space around the unit. Poor
ventilation may (ml! ln damage due to exces-
sive home

a. Do not open th- nbin-l

In order to avoid electrlr: shock or demo;- to
the component, never optln the cabinet ll 3
lorelgn object rolls intros the unit by mlslake,
turn the power all, disconnect the wall plug,
and consult a whllllad ellct cian or your
(hater.

5. lnmllption

Be sum to pI-oe the unit ln a level and list place
where ll ls [tee from humldlty, vibration, high
temperature end not exposed to direct sunlight.
Be carelul 'hot to place the unil in a highly
enclosed place such as near a wall or on e
bookshellu A poor ventilation wrll cause unda-
iirnble ellectt to the unit.

I. Ilkvinu thl unit

When transporting remove the AC cord train
the wall outlet and all other connected cards on
the rear panel to prevent wrro breaks? and
short circuits.

7. ll tho unit guts wot

II the unit should get wet, immediately discon-
nect trill AC cord, and consult your dealer or s
qualified electrician.

B. auning Ind mint-nine!

Do not use chemical: such as benzlne or thln»

1

ners on the front panel. Always use a sort. dry
cloth to clean the unlt.

9. Owner's menu-l

Keep the owner's "mnual near the null. and
record the serial number llound on the rear
panel) on the cover

SPEAKE ES

The unll allows hookup at two speaker sys
terns. Use speaker systems with impedance
rulings ol 3 l6 ohms. Before hooking up your
speaker system, be sure to check lts lmpedaltmy
which should he intimated Either on the back OI
the speaker, or rn the speaker lnstruction man»
uaI.

HOOKING UP SPEAKERS

On the rear panel at tho RA'820 are two sets
0| speak" llrminttls, SPEAKER A and B. to
which two speaker systems may be mnnoptud.
Connect the speaker lads ol the right-hand
speaker to terminals "R" at "A" (or "3"). and
the kulr leads ol the left-hand speaker to
terminal! "L" of "A" (or "3"). Make sure that
the "+" ipeIker land is connected to the "+"
terminal. and the ~ lead to the ~" tormlnal.
Strip LOcm tars) ol the polyvinyl chloride
insulation lrorn the end ol each speaker lead.
Twist tho exposed nrandt tightly, and secure
the end with a touch or solder.

The terminals are thl push-insert type. Insert
the end of the Inca into the hole while pushing
on the button Then release the button: the
hole will close and the cord is firmly lixed.

Notes:

1. The SPEAKER A terminal I: directly con
nected Item the amplllier secllon lor lmptoved
sound ouulily This means the headphone clr
' is bypassed, so that plunging headphones
into the headphone jack Will not cut all sound
[rpm the speakers connected to the SPEAKER
A terminal

2, ll you have only one pair of speakers.
always connect to the SPEAKER A terminal 10!
besl possible sound quallly lmm the amplifier.
However. ll you lteoucntly wlsh to listen to the
headphones with the speakers turned all. con
tract your palr 0! speakers to the SPEAKER B
tcrmlnal. Thls means when the headphones ls

plugged, the sound irom your speakers me be
cut off.

3 II you have two pulls 0' speakers and

have connected them to the bull! SPEAKER A
and B tennlnals, you cart either listen to the pa-
0! speakers connected to the SPEAKER A let
mlnal or to the both pairs ol speakers
slmultaneouslv depending on pnsrtlons oi the
speaker selector button on the hunt panel l A
or "A l 8").
ll you wrsh to listen to the pair 0! speakers con
necled lo the SPEAKER 8 terminal, disconnect
the speakers connected to the SPEAKER A let'
rtllnal and push the speaker speaker selector
button on the lront panel to the "A s B"
pcslllon.

AR: SPEAKER AIRIGHT
AL: SPEAKER A/LEFT

3H: SPEAKER BIRIGHY
BL: SPEAKER B/RIGHT

EXCLUSIVE NOTE FOR U.K.

ll your trrlll cnmcs wrlh a acme coma wrlhoul a
plug make Certain lire, neutral and earl?! loads
or.» mnnnclm ln llI: pruper lL-Imrnals Check
the: thl: lelfllllld 5 .ur scrnwcd down [le and
no lmror- tndfiol wilt! are uresonl
IMPORTANT Ihr- Wm": lrl lhls mains lead are
coloured rrt acculdmlt,t: mm the lollunlhg cone:
GREEN/YELLOW EARTH

BLUE NEUTRAL

BROWN . LIVE

As the . mlr n' he one. n ma mans lead at
two Etnpdlalull may n01 nlrespono With the
coloured "'léflklrlgh roent.ly.llg lllc lormlnols in
your plug proceed .15 lollows The wile which is
coloured onsswlvsttow musl be Corl'leclcri
lo the lerrlllnal m the plug which is marked try
the leller E or lay the saloly earth symbol J:- or
coloured GREEN or GREENWELLOW The wire
whltn ls coloured BLUE Itlusl be conncc'cc lo
"19 lermrllal which is marked wllh [he Ieller N or
coloured BLACK the wrte which ls coloured
BROWN rllusl bl: connected lu lhe lurmtnal
which ls marked wllh the Itllel L or coloured
RED