Revox A 77 Remote Owners Manual

This is the 2 pages manual for Revox A 77 Remote Owners Manual.
Read or download the pdf for free. If you want to contribute, please mail your pdfs to info@audioservicemanuals.com.

Page: 1 / 2
left right
Revox A 77 Remote Owners Manual

Extracted text from Revox A 77 Remote Owners Manual (Ocr-read)


Page 1

Fernbedienung zu Revox A77

Anschliessen dev Fernbedienung

- Blindstecker REMOTE CONTROL Q abnehmen und aufbewahren.
~- Fernbedienungsstecker in die Buchse REMOTE CONTROL @ einstecken.

Fern-Bedienung

Alle Tastenfunktionen des Tonbandgerétes kénnen nun mit der Fembedienung
gesteuert werden.

Es ist darauf zu achten, dass die Taste PLAY nnr betfitigt wird, wenn das Ton-
band stillsteht.

Die Tasten PLAY und REC rasten ein. Damit werden die beiden wichtigsten
Funktionszusténde an der Fernbedienung erkennbar.

Durch Betétigen einer anderen Taste auf der Fernbedienung rasten diese Tasten
wieder aus.

Zur Beachtung

Die Bedienungstasten des Tonbandgerétes bleiben bei angeschlossener Fernbe-
dienung in Funktion.

Werden bei angeschiossener Fernbedienung die Bedienungsmsten des Tonband-
gerétes benutzt, so ist unbedingt darauf zu achten, dass auf der Fernbedienung
keine Taste gedrijckt und eingerastet ist; andernfalls ist die Taste STOP der Fern-
bedienung xuerst zu drijcken.

Wird die Fernbedienung nicht benutzt und vom Tonbandgerét getrennt, so ist
der Biindstecker unbedingt wieder in die Fernsteuerbuchse REMOTE CON-
TROL einzustecken, da sonst die Laufwerksteuerung nicht mehr funktions-
ffihig isQBehelfsmfissig geniigt auch eine provisorische Kurzschiussverbindung
der Anschlussbuchsen 1 und 2).

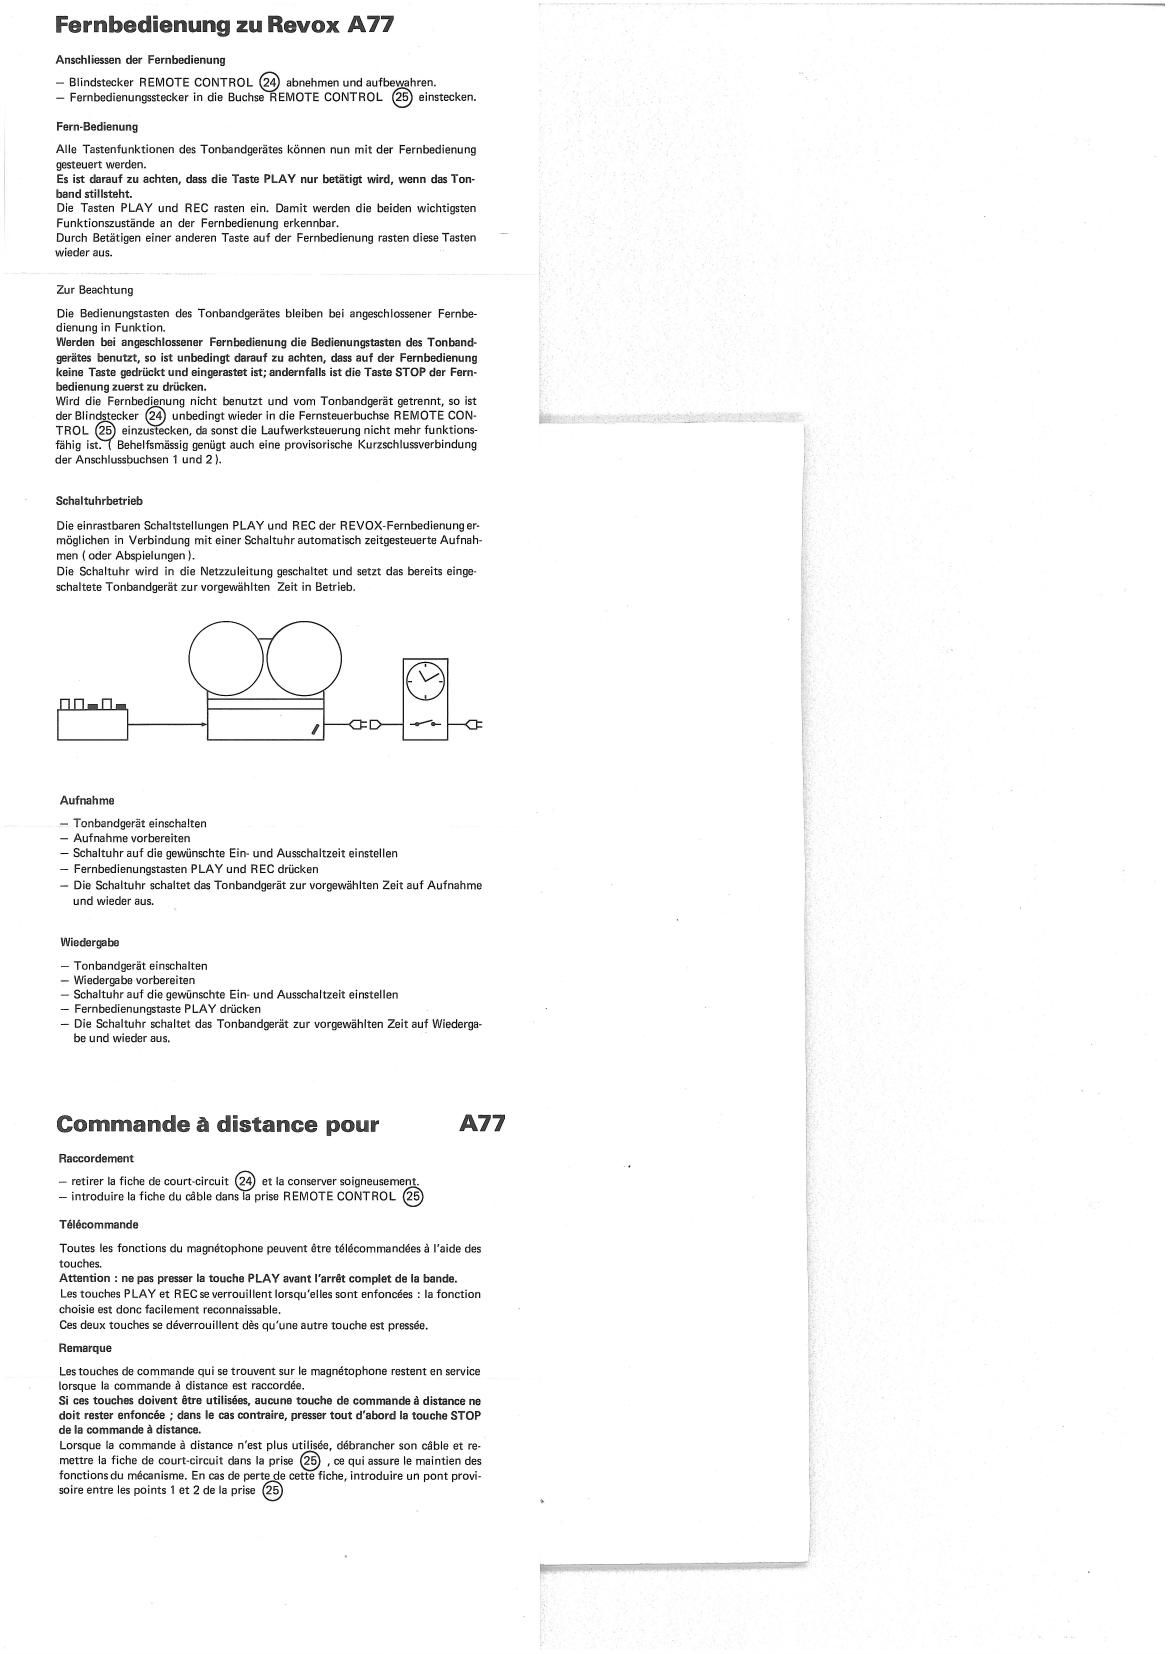
Schaltuhrbetrieb

Die einrastbaren Schaltsteilungen PLAY und REC der REVOX-Fernbedienunger-
méglichen in Verbindung mit einer Schaltuhr automatisch zeitgesteuerte Aufnah-
men (Oder Abspieiungen ).

Die Schaltuhr wird in die Netzzuleitung geschaltet und setzt das bereits einge-

schaltete Tonbandgerét zur vorgewéhlten Zeit in Betrieb.

C9

Aufnahme

- Tunbandgerét einschaiten

- Aufnahme vorbereiten

- Schaltuhr auf die gewfinschte Ein- und Ausschaltzeit einsteilen

- Fernbedienungstasten PLAY und REC driicken

- Die Schaltuhr schaltet das Tonbandgerét zur vorgewéhlten Zeit auf Aufnahme
und wieder aus.

Wiederga be

- Tonbandgerét einschalten

- Wiedergabe vorbereiten

- Schaltuhr auf die gewfinschte Ein- und Ausschaitzeit einstellen

- Fernbedienungstaste PLAY driicken

- Die Schaltuhr schaitet das Tonbandgerét zur vorgewz'ahlten Zeit auf Wiederga-
be und wieder aus.

Commande a distance pour A77

Raccordement

- retirer Ia fiche de court-circuit 9 et la conserver soigneusement.
- introduire la fiche du céhle dans a prise REMOTE CONTROL @

Télécommande

Toutes ies functions du magnétophone peuvent étre téiécommandées é laide des
touches.

Attention : ne pas presser la touche PLAY avant larrét complet de la bande.

Les touches PLAY et REC se verrouillent Iorsquelles sont enfoncées : la function
choisie est clone faciiement reconnaissabie.

Ces deux touches se déverrouiilent dés qu'une autre touche est presses.

Remarque

Les touches de commande qui se trouvent sur Ie magnétophone restent en service
lorsque la commande 5] distance est raccordée.

Si ces touches doivent étre utilisées, aucune touche de commande a distance ne
doit rester enfoncée ; dans Ie cas contraire, presser tout d'abord la touche STOP
de la commande a distance.

Lorsque Ia commande 2: distance n'est plus utilisée, débrancher son cable at re-
mettre ia fiche de court-circuit dans la prise , ce qui assure le maintien des
functions du mécanisme. En cas de perte de cette fiche, introduire un pont provi<
soire entre les points 1 et 2 de la prise

Page 2

Utilisation d'un interrupteur horaire

Il est possible de faire demarrer automatiquement le magnétophone a une heure
fixée a l'avance, en enregistrement ou en lecture, en utilisant un interrupteur ho-
raire. La fonction sera présélectionnée par les touches verrouillables PLAY et REC.
Linterrupteur horaire est intercalé entre la prise de courant et Ie cordon secteur
du magnétophone ; ce dernier reste constamment enclenché, mais i| ne démarrera
qu' aux heures fixées.

Enregistrement

- enclencher le magnetophone

- preparer l'enregistrement

- regler linterrupteur horaire sur les heures fixées pour Ie démarrage et iarrétdu
magnétophone

- enfoncer les touches PLAY et REC

Lecture

- enclencher le magnétophone

- mettre en place la bande a reproduire

- régler I'interrupteur horaire sur les heures fixées pour le démarrage et I'arrét du
magnétophone

- enfoncer Ia touche PLAY

Remote Control for Revox A77

How to connect the remote control device

- Remove dummy plug and take care not to misplace it.
- Connect cable plug of remote control device to remote control socket @

Remote control operation

All playback functions of the tape recorder may now be operated from the remo-
te control box.

Please note : to operate the button PLAY, the machine must be at standstill.
The buttons PLAY and RECORD are of the latching type, to provide visual indi-
cation of the two most important operating modes. The operation of any other
push button will serve to release them again.

Important

With the remote control connected to the recorder, all push buttons on the recor-
der remain effective.

When operating the push buttons on the recorder with the remote control connec-
ted, make sure thatall buttons on the remote control box are in their released po-
sition. If this is not so, depress the STOP button on the remote control before
manipulating the buttons on the recorder.

When not using the remote control dev' e and disconnecting it from the recorder,
it is essential that the dummy plug is re-inserted into the socket , as
otherwise all transport functions will be disabled. (As an improvised measure, a
wire bridge may be inserted between pins 1 and 2 of the remote control socket).

Operation with a timing clock

Because of the locking feature of the RECORD and PLAY buttons on the
REVOX remote control, automatic recording or replay can be effected by
means of a timing clock. For this, the contacts of the timing device are to be
wired into the electric power feed. At the preset time, the already switched-on
recorder will then start in the selected operating mode.

To record

-- Set power switch on the tape recorder to position ON

- Prepare for recording

- Preset timing clock to the desired on » off period

- Depress PLAY and RECORD buttons on the remote control box

- The timer will cause the tape recorder to run in the record mode during the
pre-selected period

To playback

- Set power switch on the tape recorder to position ON.

- Prepare tape which is to be played back.

- Preset timing clock to the desired on » off period.

- Depress PLAY button on the remote control box.

- The timer will cause the tape recorder to run in the play mode during the pre-
selected period.