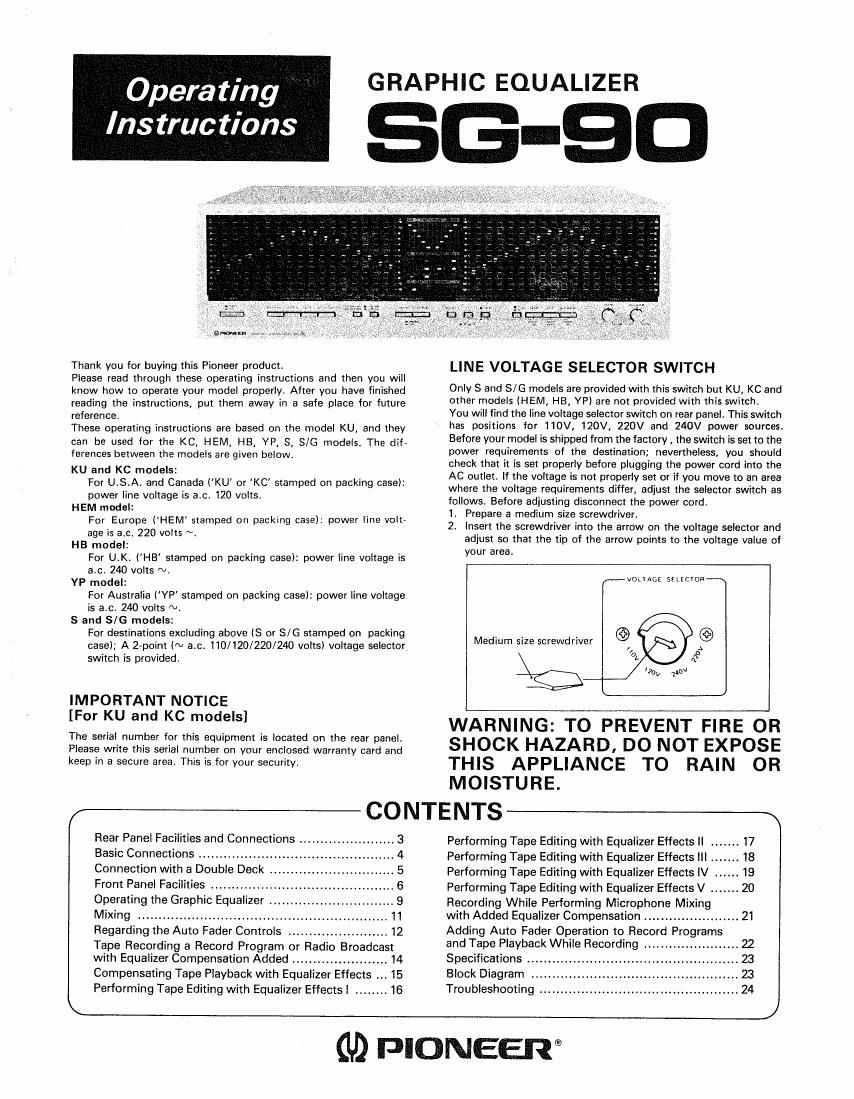
Pioneer sg 90 owners manual

This is the 24 pages manual for pioneer sg 90 owners manual.
Read or download the pdf for free. If you want to contribute, please mail your pdfs to info@audioservicemanuals.com.

Page: 1 / 24
left right
pioneer sg 90 owners manual

Extracted text from pioneer sg 90 owners manual (Ocr-read)


Page 1

Opera ting

Instructions

GRAPHIC EQUALIZER

(3-90

Thank you for buying this Pioneer product.

Please read through these operating instructions and then you will
know how to operate your model properly. After you have finished
reading the instructions, put them away in a safe place for future
reference.

These operating instructions are based on the model KU, and they
can be used for the KC, HEM, HB, YP, S, SIG models. The dif-
ferences between the models are given below.

KU and KC models:
For U.S.A. and Canada (KU or KC stamped on packing case):
power line voltage is ac 120 volts.

HEM model:
For Europe (HEM stamped on packing case): power line volt
age is a.c. 220 volts ~.

HB model:
For U.K. (HB' stamped on packing case): power line voltage is
a.c. 240 volts N.

YP model:
For Australia ("0" stamped on packing case): power line voltage
is a.c. 240 volts m.

S and 5/6 models:
For destinations excluding above (8 or 5/6 stamped on packing
case); A 2«point (m ac 110/120/220/240 volts) voltage selector
switch is provided.

IMPORTANT NOTICE
[For KU and KC models]
The serial number for this equipment is located on the rear panel.

Please write this serial number on your enclosed warranty card and
keep in a secure area. This is for your security.

Rear Panel Facilities and Connections
Basic Connections ........................
Connection with a Double Deck
Front Panel Facilities ..............
Operating the Graphic Equalizer
Mixing ..........
Regarding the Auto Fader Controls , ..

Tape Recording a Record Program or Radio Broadcast


with Equalizer Compensation Added ....................... 14
Compensating Tape Playback with Equalizer Effects 15
Performing Tape Editing with Equalizer Effects l ........ 16

CONTENTS

LINE VOLTAGE SELECTOR SWITCH

Only 8 and 5/6 models are provided with this switch but KU, KC and

other models (HEM, H8, YP) are not provided with this switch.

You will find the line voltage selector switch on rear panel. This switch

has positions for 110V, 120V, 220V and 240V power sources.

Before your model is Shipped from the factory , the switch is set to the

power requirements of the destination; nevertheless, you should

check that it is set properly before plugging the power cord into the

AC outlet. If the voltage is not properly set or if you move to an area

where the voltage requirements differ, adjust the selector switch as

follows. Before adjusting disconnect the power cord.

1. Prepare a medium size screwdriver.

2. Insert the screwdriver into the arrow on the voltage selector and
adjust so that the tip of the arrow points to the voltage value of
VDUY area.

votuct surmoe


Medium size screwdriver

WARNING: TO PREVENT FIRE OR
SHOCK HAZARD, DO NOT EXPOSE
THIS APPLIANCE TO RAIN OR
MOISTURE.

Performing Tape Editing with Equalizer Effects || ....... 17
Performing Tape Editing with Equalizer Effects lll ..
Performing Tape Editing with Equalizer Effects lV . ..
Performing Tape Editing with Equalizer Effects V ....... 20
Recording While Performing Microphone Mixing

with Added Equalizer Compensation ..
Adding Auto Fader Operation to Record Programs

and Tape Playback While Recording ....................... 22
Specifications

Block Diagram .. ..
Troubleshooting ................................................ 24

(U) PIONEER®

Page 2

SAFETY INSTRUCTIONS [FOR KU MODEL]

HEAD lNSTRUCTIONs - All the sarely and
operaling insrruclions should ha read pelore the
appliance is operated

RETAIN INSTRUCTIONS 7 The operaiing iiislruc~
lions should be retained loi tuture relerence

NEED WARNING 7 All warnings on lhe appliance
and in lhe operaring insrruciionc should be adhered
I0

rouow INSTRUCTIONS - All operating and use
instructions should be loliowed

WATER AND MOISTURE 7 The appliance should
001 be used near water ~ Ior example, near a
bathtub, washbpwl, kitchen sink, laundry tub, in a
wet basament, or near a swimming pool, etc,

LOCATION 7 The appliance should be lrtstalled tn a
slaola locatlan

WALL 0R CEILING MOUNTING 7 The appliance
should not be niounled lo a wall or ceiling

VENTILATION 7 The appliance should be situated so
that ils location or posilion dose not interlere with
its proper yenlilarion For example, the appliance
should nor be siluated on a bed, sora, rug, or
similar surlace lhal may block the vantilatlon open
ings: or, placed in a puiIr-in inslatlalion, such as a
baokcase or cahinet that may impede lhe flow or
air lhicugn ihe yenlrlarion openings.

HEAT 7 The appliance should be situated away liorn
heal sources such as radiators. heal registers.
stoves, or other appliances linciuding amptiliersl
that produce hast.

POWER SOURCES 7 The appliance should be con-
necrad to a power supply only or me type descrip-
ed in the operating instructions or as marked on ma
up ce.

POWER-CORD PROTECTION 7 Powerrsupply cards
should be roulod so lhai rhey are not likely to be
walked on or pinched by items placed upon or
against them, paying particular attenllon ro cards
at plugs, convenience ieceplactes, and me point
where rhey exil lrorn the appliance.

CLEANING 7 The appliance should be cleaned only
with a polishing clorh or a soil dry clorh. Never
clean wilh rurnilure wax, benzlne, insecticides or
other volatile liquids since ihey rnay corrode rhe
cabinet

POWER LINES 7 An ourdoor anienna should be
localed away Irum Dower lines

NONUSE PERIODS 7 The power cord or the an
pliance should be unplugged lrorn lne ourler when
leIt unused lor along period or time

OBJECT AND LIQUID ENTRV 7 Care should be
taken so lhal ouiecrs do not tall and liquids are nor
spilled inlp lhe enclosure inrpugh openings.

DAMAGE REQUIRING SERVICE 7 The appliance
should be serviced by Pioneer authnrizzd service
center or qualified service personnel when:

- The power supply cord or the plug has been
damaged, or

. apiecls have tallenl or liouio has been spilled inro
lhe appliance, or

- The appliance has been exposed lo rain: or

- The appliance does nol appear lo operate normally
or exhioils a marked change in perlorrnanca; or

- The appliance has been dropped, or the enclosure
damaged

SERVICING 7 The user shuuld not attempt to service
the appliance beyond lhal described in the
operaling instructions, For all elher SENlctng, cort-
lacl the nearest Pioneer authorized service center.

ourpooa ANTENNA GROUNDING 7 ii an outside
antenna I5 connected To the antenna terminal, be
sure lhe antenna sysrern is grounded so as to pro
yide some prerecuon aparnsl yollaoe surges and
built up static charges.
in his u s A sectran alo oi the Natlonal Electrlcal
Code. ANSI/NEPA No. 704ml, provides inlorma-
lion wrin rcspecl in proper groundig or inc mast
and supporring structure, grounding or the leadrln
Wire in an antenna discharge unil. size or proun
ding conduclors, location or antenna-discharge
unit. connecrion ro grounding electrodes, and r5
ourrernanrs lor lhe grounding electrode. See Fig.
A,

EXAMPLE OF ANTENNA GROUNDING AS
PER NATIONAL ELECTRICAL CODE INSTRUO
TlONS

Ground clamp \


at, bl
Mast
ground c,
"9 Antenna To Antenna ieririiiiai
discharge .
unit
at or
Ground
Wire
I) Ground clamps
Grounding ereclrnda
driven 8' into the earth
l2 44 rnelersl
Fig A

it) Use No in Am; l5.3 mm'l copper or No ll Awe
(34 mm) aluminum or No 17 AWG (I 0 "null
coppenclad steel or bronze wire. or larger as
ground wires Ior hath mast and lead m.

bl Secure Ieadin wire lrorn antenna to antenna
discharge unit and niasl ground Wire lo house ern
standsafl Insulamts, spaced ham 4 leer .21
metersl in 5 feet .33 melersl anarr.

cl Mpunl antenna discharge unit as closely as possr
ble to where leadrm enters house

IMPORTANT [FOR KU MODEL]

The lightning llash with arrowhead,
within an equilateral triangle, is intended
to alert the user or the presence of
uninsulated "dangerous voltage within
the products enclosure that may be of

RISK OF ELECTRIC SHOCK
DO NOT OPEN

CAUTION:

TO PREVENT THE RISK OF ELECTRIC SHOCK, DO
NOT REMOVE COVER (ON BACK). ND USER
SERVICEABLE PARTS INSIDE. REFER SERVICING
Tl'I QUALIFIED SERVICE PERSONNEL

exclamation point within an

equilateral triangle is intended to alert the
user of the presence ol important
operating and maintenance (servicing) ln-
structions in the literature accompanying

sufficient magnitude to constitute a risk
of electric shock to persons,

the appliance.

IMPORTANT

To prevent electric shock, do not remove cover. No user ser-
viceable parts inside, refer servicing to qualitied service personnel.
Always disconnect all the equipment from the mains supply when
disconnecting the signal leads. The power cord should be con
nected last, make sure that the power switch is all.

Unplug the set from the wall socket when it is not to be used for an
extended period of time.

FOR USE IN UNITED KINGDOM
AND AUSTRALIA

CAUTION 240 V: Mains supply voltage is factory

adjusted at 240 V.

FOR USE IN UNITED KINGDOM

The wires in this mains lead are coloured in accordance With the
following cord

Blue: Neutral

Brown: Live
As the colours of the Wires In the mains lead 07 this apparatus may
not correspond with the coloured marking identifying the tar
minals in your plug proceed as lollows:
The wire which is coloured blue must be connected to the terminal
which is marked with the letter N or coloured black.
The wire which is coloured brown must be connected to the ter
rnlnal which is marked with the letter L or coloured red.

Equipment sold in the U.K. is nut supplied with a power
plug.