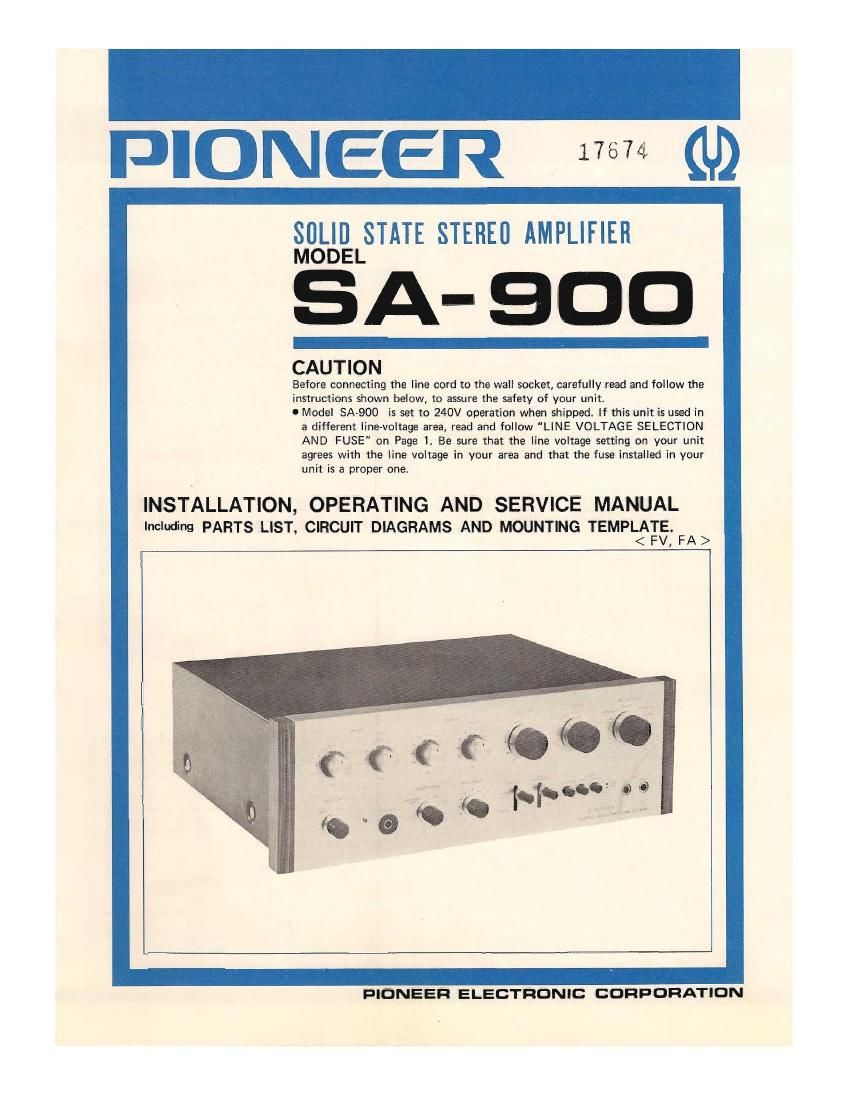
Pioneer SA 900 Owners Manual

This is the 22 pages manual for Pioneer SA 900 Owners Manual.
Read or download the pdf for free. If you want to contribute, please mail your pdfs to info@audioservicemanuals.com.

Page: 1 / 22
left right
Pioneer SA 900 Owners Manual

Extracted text from Pioneer SA 900 Owners Manual (Ocr-read)


Page 1

PIONEER cu)

SOLID STATE STEIIEII AMPLIFIER
MODEL

'SA- 900

CAUTION

Before connecting the line cord to the wall socket, carefully read and follow the

instructions shown below, to assure the safety of your unit.

0 Model SA-QOO is set to 240V operation when shipped. If this unit is used in
a different line-voltage area, read and follow "LINE VOLTAGE SELECTION
AND FUSE" on Page 1. Be sure that the line voltage setting on your unit
agrees with the line voltage in your area and that the fuse installed in your
unit is a proper one.

INSTALLATION, OPERATING AND SERVICE MANUAL

Including PARTS LIST, CIRCUIT DIAGRAMS AND MOUNTING TEMPLAES. FA>
< ,

FIDNEEIR ELECTFIONIC CORPORATION

Page 2

FEATU RES

-PIONEFJ? -

.HIGH-PERFORMANCE PREAMPLIFIERS AND POWER
AMPLIFIERS FOR LARGE POWER OUTPUT:

An output with minimum distortion and maximum margin is

obtained by the complementary SEPP circuit which uses triple

diffusion silicon transistors.

.EXTHEMELY HIGH SIGNAL-TO-NOISE RATIO:

The head amplifiers use carefully selected low-noise transistors;
therefore, the signal-to»noise ratio is higher than that of any
other equipment of this class.

.ACCURATE EQUALIZER CHARACTERISTIC:

The directvcoupled three-stage equalizer circuit system by E-E
feedback gives a highly accurate and stable equalizer character-
istic.

.MOVING CDIL CARTRIDGE CAN BE USED:

ln addition to those for the conventional lVlM, CERAMIC and
CRYSTAL cartridges, input terminals are provided for the
MOVING COIL cartridge which is highly reputed among

INSTALLATION

audio lovers. Thus a variety of cartridges can be used, and their
performances can be compared for audition by switch operation.

. FET-USING CONTROL AMPLIFIERS

A highrperformance FET is used in the first Stage of the control
circuits. The input impedance is high, and stable performance
can be obtained.

.MULTl-STEP SWITCH SYSTEM TONE CONTROLS:
Precision tone control circuits in which elements in the NFB
circuit are switched are used for accurate tone control of 3 dB
per step. Furthermore, the level of the medium range is not
fluctuated by tone adjustment.

.VARIOUS ACCESSORY MECHANISMS:

A loudspeaker selector switch that permits use of two sets of
loudspeaker systems is provided In addition, a mode switch,
muting switch, low/high filter switch, and tape monitor switch
are provided for optimum and versatile operation.

LINE VOLTAGE SELECTION AND FUSE

COIN FUSE CAP FUSE FUSE PLUG SOCKET

Select the place of installation giving due consideration to the

following:

.Avoid a place which Is exposed to direct sunlight, or near
a space heater or other heat generating object.
Select a place that has especially good ventilation because the
SA~900s contains high-power amplifiers. Do not set it in a
small space such as a bookshelf

.Avoid a moist or dusty place.

.Do not set the SA-900 on an unstable floor or a place in
curring vibrations.

In order to remove the fuse, turn the cap located on the line
voltage selector switch in the direction indicated by an arrow.
Then remove the fuse plug from the unit, Put the fuse plug back
so that the proper line voltage marking can be seen thru the cut
on the edge of the plug.

Whenever the set position of the selector switch is changed,
check the rating of the fuse. A 1,5»ampere fuse is to be used for
either 220 V or 240 V operation and a 3~ampere fuse for any of
110 V, 117 V, or 130 V operation. If the rating of the fuse is
proper, install the fuse on the fuse cap.

REPLACING OF FUSE

When the fuse is blown off, remove the fuse cap and replace
the fuse with a new one.

Take off the fuse cap by turning it with a coin, etc. in the
direction indicated by the arrow mark.