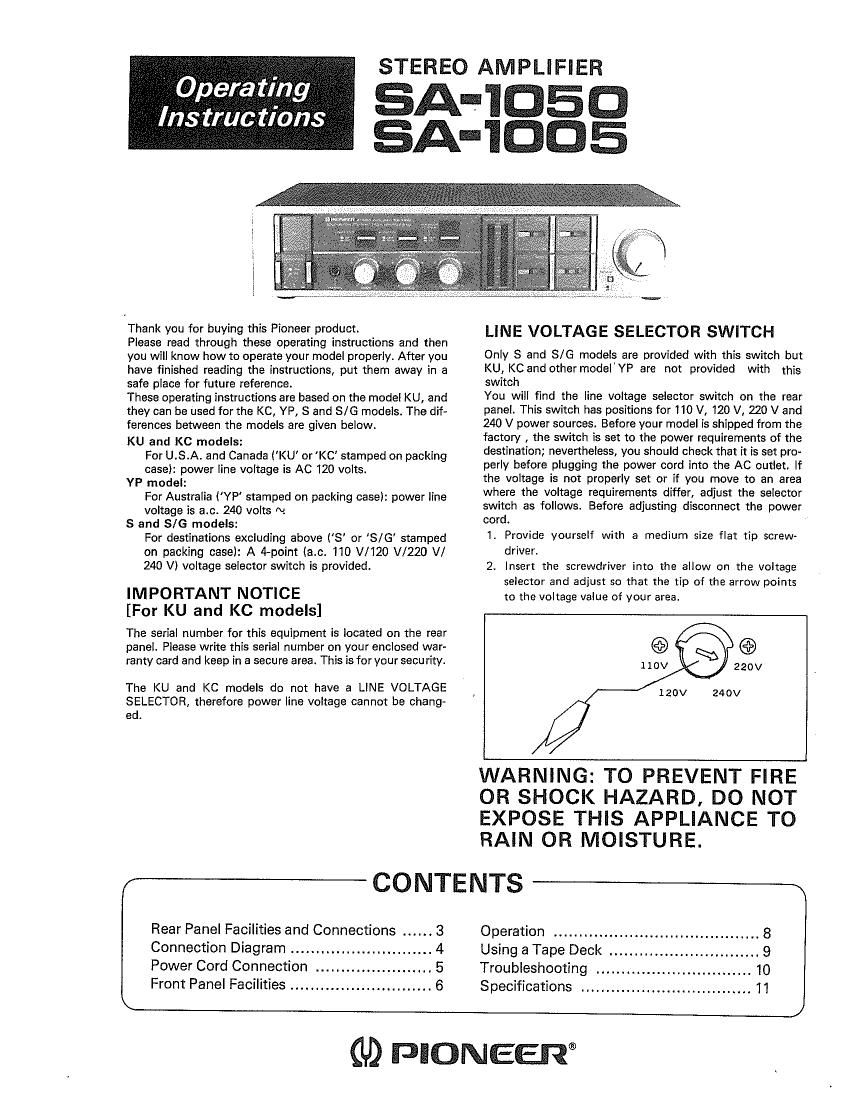
Pioneer SA 1005 Owners Manual

This is the 12 pages manual for Pioneer SA 1005 Owners Manual.
Read or download the pdf for free. If you want to contribute, please mail your pdfs to info@audioservicemanuals.com.

Page: 1 / 12
left right
Pioneer SA 1005 Owners Manual

Extracted text from Pioneer SA 1005 Owners Manual (Ocr-read)


Page 1

' Operating

Instructions

STEREO AMPLIFIER

EBA-1050
SA-IDDE

Thank you for buying this Pioneer product.
Please read through these operating instructions and then
you will know how to operate your model properly. After you
have finished reading the instructions, put them away in a
safe place for future reference.
These operating instructions are based on the model KU, and
they can be used for the KC, YP, S and 8/6 models. The dif-
ferences between the models are given below.
KU and KC models:
For U.S.A. and Canada (KU or KC' stamped on packing
case): power line voltage is AC 120 volts.
YP model:
For Australia (YP stamped on packing case): power line
voltage is e.c. 240 volts N.
S and SIG models:
For destinations excluding above ('3' or S/G' stamped
on packing case): A 4-point (a.c. 110 V/120 V/220 V/
240 V) voltage selector switch is provided.

IMPORTANT NOTICE
[For KU and KC models]
The serial number for this equipment is located on the rear

panel. Please write this serial number on your enclosed war-
ranty card and keep in a secure area. This is for your security.

The KU and KC models do not have a LINE VOLTAGE
SELECTOR, therefore power line voltage cannot be chang-
ed.

Rear Panel Facilities and Connections ...... 3
Connection Diagram ..
Power Cord Connection
Front Panel Facilities ............................ 6

CONTENTS

LINE VOLTAGE SELECTOR SWITCH

Only S and S/G models are provided with this switch but
KU, KC and othermodel'YP are not provided with this
switch
You will find the line voltage selector switch on the rear
panel. This switch has positions for 110 V, 120 V, 220 V and
240 V power sources. Before your model is shipped from the
factory , the switch is set to the power requirements of the
destination; nevertheless, you should check that it is set pro-
perly before plugging the power cord into the AC omlet. If
the voltage is not properly set or if you move to an area
where the voltage requirements differ, adjust the selector
switch as follows. Before adjusting disconnect the power
cord.
1. Provide yourself with a medium size flat tip screw-
driver.
2. insert the screwdriver into the allow on the voltage
selector and adjust so that the tip of the arrow points
to the voltage value of your area.


120V 240V

WARNING: TO PREVENT FIRE
OR SHOCK HAZARD, DO NOT
EXPOSE THIS APPLIANCE TO
RAIN OR MOISTURE.

Operation ......................................... 8
Using a Tape Deck ............ 9
Troubleshooting ....... ..
Specifications ..........................

(U) PIONEER

Page 2

SAFETY INSTRUCTIONS [FOR KU MODEL]

READ INSTRUCTIONS - All the salary and
operatlng instructions sheuld he read herere the
appliance is operated.

RETAIN lerrluctloNs - The operating instruc-
tions should be retained for luture relerence.
HEED WARNING - All warnings on the appliance

and in the operating instructions should he edhered

to.

FOLLOW INSTRUCTIONS - All (mutating and use
instructions should be rollcwed.

WATER AND MOISTURE - The appliance should
not be used near water - rcr example, near a
oathtuo, wasnoowl, kitchen sinlt, laundry tup, ina
wet basement, or near a swimming pool, arc.

LOCATION e The appliance should tee installed in a
stable Incallnn.

WALL OR CEILING MOUNTING - The appliance
should not he mounted to e wall or ceil g.

VENTILATION - Tht.I appliance should be I uatad so
that its location or position does not interrere wirh
its proper ventilation. For example, the appliance
should nct he situated on a had, sold, rug, or
similar surlace that may block the ventilation Open»
inns; or, placed in a bulllaln installation, such as 2
bookcase or Cablrlut that may imncdn the (law OI
air through the yantiletion openings.

NEAT - The appliance should bu situated away rrorn
heat sources such IIS radiators, hunt legiatnls,
stoves, or other appliances [including amplitiersl
that pmducn heal.

rowan souncss « the appliance should be com
noctud lo (I DOWN iunply aflly OI [ha Nae describ-
ed in the operating instructions or at merited an the
appliance.

POWER-CORD PROTECTION - Power-tupply cards
should he routed so that they are not liltolv to he
walkcd on or pinched by item placed upon or
against them. pitylnp particular attention to cords
at plugs. convenience receptacles. and the point
where lhuy exit Iran! the appliance.

CLEANING » The appliance should be cleaned only
with e pnlishillg cloth or a sort dry cloth. Never
clean with turnirure wart. henxiee, insecticides or
other volatile liquid: since they may corrode the
cabinet.

POWER LINES - All Outdoor anmnna should be
located away tram pawn! lines,

NONUSE PERIDDS -« The power cord at the ap-
prtanca should he unplugged treat the outlet when
relt unused tor a long period or time,

OBJECT AND LIQUID ENTRY - Care should be
taken so that potects do not tell and liquids are not
spilled into the enclosure through openings.

DAMAGE amulltmc ssavrcs - the appliance
should he serviced by pioneer authorired service
came! at qualified service pursennel when:

- The pcwehsupply cord or the plug has been
damaged; at

- Objects have lalren, or liquid has been spilled into
the appliance; 0t

The appliance has been exposed to rain; at

I The appliance duos not appeal to operate normally
or exhibits a marklm change in parlormence; er

- the appliance has been dropped; or the enclosure
damaged.

SERVICING - The use: should not attempl l0 Sen/ice
the applianc: beyond that described in the
operating instm S. For all other servicing. cont
tact the nearest Pioneer authorized service center.

OUTDOOR ANTENNA GROUNDING - II an outside
antenna is connected to the antenna terminal. oc
sum the antenna system Is grounded so as to pro-
Vida some protecuon against voltage surges and
built up static charges.
in the u,s.A, section are at the National Electrical
Code, ANSI/NEPA No. wiser. provides intermar
tion with respect to proper granndig ol the mast
and wowflim structure, grounding or the landlln
who to an pntenrre discharge unit, size cl groun-
ding conductors. location or lnlnona-ditchalge
unit, connection to grounding electrodes, and let
curremants tor the grounding electrode, 50! Fig.
A.

EXAMPLE OF ANTENNA GROUNDING AS
PER NATIONAL ELECTRICAL CODE INSTRUC-
TIONs

Ground clam
D \

al, bl
Mast
ground
Will To Antenna terminal
-~ ~>
al, bl
Ground
wrre
| >Grpnnd clamps
h-_ _ Groundrnp electrode
drrven a' into the earth
I2 4-: metarsl
rte. A

at U56 Nu. IO AWG (5.3 mm'l copper at No. SAWG
[6.4 mm) aluminum or No. l7 AWG (1.0 mml
copper-clad sisal er bronla who. or larglr as
ground wires Iar both most and lead-In.

bl Sucure load-In wlm Ilom lflllnfla In antarlrla

discharge unit and meat ground wire to house with

slandeoll insulators. spaced Irarrl 4 real .22

mtlolal ID 6 I"! (I783 motors) apart.

cl Mount antenna discharge will at closely as pussi-
bin to whats lend-In lnlars houu,

IMPORTANT [FOR KU MODEL]

The lightning flash with arrowhead,
within an equilateral triangle, is intended
to alert the user Of the presence of
uninsulated "dangerous voltage" within
the product's enclosure that may be of
sufficient magnitude to constitute a risk
of electric shock to persons.

CAUTION

RISK OF ELECTRIC SHOCK
DO NOT OPEN

CAUTION:

TO PREVENT THE RISK OF ELECTRIC SHOCK. DO
NOT REMOVE COVER (OR BACK). ND USER
SERVICEARLE PARTS INSIDE REFER SERVICING
T0 OUAUFIED SERVICE PERSONNEL

The exclamation point withln an
equilateral triangle is intended to alert the
user Ol the presence of important
operating and maintenance (servicing) In-
strucrlons in the literature accompanying
the appliance.

IMPORTANT

TO prevent electric shock, do not remove cover. No user
serviceable parts inside; refer servicing to qualified service
personnel.

If the apparatus is fitted with AC main power outletls),
see REAR PANEL FACILITIES for convenient connection
of additional Hi-Fi componentls).

Make all connections to the AC outletls) and the signal
terminals first. Connect the plug to the wall socket last;
make sure that the power switch ls off.

Disconnect the wall plug when the equipment is not in
regular use, e.g. when on vacation.

FOR USE IN UNITED KINGDOM
AND AUSTRALIA

CAUTION 240 V: Mains supply voltage is

factory adjusted at 240 V.

FOR USE IN UNITED KINGDOM

Equipment sold in the U.K. is not supplied with a
power plug.
The wires in this mains lead are coloured in accordance
with the following code:

Blue: Neutral

Brown: Live.
As the colours of the wires in the mains lead of this ap-
paratus may not correspond with the coloured markings
identifying the terminals in your plug, proceed as follows:
The wire which Is coloured blue must be connected to the
terminal which is marked with the letter N or coloured
black.
The wire which is coloured brown must be connected to
the terminal which is marked with the letter L or coloured

red,
Equipment sold in the U.K. is not supplied with a

power plug.