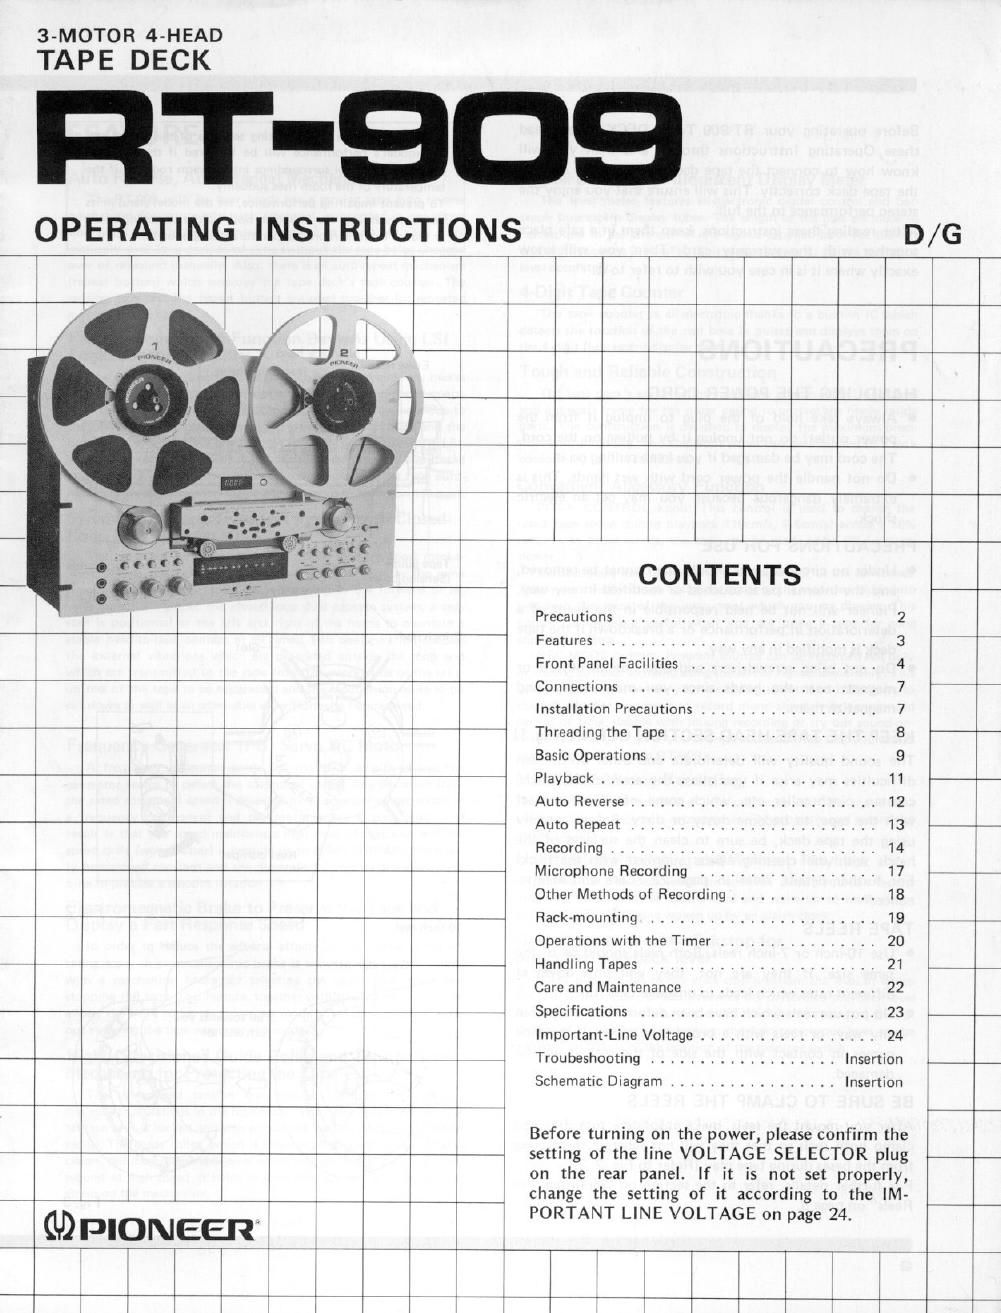
Pioneer rt 909 owners manual 2

This is the 28 pages manual for pioneer rt 909 owners manual 2.
Read or download the pdf for free. If you want to contribute, please mail your pdfs to info@audioservicemanuals.com.

Page: 1 / 28
left right
pioneer rt 909 owners manual 2

Extracted text from pioneer rt 909 owners manual 2 (Ocr-read)


Page 1

3-MOTOR 4-HEAD
TAPE DECK

T-SDS

wOPERATING lNSTRUCTIONS D/G

fi-fl Twin" "T T T T
T T
C1 b e -
7 i T A
e T
CONTENTS
Precautions .......................... 2
7 7 Features ............................ 3
From Panel Facilities ................... 4
7 Connections ......................... 7
T T Installation Precautions .................. 7
T T Threading the Tape ..................... 8
T T Basic Operations ....................... 9
Playback ........................... 11
Auto Reverse ......................... 12
' '* *7? Auto Repeat ......................... 13
Recording ........................... 14
*7 1 7 T Microphone Recording .................. 17
T Other Methods of Recording ............... 18
Tiff k 7 7 7 Rackmountmg ....................... 19
1 Operations with the Timer ................ 20
T , W W +, . ,, ,, ee._% Handling Tapes ....................... 21
T 1 Care and Maintenance ................... 22
a r T Specifications ........................ 23 e77 -
lmportant-Line Voltage .................. 24
4 Troubeshooting ................... Insertion 7
Schematic Diagram ................. Insertion
T Before turning on the power, please confirm the
7 7 77 e 7 7 4T7 setting of the line VOLTAGE SELECTOR plug
T r on the rear panel. If it is not set properly,
A T T +7 change the setting of it according to the lM-
GD pIONE T PORTANT LINE VOLTAGE on page 24.
El 1 , T ,
T T T T r T
T ,T 4,, , T T T
l T T T T T

Page 2

-

Before operating your FIT-909 TAPE DECK, please read
these Operating Instructions through and then you will
know how to connect the tape deck properly and operate
the tape deck correctly. This will ensure that you enjoy the
stereo performance to the full.

After reading these instructions, keep them in a safe place
together with the warranty card. Then you will know
exactly where it is in case you wish to refer to it.

PRECAUTIONS

HANDLING THE POWER CORD

0 Always take hold of the plug to unplug it from the
power outlet; do not unplug it by pulling on the cord.
The cord may be damaged if you keep pulling on it.

0 Do not handle the power cord with wet hands. This is
extremely dangerous because you may get an electric
shock.

PRECAUTIONS FOR USE

0 Under no circumstances should the bonnet be removed,
and the internal parts touched or modified in any way.
Pioneer will not be held responsible in the event of a
deterioration in performance or a breakdown if the tape
deck is modified in any way.

0 Do not bring screwdrivers and other metal objects or
magnets near the heads since you may damage and
magnetize them.

KEEP THE TAPE HEAD SECTION CLEAN (Fig.1)

The sound quality will deteriorate and other unforeseen
difficulties may arise if you allow the areas of the heads,
capstan, pinch roller, etc., which come into direct contact
with the tape, to become dusty or dirty. Before actually
using the tape deck, be sure to clean the surfaces of the
heads with the cleaning swabs supplied with the deck.
For further details, refer to page 22 Care and Mainte-
nance."

TAPE REELS

0 Use 10inch or 7vinch reels. Both reels should be of the
same size. If they are not, they will slow down at
different rates which leads to unstable tape run.

0 Do not use reels which have been deformed or warped in
any way, or reels with a broad tape width. If the tape
comes in contact with the side of the reel, it will be
damaged.

BE SURE TO CLAMP THE REELS

After you mount the reels, make absolutely sure that you
clamp both reels so that they will not separate themselves
from the bases during tape play (Refer to Fig, 2, 3).

For further details, refer to the section on "Mounting the
Reels" on page 8.

Moisture forms in the operating sections of this model and
the models performance Will be impaired if the model is
brought from cool surroundings into a warm room or if the
temperature of the room rises suddenly.

To prevent impairing performance, let the model stand in SJ

new surroundings for about an hour before swnching it on,
or ensure that the room temperature rises gradually.

Reverse Forward
playback head playback head

Erase head Recording head

so D K!)
g QGQQ c.

Pinch roller Pinch roller

Tape guide
(Sensing pole)

Tape guide
Fig. 1

7-inch real

Fig. 2
10-inch real

Reel clamper


Pull towards you,
turn and set

Fig.3