Pioneer pdp 61 mxe 1 owners manual

This is the 89 pages manual for pioneer pdp 61 mxe 1 owners manual.
Read or download the pdf for free. If you want to contribute, please mail your pdfs to info@audioservicemanuals.com.

Page: 1 / 89
left right
pioneer pdp 61 mxe 1 owners manual

Extracted text from pioneer pdp 61 mxe 1 owners manual (Ocr-read)


Page 1

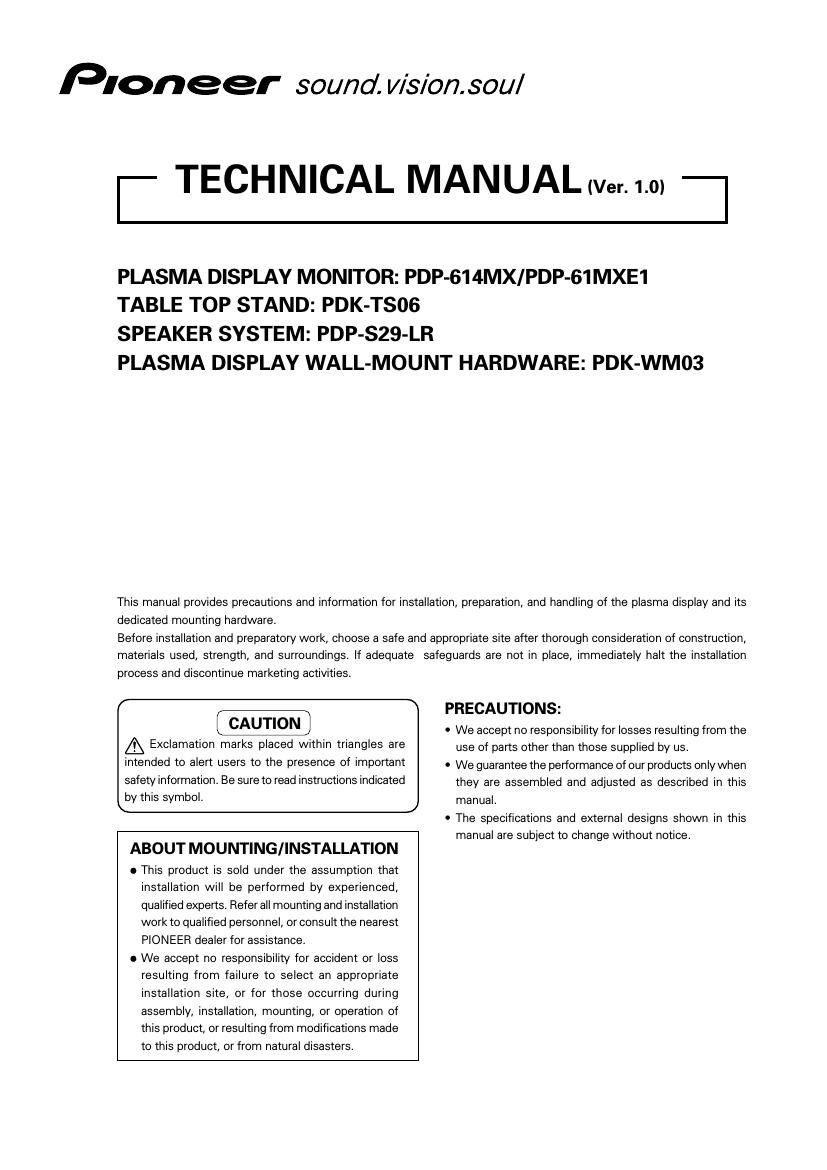
Pioneer sound. vision. soul

- TECHNICAL MANUAL (Ver.1.0l

PLASMA DISPLAY MONITOR: PDP-614MX/PDP-61MXE1
TABLE TOP STAND: PDK-T806

SPEAKER SYSTEM: PDP-SZS-LR

PLASMA DISPLAY WALL-MOUNT HARDWARE: PDK-WM03

This manual provides precautions and information for installation, preparation, and handling of the plasma display and its
dedicated mounting hardware.

Before installation and preparatory work, choose a safe and appropriate site after thorough consideration of construction,
materials used, strength, and surroundings. lf adequate safeguards are not in place, immediately halt the installation
process and discontinue marketing activities.

f PRECAUTIONS:
CAUTION - We accept no responsibility for losses resulting from the
A Exclamation marks placed within triangles are use of parts other than those supplied by us.
intended to alert users 10 the presence 0f important 0 We guaranteethe performance of our products onlywhen
safetyinformation. Be sure to read instructionsindicated they are assembled and adjusted as described in this
b this s mbol.
k V Y / manual.

- The specifications and external designs shown in this
manual are subject to change without notice.

ABOUT MOUNTING/INSTALLATION

o This product is sold under the assumption that
installation will be performed by experienced,
qualified experts. Refer all mounting and installation
work to qualified personnel, or consult the nearest
PIONEER dealer for assistance.

0 We accept no responsibility for accident or loss
resulting from failure to select an appropriate
installation site, or for those occurring during
assembly, installation, mounting, or operation of
this product, or resulting from modifications made
to this product, or from natural disasters.

Page 2

Table of Contents

SPECIFICATIONS
1.1 Specifications .........................
1.2 External Dimensions
1.3 Part Names and Function
1.4 Pin layout ..................
1.5 Remote Control Unit ..............

INSTALLATION SITE REQUIREMENTS
2.1 Installation Site Requirements
2.2 Installation Conditions ..

2.2.1 Heat dissipation
2.2.2 Calculating heat quantity
2.2.3 Product mounting holes.
2.2.4 Anchoring PC and sImilar apparatuse
2.3 Installation Procedures
2.3.1 Transportation precautions
2.3.2 Transportation of the unpacked unit .
2.3.3 How to use the safety metal fittings and
the screws for safety metal fittings

2.3.4 Wiring

2.4 Special Installation.
2.4.1 Mounting to Ittrngs
2.4.2 Hanging on the wall
2.4.3 Embedding in the wall
2.4.4 Ceiling suspension Iwith wires) .. 24
2.4.5 Hanging on the wall (Iengthwisel
2.4.6 Place product upright and flush into wall

(embedding in the walll

Installed facing upward

2.4.8 Horizontal connections

2.4.9 Multiple

HOW TO USE THE STANDARD MOUNTING COMPONENTS
3.1 Table Top Stand: PDKrTSOG
3.1.1 Specifications...
3.1.2 External Dimensions
3.2 Speaker System: PDP7S297LR
3.2.1 Specifications....
3.2.2 External Dimensions
3.3 WalleMounted Type Tiltable Fixed Plasma Display
Hardware PDKeWM03 .
3.3.1 Specifications
3.3.2 External Dimensions

BEFORE BEGINNING ADJUSTMENT/SETTING

4.1 Before Beginning Adjustment 36
4.1.1 Screen Size
4.1.2 Menu Mode
4. 1.3 Last Memory.
4.1.4 Aging...
4. 2 Normal Operation Mode.
4.2.1 About normal operation mode . 40
4.2.2 POWER
4.2.3 VOLUME.
4.2.4 MUTING ..
4.2.5 DISPLAY .......
4.2.6 DIGITAL ZOOM
4.2.7 AUTO SET UP
4.2.8 OFF TIMER
4.2.9 SCREEN SIZE Operation (manuall .
4.2.10 SCREEN SIZE Operation with Computer Signals.
4.3 Menu Mode ............. ..
4.3.1 Menu Operations ........
4.3.2 Setting the language for the menus .
4.3.3 Picture Settings Menu ...................
Adjusting the picture ................

Setting the picture modes according to the
brightness of the room ..................................... 45
Reducing noise in the picture

2.4.7


SettIng the color temperature 45
Adjusting the color to the desired level 46
Changing the Gamma Curve 46
Making the Low Tone adjustments 46
Adjusting the colors 46
4.3.4 SOUND Settings Menu 47
Adjusting the treble, bass and left/right
balance and audio input select ................. .47

2 Setting the allocation of the audio connectors 47

PRECAUTIONS .............

THE PLASMA DISPLAY BURN- IN PHENOMENON
MAINTENANCE ............

4.3.5 SCREEN Settings Menu ..... ..
Adjusting the Position Size PHASE CLOCK .47
Option1 Settings Menu
Setting the onscreen display.
Setting the BNC connectors ..
Checking the signal beIng transmitted to
PC1 terminal ......
Setting a computer image to the correct
RGB select screen.
Setting high definition images to the suitable
screen size .........
Setting the Input Skip
Resetting to the default values .
Option2 Settings Menu
Setting the power management for computer
images ......
STANDBY/ON Indrcator
Setting the picture to suit the movie
Reducing burn in of the screen.
Setting the gray level for the SID
Setting the screen size for SI/S2 video input .
Setting the picture size for RGB input signals ........ 53
Setting the signal and black level for DVI signal . . 53
Option3 Settings Menu
Using the timer .........
Setting the power on mode ...................
Enabling/disabling the front panel controls
Enabling/disabling remote control
wireless transmissIon
Loop Out setting
ID number setting
Video Wall setting
Advanced OSD Settrngs
Setting the menu mode
4.3.10 Color System Settings Menu.
Setting the Video signal format.
4.3.11 Source Information Menu
Checking the frequencies, polari
input signals, and resolution
4.3.12 Memory Area Table ..
4.4 R57232C Adjustment Mode.
4.4.1 Connection method
4.4.2 Communrcation Conditions.
4.4.3 Communication format
4.4.4 Command Reference

4.3.6

4.3.7


4.3.8

4.3.9

5.1 Precautions ...................

CAUTION A

To prevent Injury and material damage, thoroughly read this
manual and all labels found on the equipment before
attempting to mount, install, move, or adjust the product.
Do not install the unit outside or in the open air. Doing so will
lead to water seepage into the system, resulting in fire or
electric shock.
Be especially careful when working around parts of the system
that have sharp edges.
When performing installation work from a height, take suitable
precautions to guard against falling. Set up a barrier around
the work site to prevent accidentally dropped objects from
injuring persons standing or walking below.
Keep all foreign objects out of the unit. Do not tamper with
the unit, or fire or electric shock may result.
Observe the following operating environmental limitations:
Temperature: 0 to 40°C
Humidity: 20 to 80%
Install the unit only in properly ventilated areas.