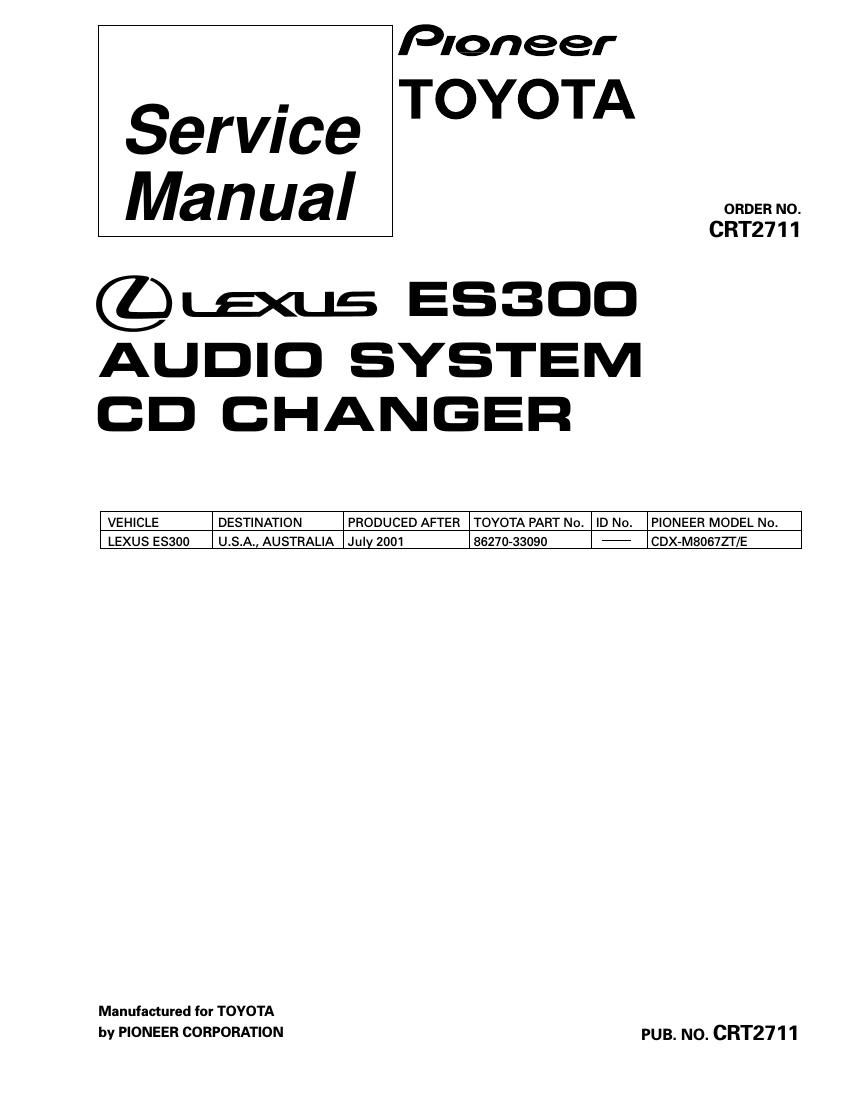
Pioneer es 300 service manual

This is the 54 pages manual for pioneer es 300 service manual.
Read or download the pdf for free. If you want to contribute, please mail your pdfs to info@audioservicemanuals.com.

Page: 1 / 54
left right
pioneer es 300 service manual

Extracted text from pioneer es 300 service manual (Ocr-read)


Page 1

2 CDX-M8067ZT CDX-M8067ZT/E CONTENTS 1. SAFETY INFORMATION ............................................3 2. EXPLODED VIEWS AND PARTS LIST .......................4 3. BLOCK DIAGRAM AND SCHEMATIC DIAGRAM ...10 4. PCB CONNECTION DIAGRAM ................................20 5. ELECTRICAL PARTS LIST ........................................26 6. ADJUSTMENT..........................................................297. GENERAL INFORMATION .......................................37 7.1 DIAGNOSIS .......................................................37 7.1.1 TEST MODE .............................................37 7.1.2 DIAGNOSIS CODE TABLE ......................41 7.1.3 DISASSEMBLY ........................................46 7.1.4CONNECTOR FUNCTION DESCRIPTION ..48 7.2 IC ........................................................................49 7.3 EXPLANATION ..................................................51 7.3.1 OPERATIONAL FLOW CHART ................51 7.3.2 SYSTEM BLOCK DIAGRAM ...................52 8. OPERATIONS AND SPECIFICATIONS.....................52 -This service manual should be used together with the following manual(s): Model No. Order No. Mech. Module Remarks CX-652 CRT1857 C5 CD Mech. Module:Circuit Description, Mech.Description, Disassembly

Page 2

3 CDX-M8067ZT -CD Player Service Precautions 1. For pickup unit(CXX1235) handling, please refer to"Disassembly"(see page 46). During replacement, handling precautions shall be taken to prevent an electrostatic discharge(protection by a short pin). 2. During disassembly, be sure to turn the power off since an internal IC might be destroyed when a con- nector is plugged or unplugged.3. Please checking the grating after changing the ser- vice pickup unit(see page 31). 4. The doors CAT2248 and CAT2305 have been engaged each other tightly. When you have to replace the door CAT2248 or CAT2305, remove both doors from the Grille to replace them at the same time. 1. SAFETY INFORMATION This service manual is intended for qualified service technicians; it is not meant for the casual do-it-yourselfer. Qualified technicians have the necessary test equipment and tools, and have been trained to properly and safely repair complex products such as those covered by this manual. Improperly performed repairs can adversely affect the safety and reliability of the product and may void the warranty. If you are not qualified to perform the repair of this product properly and safely, you should not risk trying to do so and refer the repair to a qualified service technician. Seal After removing transport screw, cover the hole with the supplied seal. Transport screw Attach to original position before transporting the set. -Transportation of multi-CD player A transport screw has been attached to the set in order to protect it during transportation. After removing the transport screw, cover the hole with the supplied seal.Be sure to remove the transport screw before mounting the set. The removed transport screw should be retained in the accessory bag for use the next time the set is trans- ported.