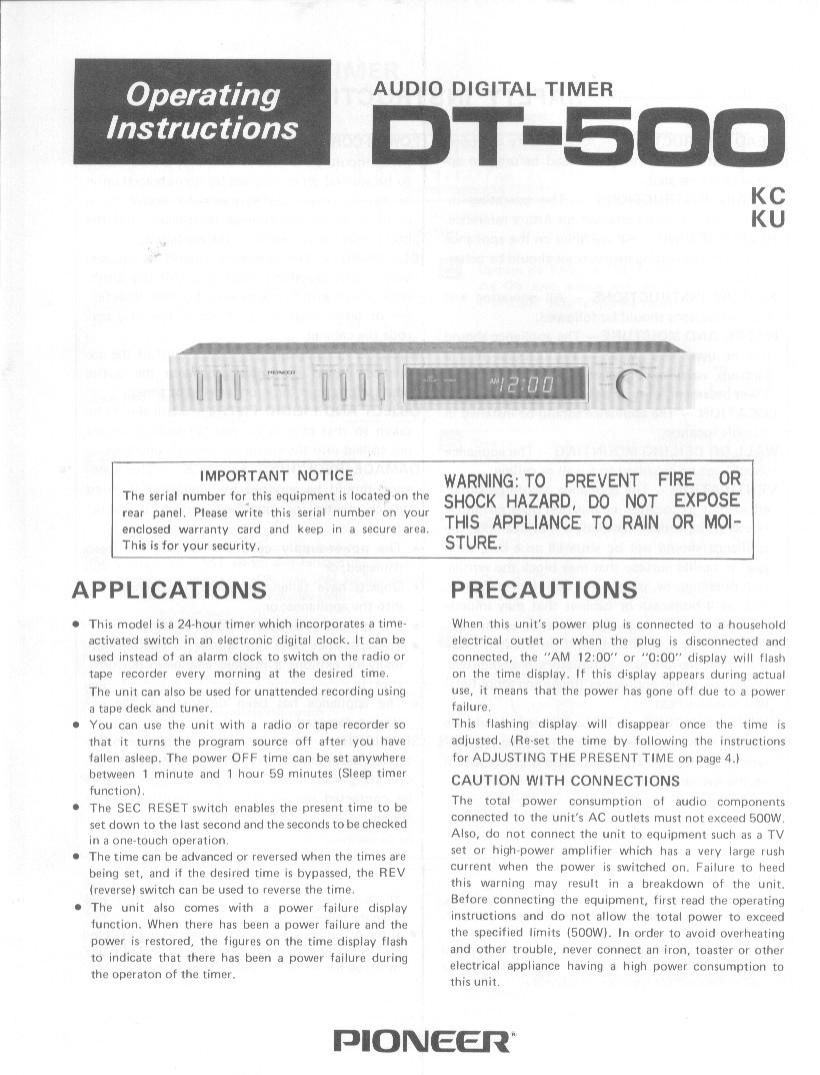
Pioneer dt 500 owners manual

This is the 6 pages manual for pioneer dt 500 owners manual.
Read or download the pdf for free. If you want to contribute, please mail your pdfs to info@audioservicemanuals.com.

Page: 1 / 6
left right
pioneer dt 500 owners manual

Extracted text from pioneer dt 500 owners manual (Ocr-read)


Page 1

AUDIO DIGITAL TIMER

T-EDD

KC
KU

Operating

Instructions

:3

ii i i iiir i-i ("

IMPORTANT NOTICE
The serial number tor this equipmenr is located on the
rear panel. Please write this serial number on your
enclosed warranty card and keep in a secure area.

WARNING: TO PREVENT FIRE 0R
SHOCK HAZARD, DO NOT EXPOSE
THIS APPLIANCE TO RAIN 0R MOI-
STURE.

This is for your security.

APPLICATIONS

This model is a 24»hour timer which Incorporates a time-
activatetl switch in an electronic digital clock. It can be
used instead of an alarm clock to switch on the radio or
tape recorder every morning at the desired time
The unit can also he used for unattended recording using
a tape deck and turrer

You can use the unit With a iadro or tape recorder so
that it turns the program source oll alter you have
lallan asleep. The power OFF Ilml! can he set anywhere
lintwecn 1 minute and 1 hour 59 minutes {Sleep timer
functronl

The SEC RESET which enables the present time to be
set down to the last second and the seconds tohc checked
in a orre-trruch operation

The time can be advanced or reversed when the times are
hiring sol, and it the desired time is bypassed, the REV
lreversel switch can be used to reverse the time.

The unit also comes with a power larluro display
luncriiin. When there has been a power failure and the
power is restored, the ligures on the time display flash
to indicate that there has been a power lailuri: during
the operaton of the timer.

PRECAUTIONS

When this unit's power plug rs connected to a household
electrical outlet or when the plug is drsconrreclutl and
connected, the "AM 12:00" or "0:00" display wrll llash
on the trrnc display. It Ihis display appears during actual
use, it means that "11'! power has gone UII due to a power
failure

This flashing display wrll disappear once the tune is
adiusted. (Ric-set the time by lollowing the instructions
for ADJUSTING THE PRESENT TIME on page 4.)

CAUTION WITH CONNECTIONS

The total power consumption ol audio components
connected to the unit's AC outlets must not exceed BOOWT
Also, do not connect the unit to equipment such as a TV
set or hroh power amplifier which has a very Iarrir: rush
current when the power is switched on, Failure to heed
this warnrnq may result in a breakdown ol the unit.
Belore connecting the equipment, first read the operating
instructions and do not allow the total power to exceed
the specified limits l500Wl. In order to avorrl overheating
and other trouble, never connect an iron, toaster or other
electrical appliance having] a high power consumption to
this unit.

PIONEER"

Page 2

READ INSTRUCTIONS - All the safety and oper»
ating instructions should be read before the ap-
pliance is operated.

RETAIN INSTRUCTIONS - The operating in
structions should be retained for future reference,

HEED WARNING - All warnings on the appliance
and in the Operating instructions should be adher-
ed to.

FOLLOW INSTRUCTIONS - All operating and
use instructions should be Iollowed.

WATER AND MOISTURE ~ The appliance should
not be used near water - for example, near a
bathtub, washbowl, kitchen sink, laundry tub, in
a wet basement, or near a swimming pool, etc.

LOCATION - The appliance should be installed in
a stable location.

WALL 0R CEILING MOUNTING - The appliance
should not be mounted to a wall or ceiling.

VENTILATION - The appliance should be situat-
ed so that its location or'position does not inter-
fere with its proper ventilation. For example, the
appliance should not be situated on a bed, sofa,
rug, or similar surface that may block the ventila-
tion openings; or, placed in a built-in installation,
such as a bookcase or cabinet that may impede

. the flow at air through the ventilation openings.

1 HEAT - The appliance should be situated away
from heat sources such as radiators, heat registers,
stoves, or other appliances (including amplifiers)
that produce heat.

POWER SOURCES - The appliance should be

i connected to a power supply only of the type de-

scribed in the operating instructions or as marked

on the appliance.

CAUTIONS

0 When the timer is to be used to switch an AC outlets,
which are set to ON, to OFF,depress the AC OUTLET-

OFF switch.

Even when the AC OUTLET-TIMER switch is depressed
again, the ON-OFF operation will be released and so the

AC outlets will not revert to the ON mode.

r-SAFETY INSTRUCTIONS-fl

POWER-CORD PROTECTION - Power-supply
cords should be routed so that they are not likely
to be walked on or pinched by items placed upon
or against them, paying particular attention to
cords at plugs, convenience receptacles, and the
point where they exit from the appliance.

CLEANING - The appliance should be cleaned
only with a polishing cloth or a soft dry cloth.
Never clean with furniture wax, benzine, insectici-
des or other volatile liquids since they may cor-
rode the cabinet.

NONUSE PERIODS -- The power cord of the ap-
pliance should be unplugged from the outlet
when left unused for a long period of time.

OBJECT AND LIQUID ENTRY - Care should be
taken so that objects do not fall and liquids are
not spilled into the enclosure through openings.

DAMAGE REQUIRING SERVICE - The appli-
ance should be serviced by Pioneer authorized
service center or qualified service personnel
when:

0 The powersupply cord or the plug has been

damaged; or

o Objects have fallen, or liquid has been spilled

into the appliance; or

o The appliance has been exposed to rain; or

o The appliance does not appear to operate nor-

mally or exhibits a marked change in perform
ance;or

o The appliance has been dropped, or the en»

closure damaged.

SERVICING - The user should not attempt to
service the appliance beyond that described in the
operating instructions. All other servicing should
be contacted nearest Pioneer authorized service
center.

J

The outlet will be activated at the set 0N~OFF time
from the following day.

0 If the AC outlets are set to ON while the timer's 0N and
OFF times are being set, depress the AC OUTLET-OFF
or 0N switch and set the timers times again.