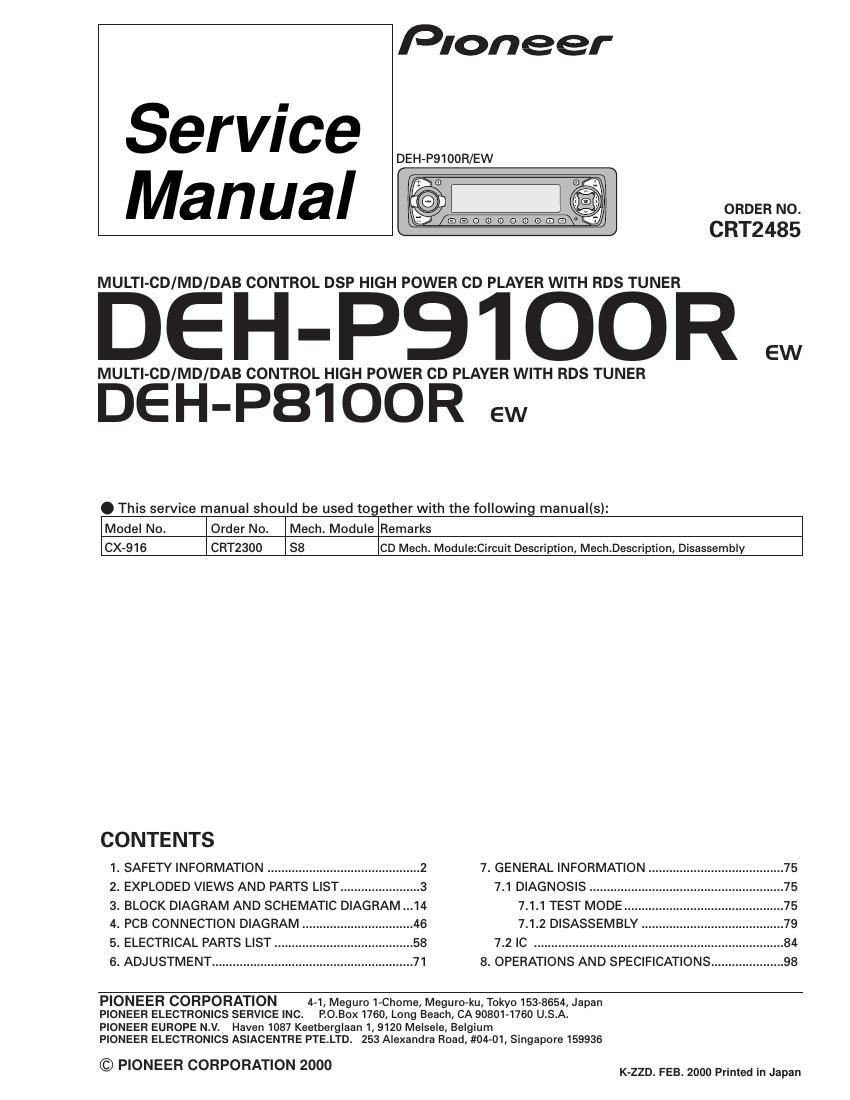
Pioneer dehp 8100 r service manual

This is the 106 pages manual for pioneer dehp 8100 r service manual.
Read or download the pdf for free. If you want to contribute, please mail your pdfs to info@audioservicemanuals.com.

Page: 1 / 106
left right
pioneer dehp 8100 r service manual

Extracted text from pioneer dehp 8100 r service manual (Ocr-read)


Page 1

Pioneer

Service
Manual

MULTI-CD/MD/DAB CONTROL DSP HIGH POWER CD PLAYER WITH RDS TUNER

DEH-P91OOR .w

MULTI-CD/MD/DAB CONTROL HIGH POWER CD PLAYER WITH RDS TUNER

DEH-P81OOR ew

DEH-P9100R/EW

l ORDER NO.
-°'4 CRT2485

. This service manual should be used together with the following manual(s):

Model No. Order No. Mech. Module Remarks

CX-916 CRT2300 S8 CD Mech. Modulezcircuit Description, Mech.Description, Disassembly
CONTENTS

1. SAFETY INFORMATION ........................ 7. GENERAL INFORMATION

2. EXPLODED VIEWS AND PARTS LIST... 7.1 DIAGNOSIS .................

3. BLOCK DIAGRAM AND SCHEMATIC DIAGRAM .14 7.1.1 TEST MODE .......

4. PCB CONNECTION DIAGRAM ................................ 46 7.1.2 DISASSEMBLY ..

5. ELECTRICAL PARTS LIST 7.2 IC ........................................................

6. ADJUSTMENT ..................... 8. OPERATIONS AND SPECIFICATIONS .....

PIONEER CORPORATION 4-1, Meguro 1-Chome, Meguro»ku, Tokyo 153-8654, Japan
PIONEER ELECTRONICS SERVICE INC. R0.Box 1760, Long Beach, CA 90801-1760 USA.
PIONEER EUROPE N.V. Haven 1087 Keetberglaan 1, 9120 Melsele, Belgium

PIONEER ELECTRONICS ASIACENTRE PTE.LTD. 253 Alexandra Road, #0401, Singapore 159936

© PIONEER CORPORATION 2000 K-ZZD. FEB. 2000 Printed in Japan

Page 2

DEH-P91OOR.P81OOR

. CD Player Service Precautions

1. For pickup unithXX1285) handling, please refer 2. During disassembly, be sure to turn the power off
to"Disassemb|y"(see page 79). since an internal IC might be destroyed when a con-
During replacement, handling precautions shall be GCtOIlS plugged or unplugged.
taken to prevent an electrostatic discharge(protection 3. Please checking the grating after changing the ser-
by a short pin). vice pickup unitlsee page 73).

1. SAFETY INFORMATION

This service manual is intended for qualified service technicians; it is not meant for the casual do-it-yourselfer.
Qualified technicians have the necessary test equipment and tools, and have been trained to properly and safely repair
complex products such as those covered by this manual.

Improperly performed repairs can adversely affect the safety and reliability of the product and may void the warranty.
if you are not qualified to perform the repair of this product properly and safely; you should not risk trying to do so
and refer the repair to a qualified service technician.

1. Safety Precautions for those who Service this Unit.
- When checking or adjusting the emitting power of the laser diode exercise caution in order to get safe, reliable
results.

Caution:
1. During repair or tests, minimum distance of 13cm from the focus lens must be kept.
2. During repair or tests, do not view laser beam for 10 seconds or longer.

2. A "CLASS 1 LASER PRODUCT" label is affixed to the 3. The triangular label is attached to the mechanism
bottom of the player. unit frame.

CLASS 1
LASER PRODUCT

4. Specifications of Laser Diode

Specifications of laser radiation fields to which human access is possible during service.
Wavelength = 800 nanometers