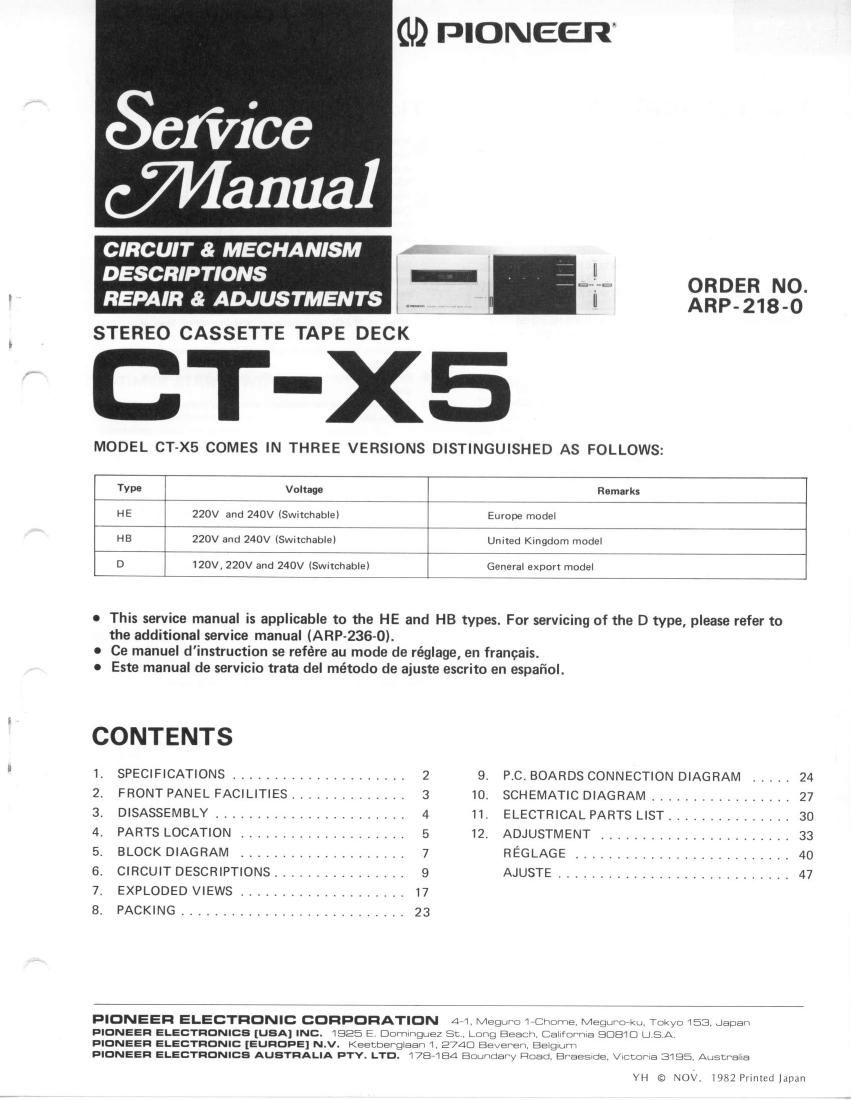
Pioneer ctx 5 service manual

This is the 53 pages manual for pioneer ctx 5 service manual.
Read or download the pdf for free. If you want to contribute, please mail your pdfs to info@audioservicemanuals.com.

Page: 1 / 53
left right
pioneer ctx 5 service manual

Extracted text from pioneer ctx 5 service manual (Ocr-read)


Page 1

1. SPECIFICATIONS Systems Compact cassette,2-channel stereo Heads ........ "Hard Permalloy" recording/playback head x 1 "Ferrite" erasing head x 1 Motor ........... DC servo motor x 1 Wow and Flutter ................ No mor-‚¬ than 0.05% (WRMS) No more than + 0.17% (DlN) Fast winding Time ... Approximately 1 10 seconds (C-60 tape) Frequency Response -20 dB recording: Normal tape ........ 4O to 15,000 Hz + 3 dB (30 to 16,000 Hz) Chrometape .......40to15,000H2+3dB (30 to 16,000 Hz) Metal tape 40 to 15.000 Hz + 3 dB (30 to 16,500 Hz) Signal-to-Noise Ratio Dolby NR OFF ............. More than 57dB Noise Reduction Effect Dolby NR ON ..................... More than 10 dB (at 5 kHz) Harmonic Distortion No more than 1.0olo (0 dB) Input(Sensitivity/Maximum allowable input/lmpedance) LINE (INPUT) 63 mV/25 V/50 ka Output (Reference level/Load impedance) LINE (OUTPUT) .................. 450 mV/50 ka Subfunctions r Dolby NR system (ON/OFF) B type . 3 position tape selector (NORM/CrOr/METALI o Air damp eject function o Full automatic stoD function o REC muting function o Music search function r Timer stand-by function . One-touch recording function o Operating mode indicator (POWER, REC, PAUSE) o A.L.C (Automatic Level Control) recording function o lC-based full logic control Miscellaneous Power Requirements ............. AC 220 V / 24 V(switchable) 50/60 Hz Power Consumotion .... ....... . . ....... 30 watts Dimensions .320(W) x99.5(Hlx200(D) mm 12-5l8 (W) x 3-15/16 (H) x 7-7l8 (Dl in Weight (without package) . 3.6 kg (7 lb 15 oz) Supplied Parts Operating instructions ........................... 1 Connection cord with pin plug ... ........ .... .. 2 NOTES: Specifications and the design subject to possible modifications without notice due to improvements. NOTES:1. Reference Tapes: Normal 6 LH: DIN 44513/BLATT6 or equiv. CrOr DIN 455'13/BLATTT (CrO2) or equiv. 2. Reference Recording Level: -7 dBv level at line out (160 nwb/m magnetic level : Philips cassette reference levell 3. Reference Signal: 333 Hz 4. E Wow I Flutter: o JIS [3 kHz, with acoustic compensa- tion (weighted) rms valuel; DIN t3,150 Hz. with acoustic compensation (weighted) PEAK value DIN 45507 Frequency Response: o Measured at - 20 dB level, DOLBY NR OFF, level deviation is +6 dB without in- dication. Signal to Noise Ratio: o Measured at the third harmonic distortion 3o/o level, weighted (DlN 455.|3/BLATTT). Sensitivity: Input level (mV) required for reference recording level with input (REC) level controls set to maximum. Maximum Allowable Input: While decreasing settings of input (REC) level controls and increasing level at input lacks, this is the maximum input level (mVl at the point where recording amplif ier output waveform becomes clipped. Reference Output Level: -7 dBv level at line out during playback. This model does not employ a recording/playback con- nector (DlN-type). o PowER SWTTCH When this switch is depressed, the power is turned on and the OPERATION MODE indicator (POWER-l lights. Depress the switch again to release it when turning off the power to the deck. r The muting circuit is actuated after the POWER sivitch has been set to ON and there will be no operation for about 4 seconds. This is not failure or malfunction. . When the POWER switch is set to the OFF position while the tape deck is operating, the deck's operation is released and the stop mode is established. -‚¬) EJECT BUTTON Depress this button to open the cassette holder. To close the cassette holder, push the top back until it locks. Do not press this button when the taoe is in motion. O) TAPE COUNTER This counter shows the position of the tape using a three- digit meter. O) COUNTER RESET BUTTON Depress this button to reset the tape counter display to 000. o oPERATTNG MODE TNDTCATORS REC: This lights when the REC switch (o) is pressed. POWER: This lights when the POWER switch is pressed. PAUSE: This lights when the PAUSE switch ( I I ) is Dressed, G) TAPE SELECTOR SWTTCHES This selector allows the bias and equalizer characteristics to be selected during recording and equalizer characteristics during playback in line with the type of tape you are using. NORMAL: For normal tapes CrOr: For chrome tapes METAL: For metal tapes 7. 8. 10

Page 2

2.FRONT PANEL FACILITIES o TTMER START SWTTCH This switch is used when an optional audio timer is employed for unattened recording or wake-up_ playback operations. Keep this switch at the OFF position when the timer is not being used. REC: Set to this position to set the tape deck automatically to the recording mode at the time preset on the audio timer and to start the recording of programs unattended, for in_ stance. OFF: For when the timer is not being used. PLAY: Set to this position to set the taoe deck automatically to the playback mode at the time preset on the audio timer and to start the playback. The tape playback function can oe used to wake-up in the morning instead of an alarm clock. o) MUS|C SEARCH SWTTCH Use this switch when playing a tape with music recorded on it to quickly locate the beginning of songs separated by a non-recorded section of over 4 seconds duration. ln the fast-forward mode or rewind mode. when this switch is set to ON, tape travel will stop in the non-recorded area bet- ween songs and the unit is automatically set to the playback mode. This is a handy function for locating the program. o REC SWTTCH Depress this switch to start tape recording. This switch will not work when a cassette is not loaded or when the erasure prevention tabs of a loaded cassette have been broken off. When this switch is depressed to the ON position, the OPERATION MODE indicator (REC o) will be iiluminated. @ PAUSE SWTTCH Depress this switch to stop the tape travel temporarily dur- ing recording or playback. Depress this switch again to allow the tape to continue to travel. When this switch is depressed to the ON position, the OPERATION MODE in- dicator (PAUSE I I ) will be illuminat-‚¬d. . The tape does not stop during fast forward or rewind oo-‚¬rations even when the PAUSE switch is deoressed. o REC MUTE SWTTCH Depressing this switch during recording makes it possible to create an unrecorded blank on the cassette tape only for the time during which the switch is kept depressed. This switch is used for providing blanks of the required length between programs and editing tapes so that they are easier to listen to and for creating the unrecorded blanks which are required for operating the MUSIC SEARCH facility. . No signal is recorded when the switch is touched during recording. Do not touch the switch unless necessarv. (D *DOLBY NR SWTTCH Depress this switch to ON for recording with the built-in Dolby Noise Reduction system and for playback of tapes which have been recorded using the Dolby Noise Reduc- tion system. For other tapes, do not press this switch. *The word "Dolby" and 00 are trademarks of Dolby Laboratories Licensing Corporation. Noise Reduction System manufactured under license from Dolby Laboratories Licensing Corporation. @ oPERATING SWTTCHES REW (<>l: Depress this switch to send the taoe for- ward at high speed (The tape will travel from left to rightl. STOP (tl: Depress this switch to stop the tape travel and to release the operating switches. PLAY (>l: Depress this switch to start tape playback. (0 ProNc@