Pioneer cts 450 s owners manual

This is the 16 pages manual for pioneer cts 450 s owners manual.
Read or download the pdf for free. If you want to contribute, please mail your pdfs to info@audioservicemanuals.com.

Page: 1 / 16
left right
pioneer cts 450 s owners manual

Extracted text from pioneer cts 450 s owners manual (Ocr-read)


Page 1

erating
Instructions

STEREO CASSETTE DECK

CT-S4SOS
CT~SZSO

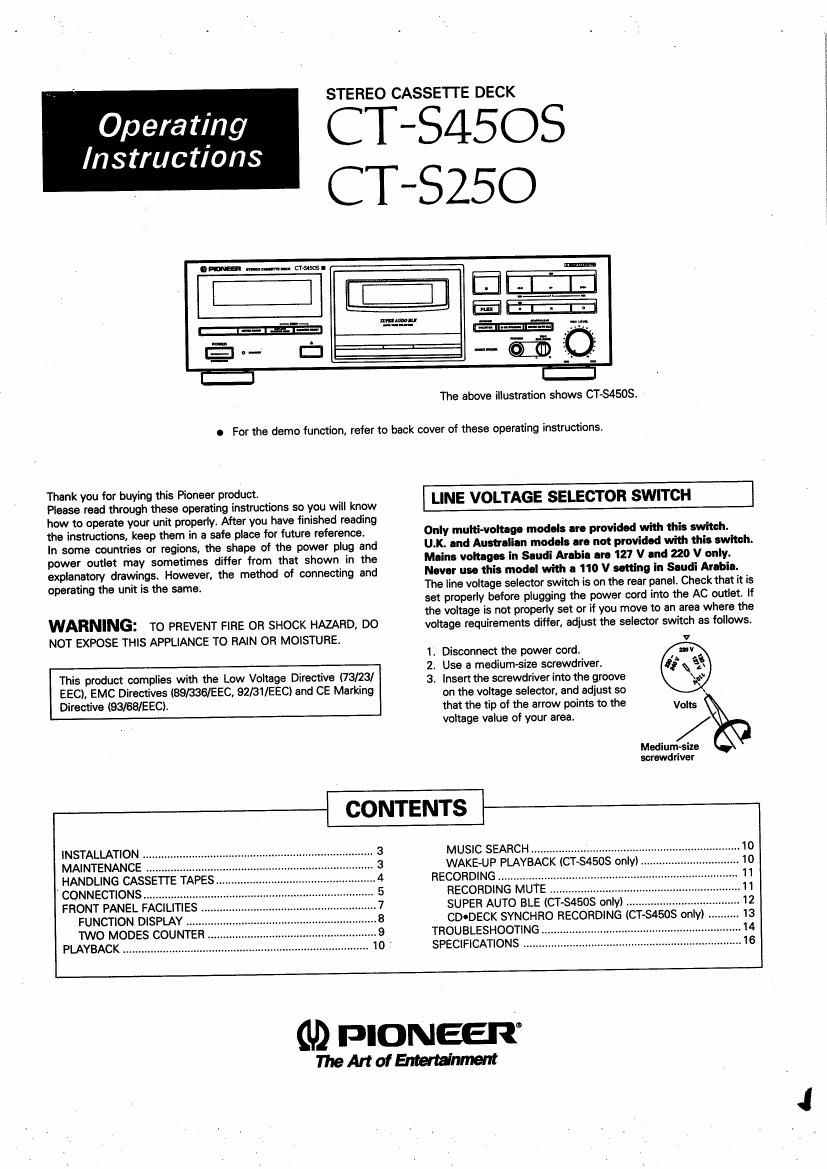
The above illustration shows CTvS4505.

e For the demo function, refer to back cover of these operating instructions.

Thank you for buying this Pioneer product.

Please read through these operating instructions so you will know
how to operate your unit properly. After you have finished reading
the instructions, keep them in a safe place for future reference.
In some countries or regions, the shape of the power plug and
power outlet may sometimes differ from that shown in the
explanatory drawings. However, the method of connecting and
operating the unit is the same.

WARNING: TO PREVENT FIRE on SHOCK HAZARD, DO
NOT expose THIS APPLIANCE TO RAIN on MOISTURE.

This product complies with the Low Voltage Directive (73l23l
EEC), EMC Directives (89/336/EEC. 92/31/EEC) and CE Marking
Directive (93/68IEECI.

LINE VOLTAGE SELECTOR SWITCH

Only mum-voltage models ere provided with this switch.
U.K. end Auetnlien models are not provided with this switch.
Maine voltages in Saudi Arebie ere 127 V end 220 V only.
Never use this model with e no V setting in Saudi Arable.
The line voltage selector switch is on the rear panel. Check that it is
set properly before plugging the power cord into the AC outlet. If
the voltage is not properly set or if you move to an area where the
voltage requirements differ, adjust the selector switch as follows.

1. Disconnect the power cord.

2. Use a mediumsize screwdriver.

3. Insert the screwdriver into the groove
on the voltage selector, and adjust so
that the tip of the arrow points to the
voltage value of your area.

Medium-size
screwdriver

CONTENTS

INSTALLATION
MAINTENANCE
HANDLING CASSETTE TAPE
ICONNECTIONS..................
FRONT PANEL FACILITIES
FUNCTION DISPLAY
TWO MODES COUNTER.
PLAYBACK ...................................

obou'xun'o-ww


MUSIC SEARCH ......
WAKEvUP PLAYBACK (C
RECORDING .............
RECORDING MUTE
SUPER AUTO BLE (CTvSASOS only)
CDODECK SYNCHRO RECORDING (CT-S4505 only)
TROUBLESHOOTING
SPECIFICATIONS .....

(V2 PIONEER"

mMofEmeernent

Page 2

IMPORTANT 1

ThelightningflashwitherroMieadmithinanequilateral
triangle, isintended to alert the user to the presence of
uninsulated 'dangerous voitage within the product's
enclosure that may be of sufficient magnitude to
constitute a risk or electric shock to persons.

CAUTION

th ELE TFllt SHOCK
Dil NOT OPEN


CAUTION:

YD PREVENTTHE RISK OF ELECTRIC SHOCK, DO NOT
REMOVE COVER (OR BACIQ. N0 USER-SERVICEABLE
PARTS INSIDE. REFER SERVICING T0 QUALIFIED
SERVICE PERSONNEL

The exclamation point within an equilateral triangle is
intended to alert the user to the presence of important
operating and maintenance (servicing) instructions in the
literature accompanying the appliance.

IMPORTANT 2

FOR USE IN THE UNITED

KINGDOM
Thwlrcsinthisnuimludmeoloundin
accordance with the tombs code :

Blue : Neutral

Imam : LN.
If the plug provided is unsuitable for your socket
outlets, the plug must be out off and a suitable plug
titted,

The cutoff plug should be disposed of and must not be
inserted into any 13 amp socket as this can result in electric
shock. The plug or adapter or the distribution panel should
be provided with a 5amp fuse. Asthe colours of the wires
in the mains lead otthis appliance may not correspond with
the coloured markings identifying the terminals in your plug,
proceed as follows :

The wire which is coloured blue must be connected to the
terminal which is marked with the letter N or coloured black.
The wire which is coloured brown must be connected
tothe terminal which is marked with the letter Loreoloured
red

Do not connect either wire to the earth terminal of a
three-pin plug.

NOTE

After replacing or changing a fuse. the fuse cover in the
plug must be replaced with a fuse cover which corre-
sponds to the colour of the insert in the base of the plug
urthe word that is embossed onthe baseotthe plug, and
the appliance must not be used without a fuse cover. If
Iost,repiaoememfusecoveiscanoe obtainedfromyour
dealer.

Only 5 A fuses approved by B.S,l. orA.S.l.A to 3.5,
1362 should he used.

This equipment has been tested and found to comply with the limits for a Class B digital device, pursuant to Part 15 of the FCC Rules. These
limits are designed to provide reasonable protection against harmful interference in a residential installation, This equipment generates,
uses, and can radiate radio frequency energy and. if not installed and used in accordance with the instructions, may cause harmful
interference to radio communications. However, there is no guarantee that interference will not occur in a particular installation. If this
equipment does cause harmful interference to radio or television reception. which can be determined by turning the equipment off and on.
the user is encouraged to try to correct the interference by one or more of the following measures:

- Reorient or relocate the receiving antenna.

- Increase the separation between the equipment and receiver.

-Consult the dealer or an experienced radio/TV technician for help.

- Connect the equipment into an outlet on a circuit different from that to which the receiver is connected.

Informetlon to User

Alteration or modifications carried out without appropriate authorization may invalidate the user's right to operate the equipment.

2

En