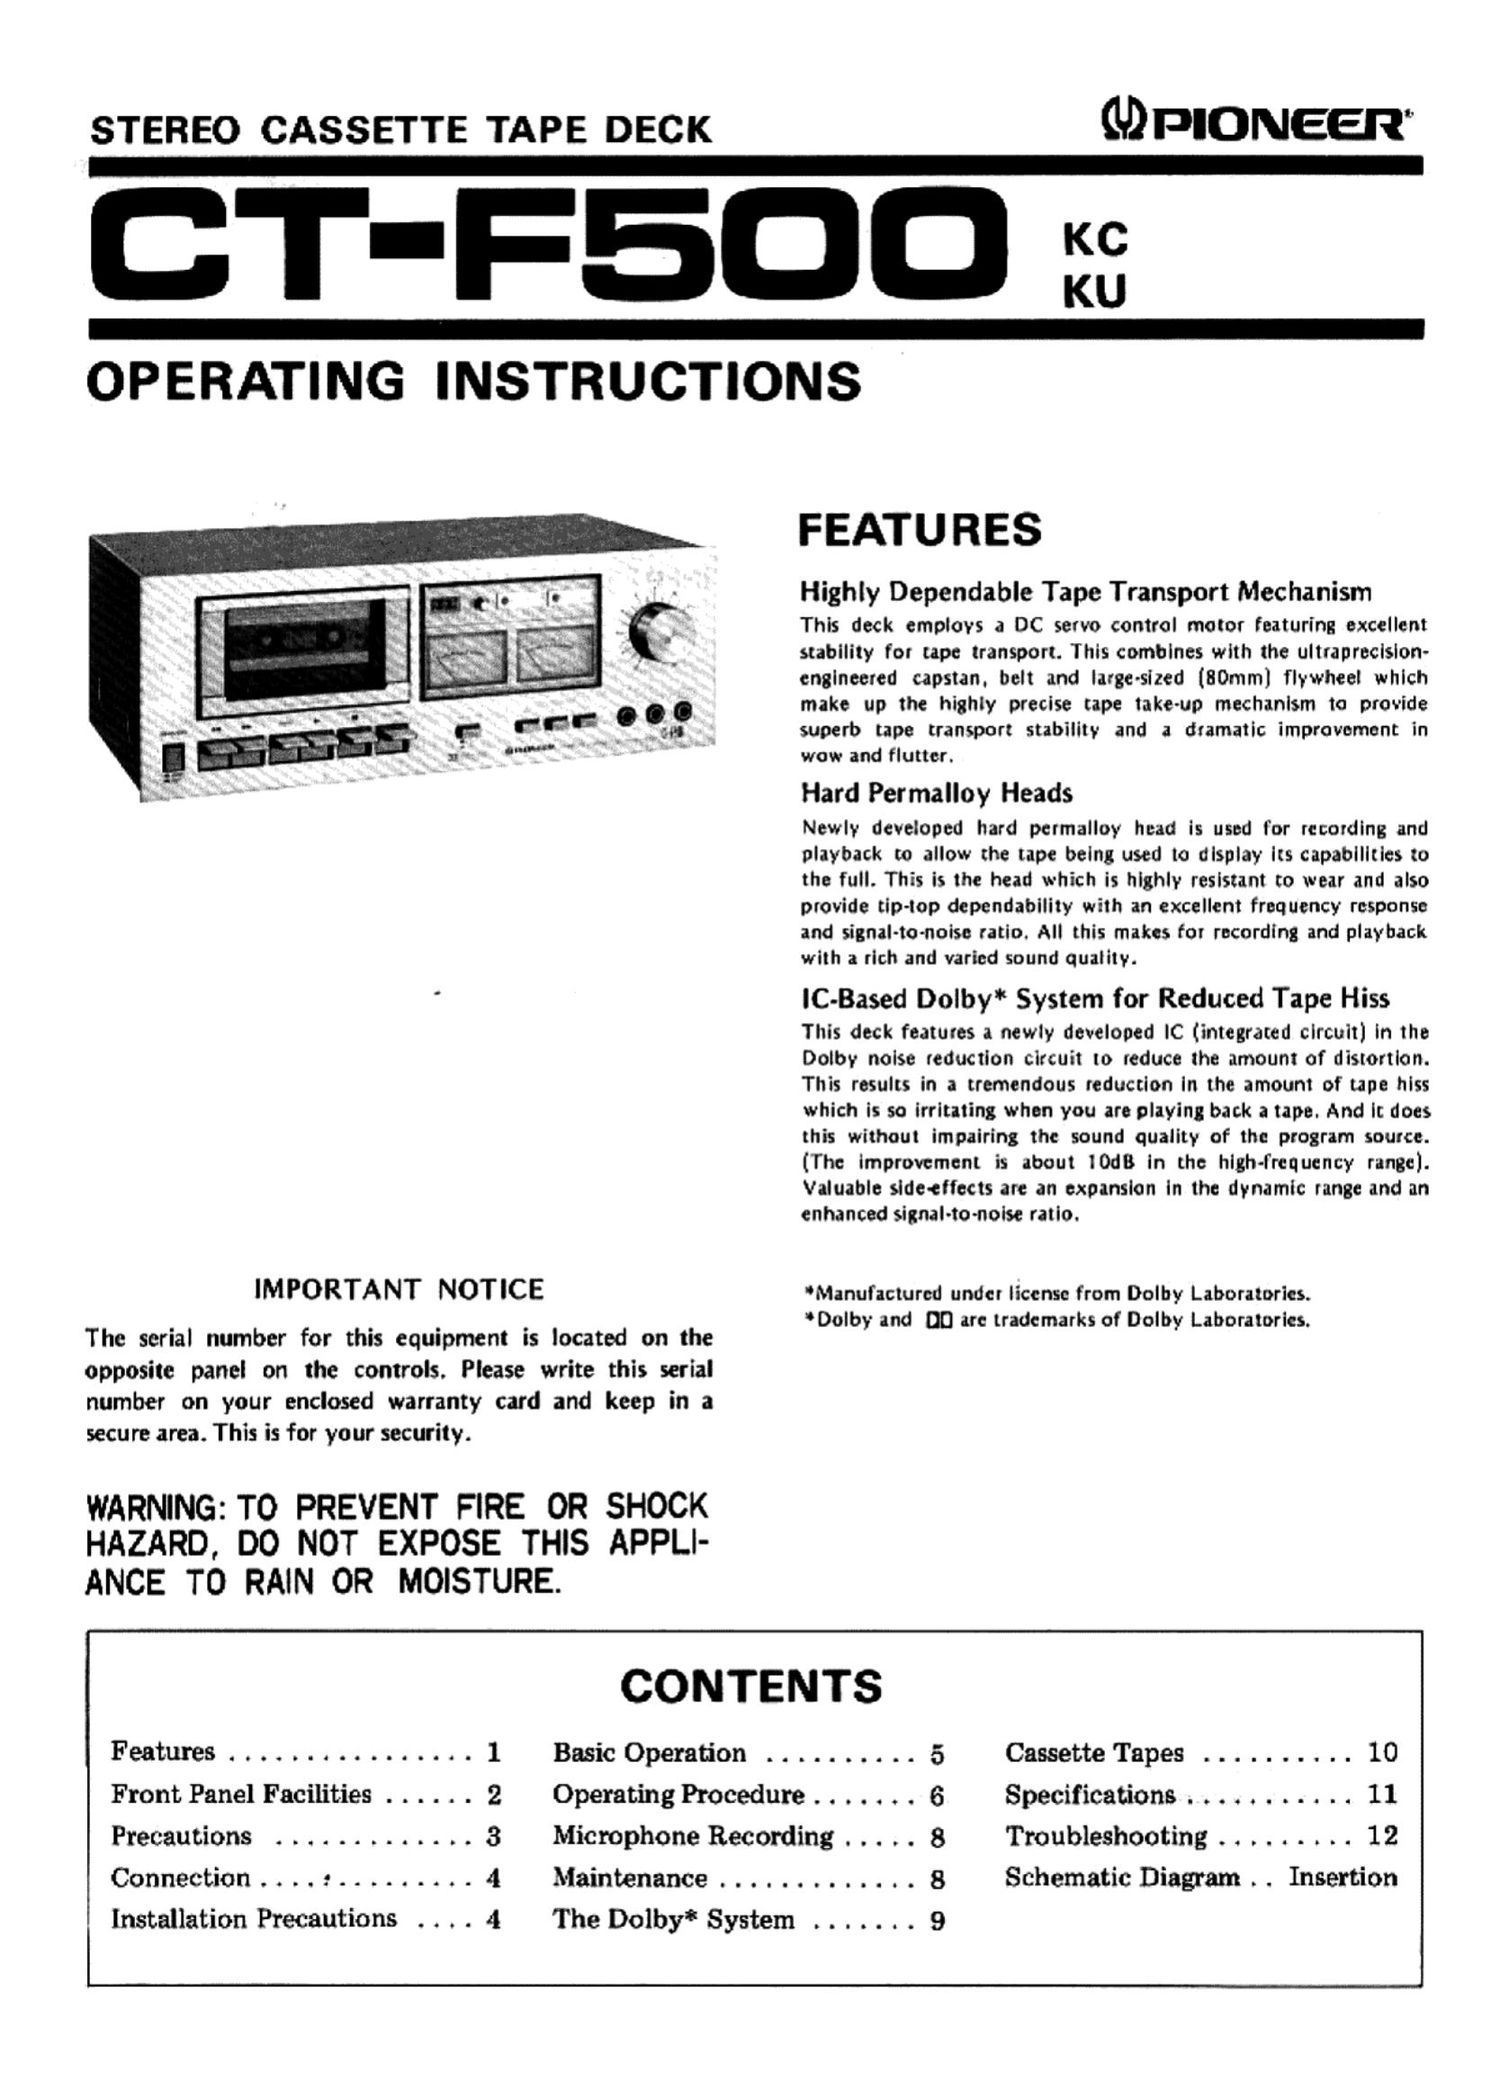
Pioneer ctf 500 owners manual

This is the 12 pages manual for pioneer ctf 500 owners manual.
Read or download the pdf for free. If you want to contribute, please mail your pdfs to info@audioservicemanuals.com.

Page: 1 / 12
left right
pioneer ctf 500 owners manual

Extracted text from pioneer ctf 500 owners manual (Ocr-read)


Page 1

STEREO CASSETTE TAPE DECK

GDPIONEER

T-FSDD :23

OPERATING INSTRUCTIONS

IMPORTANT NOTICE

The serial number for this equipment is located on the
opposite panel on the controls. Please write this serial
number on your enclosed warranty card and keep in a
secure area. This is for your security.

WARNING: TO PREVENT FIRE OR SHOCK
HAZARD, DO NOT EXPOSE THIS APPLI-

ANCE TO RAIN OR MOISTURE.

FEATURES

Highly Dependable Tape Transport Mechanism

This deck employs a DC servo control motor featuring excellent
stability for tape transport. This combines with the ultraprecislon-
engineered capstan. belt and large-sized (80mm) flywheel which
make up the highly precise tape take-up mechanism to provide
superb tape transport stability and a dramatic improvement in
wow and flutter.

Hard Permalloy Heads

Newly developed hard permalloy head is used for recording and
playback to allow the tape being used to display its capabilities to
the full. This is the head which is highly resistant to wear and also
provide tip-top dependability with an excellent frequency response
and signal-to-noise ratio. All this makes for recording and playback
with a rich and varied sound quality.

lC-Based Dolby System for Reduced Tape Hiss

This deck features a newly developed lC (integrated circuit] in the
Dolby noise reduction circuit to reduce the amount of distortion.
This results in a tremendous reduction in the amount of tape hiss
which is so irritating when you are playing back a tape. And it does
this without impairing the sound quality of the program source.
(The improwment is about lOdB in the high-frequency range].
Valuable sldeettects are an expansion in the dynamic range and an
enhanced signalstonoise ratio.

Manufactured under license from Dolby Laboratories.
Dolby and 00 are trademarks of Dolby Laboratories.

Installation Precautions . . . . 4

CONTENTS

Features . . . . . . . ...... . . . 1 Basic Operation .......... 5 Cassette Tapes .......... 10
Front Panel Facilities ...... 2 Operating Procedure . . . . . . . 6 Specifications . . . . . ...... 11
Precautions ........... . . 3 Microphone Recording . . . . . 8 Troubleshooting . . . ...... 12
Connection . . . . 2 ......... 4 Maintenance . . . . . . . . ..... 8 Schematic Diagram . . Insertion

The Dolby" System . . . . . . . 9

Page 2

FRONT PANEL FACILITIES

'-POWER SWITCH

The power comes on when the POWER switch is depressed. The
level meters will than light up. To turn off the power. release the

switch by depressing it again.

CASSETTE HOLDER

The cassette tape is loaded into this holder. When the STOP)
E JECT lever iswdepressed, the holder will lump forward. To close
it, push the top part of the holder back into position until it is
locked.

COUNTER RESET BUTTON-E

Depress this button to reset the tape counter display to "000.

TAPE COUNTER

' This indicates the position of the tape run.

" RECORD INDICATOR

This light comes on when the play ()1 and REC levers are de-
pressed together to indicate that the cassette deck is now set to the
recording mode.

[-DOLBY NR INDICATOR

This light comes on when the DOLBY NR switch is set toON to
indicate that the cassette deck is now set up for recording using
the Dolby system or playback using the Dolby system.

INPUT LEVEL CONTROLS

Use these controls to adjust the input signal from the MIC lacks
and the rear panel lNPUT lacks. Turning them to the right in-
creases the signal level. They are coupled to the left and right
channels when rotated. but you can also use them to adlust the
right channel and left channel independently by rotating the
appropriate control and holding the other In position.

menu

LEVEL METERS
These indicate the Input level during recording and the output
level during playback.

DOLBY NR SWITCH
Push this button to ON for recording with the built-in Dolby noise
reduction system and for the playback of tapes which have been
recorded using the Dolby system.

TAPE SWITCH

Push this button according to the tape to be used.

STD: For ordinary tapes and low-noiselhigh output tapes.
F e-Cr : For ferrichrorne tapes.

Cr0,: For chrome tapes.

NOTE:

as sure to use a chrome tape employing detection holes (see

Dale 7).

-

,J

ID

I!

Is- W'Vfl 0.

I'm new CT-FSM

O VII

MIC JACKS
These are the input lacks for microphone recording. Plug the left

channel microphone into L and the right channel microphone
into R.

PHONESJACK

This is the output lack for stereo headphones- Plug your head-
phones into this lack when you want to monitor the quality of a
recording or when you want to listen to a tape privately.

1

NOTE:
You can damage e microphone if you plug it into the PHONDS

lock by mistake.