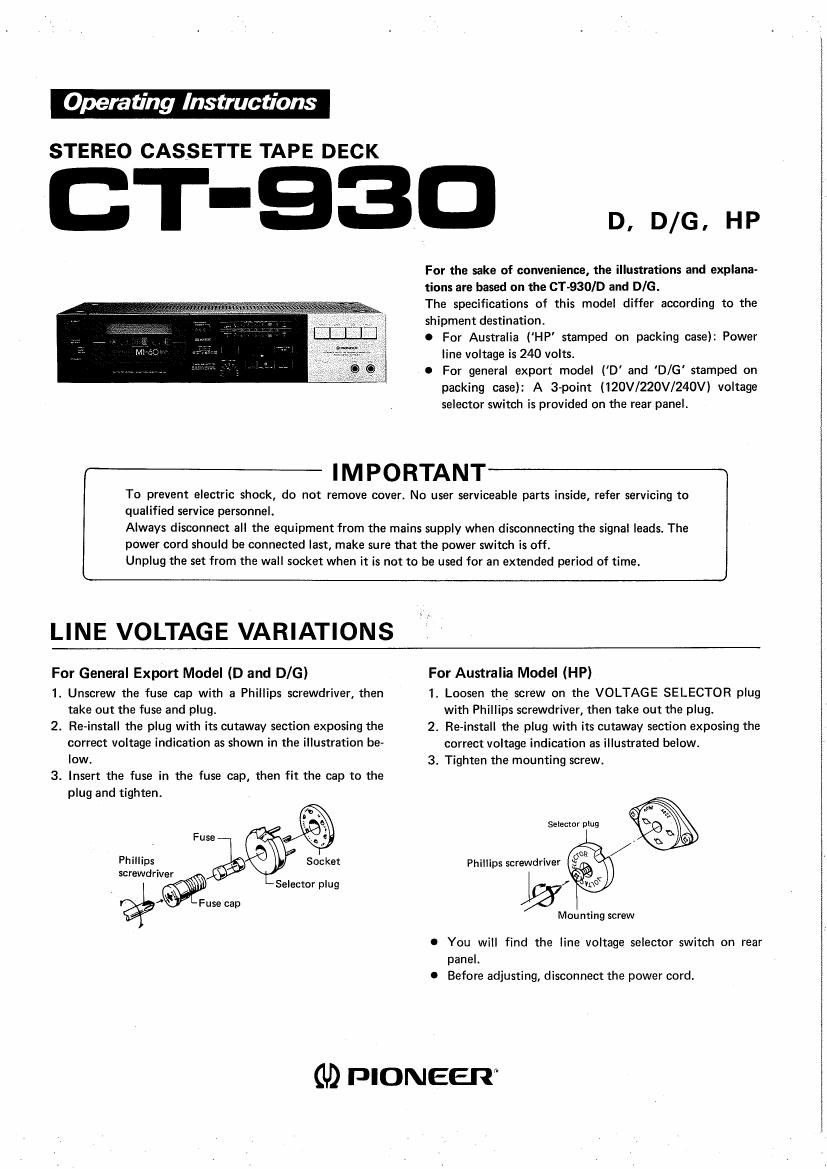
Pioneer ct 930 owners manual

This is the 12 pages manual for pioneer ct 930 owners manual.
Read or download the pdf for free. If you want to contribute, please mail your pdfs to info@audioservicemanuals.com.

Page: 1 / 12
left right
pioneer ct 930 owners manual

Extracted text from pioneer ct 930 owners manual (Ocr-read)


Page 1

Operating Instructions

STEREO CASSETTE TAPE DECK

T-93ED

IMPORTANT

D, D/G. HP

For the sake of convenience, the illustrations and explana-

tions are based on the CT-930/D and DIG.

The specifications of this model differ according to the

shipment destination.

0 For Australia (HP stamped on packing case): Power
line voltage is 240 volts.

0 For general export model ('0' and 'D/G' stamped on
packing case): A 3-point (120V/220V/240V) voltage
selector switch is provided on the rear panel.

To prevent electric shock, do not remove cover. No user serviceable parts inside, refer servicing to

qualified service personnel.

Always disconnect all the equipment from the mains supply when disconnecting the signal leads. The
power card should be connected last, make sure that the power switch is off.
Unplug the set from the wall socket when it is not to be used for an extended period of time.

LINE VOLTAGE VARIATIONS

For General Export Model (D and DIG)

1. Unscrew the fuse cap with a Phillips screwdriver, then
take out the fuse and plug.

2. Re-install the plug with its cutaway section exposing the
correct voltage indication as shown in the illustration be-
low.

3. Insert the fuse in the fuse cap, then fit the cap to the
plug and tighten.

Fuse

Phillips
screwdriver

Selector plug
% Fuse cap

Soc ket

For Australia Model (HP)
1. Loosen the screw on the VOLTAGE SELECTOR plug
with Phillips screwdriver, then take out the plug.
2. Re-install the plug with its cutaway section exposing the
correct voltage indication as illustrated below.
Selector plug

3. Tighten the mounting screw.
@\ /A
A8
Phillips screwdriver ,
2 f @6
Mounting screw

0 You will find the line voltage selector switch on rear
paneL
0 Before adjusting, disconnect the power cord.

(U) PIONEER