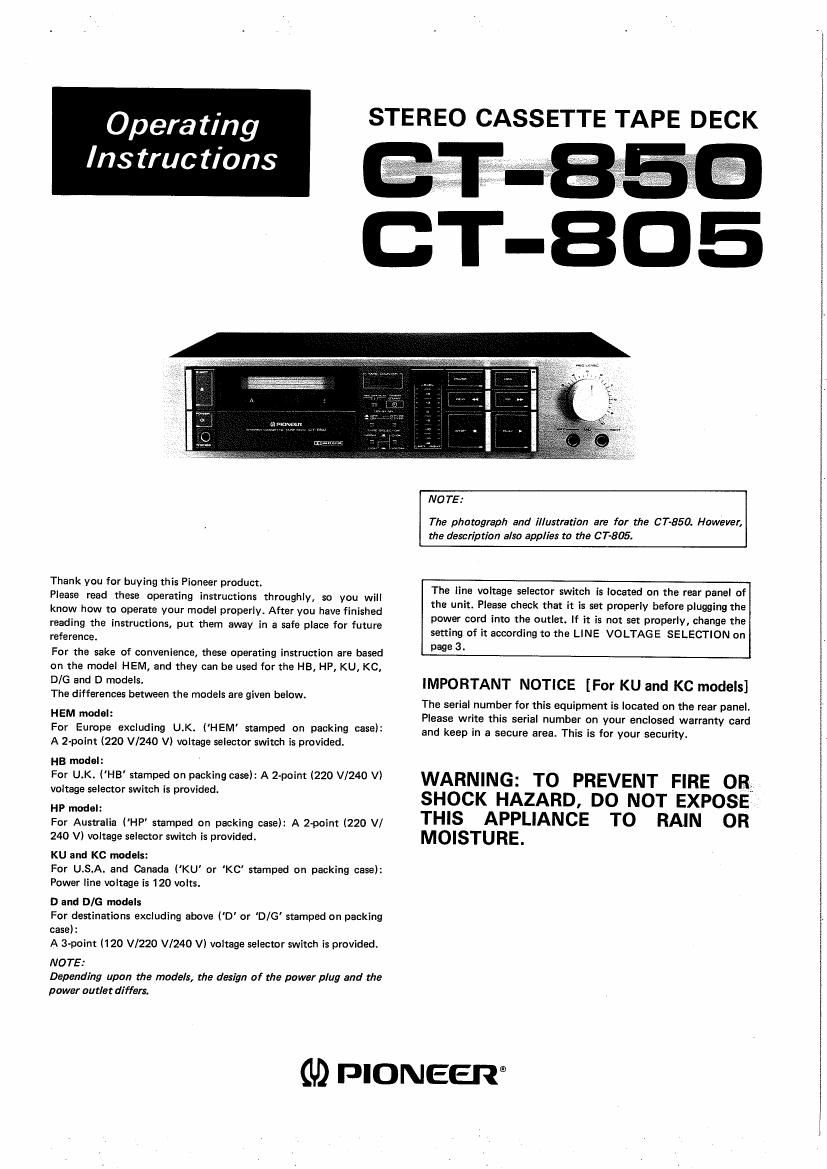
Pioneer ct 805 owners manual

This is the 16 pages manual for pioneer ct 805 owners manual.
Read or download the pdf for free. If you want to contribute, please mail your pdfs to info@audioservicemanuals.com.

Page: 1 / 16
left right
pioneer ct 805 owners manual

Extracted text from pioneer ct 805 owners manual (Ocr-read)


Page 1

Opera ting
Instructions

Thank you for buying this Pioneer product.

Please read these operating instructions throughly, so you will
know how to operate your model properly. After you have finished
reading the instructions, put them away in a safe place for future
reference.

For the sake of convenience, these operating instruction are based
on the model HEM, and they can he used for the H8, HP, KU, KC,
BIG and 0 models.

The differences between the models are given below.

HEM model:
For Europe excluding U.K. ('HEM' stamped on packing case):
A 2-point (220 V/240 V) voltage selector switch is provided.

HB model:

For U.K. ('HB' stamped on packing case): A 2-point (220 V/240 V)
voltage selector switch is provided.

HP model:

For Australia ('HP stamped on packing case): A 2~point (220 V/
240 V) voltage selector switch is provided.

KU and Kc models;

For U.S.A. and Canada (KU' or 'KC' stamped on packing case):
Power line voltage is 120 volts.

D and DIG models

For destinations excluding above ('D' or D/G stamped on packing
case):

A 3-point (120 Vl220 V/240 V) voltage selector switch is provided.
NOTE:

Depending upon the models, the design of the power plug and the
power outlet differs.

STEREO CASSETTE TAPE DECK

NOTE:

The photograph and illustration are far the 87-850. However,

the description also applies to the 071805.

The line voltage selector switch is located on the rear panel of
the unit. Please check that it is set properly before plugging the
power cord into the outlet. If it is not set properly, change the
setting of it according to the LINE VOLTAGE SELECTION on
page 3.

IMPORTANT NOTICE [For KU and KC models]

The serial number for this equipment is located on the rear panel.
Please write this serial number on your enclosed warranty card
and keep in a secure area. This is for your security.

WARNING: TO PREVENT FIRE QB;
SHOCK HAZARD, DO NOT EXPOSE
THIS APPLIANCE TO RAIN OR
MOISTURE.

0,9 PIONEER

Page 2

SAFETY INSTRUCTIONS [FOR KU MODEL]

HEAD msrnucrions - All me saiety and
operating iueiruetlooe should be read oeiore the
applienoe is operated.

RETAIN msrnuc'rlous - The operating instrue
dons should be retained ror ruture relerence.
HEED WARNING - All warnings on the appliance

and in the operating instructions should be adhered

to.

FOLLOW INSTRUCTIONS - All operating and use
instructions should be followed.

WATER AND MOISTURE -- The appliance should
not be used near water - for exampls, near a
bathtub, washbowl, kitchen Sink, laundry tub, in a
wet basement, or near a swimming pool, etc.

LOCATION - The appliance should be installed in a
stable location.

WALL OR CEILING MOUNTING - The appliance
should not be mounted to a wall or ceiling.

VENTILATION - The appliance should be situated so
that im location or position does not intertare with
its proper ventilation. For example, the appliance
should not be situated on a bed. Bola, run, or
similar surface that may block lhs ventilation openr
ings; or, placed in a built-in installation, such as a
bookcase or cabinet that may impede the flow at
air through the ventilation openings.

HEAT - The appliance should be situated away Irom
heat sources such as radiators, heat registers,
stoves, or other appliances linotuding amplifiers)
that produce heat.

POWER SOURCES - The appliance should be non-
nscted to a power supply only or tho type describ-
ed in the operating instructions or as marked on the
appliance.

POWER-CORD PROTECTION 7 Pawur~supply cords
should be routed so that my are not likely to be
walked on or pinched by items placed upon or
against them, paying particular attention to cards
at plugs, convenience receptacles, and the point
where thoy exit from the appliance.

CLEANING - Tho appliance should be cleaned only
with a polishing cloth or a soft dry cloth, Never
clean with furniture wax, bonzine, insecticides or
other volatile liquids since they may corrode the
cabinet.

POWER LINES - An outdoor antenna should be
located away rrorn power lines.

NONUSE PERIODS -- The power cord of the ap-
pliance should be unplugged Irom the outlet when
left unused Ior a long period of lime.

OBJECT AND LIQUID ENTRV - Care should be
taken so that objects do not fall and liquids are not
spilled into the enclosure through openings.

DAMAGE REQUIRING SERVICE - The appliance
should be serviced by Pioneer authorized service
center or qualified service personnel when:

- The power-supply cord or the plug has been
dlmlgad; or

I objects have fallen, or liquid has beer spilled into
the appliance; or

. The appliance has been exposed to rain; or

- The appliance does not appear to operate normally
or axhihils a marked change in performence; or

- The appliancu has been dropped; or the enclosure
damaged. '

SERVICING 7 The it!!! should not ilttalnpt to service
the appliance beyond that described in the
operating instructions. For all otherservieing, con-
met the nearest Pioneer authorized service center.

OUTDOOR ANTENNA GROUNDING - If an outside
antenna is connected to the antenna terminal, be
sure the antenna system is proundod so as to pro
vine some protection against voltage surges and
built up static charges.

In the USA. section 310 of the National Electrical
Code, ANSI/NEPA No. 7015, provides informa-
tion with respect to proper grounding or the mast
and supporting structure, grounding of the leadin
wire to an antenna dischargo unit, SIIS of groun-
ding conductors, location of antennaaischarge
unit, connection to grounding electrodes, and re
quirements tor the grounding electrode. See Fig.

EXAMPLE OF ANTENNA GROUNDING AS
PER NATIONAL ELECTRICAL CODE INSTRUC-
TIONS


Ground olamp \

a), h)
Mast
ground c)
we Antenna To Antenna terminal
dtscharga\
unit
> Ground clamps
Grounding electrode
driven a' into the earth
(244 merersl
Fig, A

3) Use No. 10 AWG (5.3 mm) copper or No. a AWG
(8.4 mm) aluminum or No. 17 AWG (1.0 mrrll
copper-clad sisal or bronze wire, or larger as
ground wires tor both meet and lead-in.

bl Secure leadrin wire from antenna to antenna
discharge unit and mast ground wire to house with
stand-air insulators, spaced trom 4 feet (1.22
meters) to 6 feet (in meters) apart.

cl Mount antenna discharge unit as cleanly as possi-
ble to where lead-in enters house.

IMPORTANT [FOR KU MODEL]
CAUTION

RISK OF ELECTRIC SHOCK
DO NOT OPEN

The lightning flash with arrowhead, CAUTION:
within an equilateral triangle, is intended
to alert the user of the presence of
uninsulated "dangerous voltage" within
the product's enclosure that may be of
sufficient magnitude to constitute a risk

of electric shock to persons.

TO PREVENT THE IIISK 0F ELECTRIC SHOCK, DO
NOT REMOVE COVER (OR BACK). NO USEN- user of the presence of important
SERVIOEABLE PARTS INSIDE REFER SERVICING
TO QUALIFIED SERVICE PERSONNEL

The exclamation point within an
equilateral triangle is intended to alert the

operating and maintenance (servicing) in-
structions in the literature accompanying
the appliance.

IMPORTANT

To prevent electric shock, do not remove cover. No user service-
able parts inside, refer servicing to qualified service personnel. If
the apparatus is fitted with AC main power outletls), see REAR
PANEL FACILITIES for convenient connection of additional
Hi-Fi componentls). Make all connections to the AC outletlsl
and signal terminals first. Connect the plug to the wall socket
last, make sure that the power switch is off. Disconnect the wall
plug when the equipment is not in regular use, 9.9. when on
vacation.

FOR USE IN UNITED KINGDOM
AND AUSTRALIA

CAUTION 240 V: Mains supply voltage is factory

adjusted at 240 V.

FOR USE IN UNITED KINGDOM

The wires in this mains lead are coloured in accordance with the
following cord:

Blue: Neutral

Brown: Live
As the colours or the wires in the mains lead of this apparatus may
not correspond with the coloured marking identifying the ter-
minals in your plug proceed as follows:
The wire which is coloured blue must be connected to the terminal
which is marked with the letter N or coloured black.
The wire which is coloured brown must be connected to the ter-
minal which is marked with the letter L or coloured red.