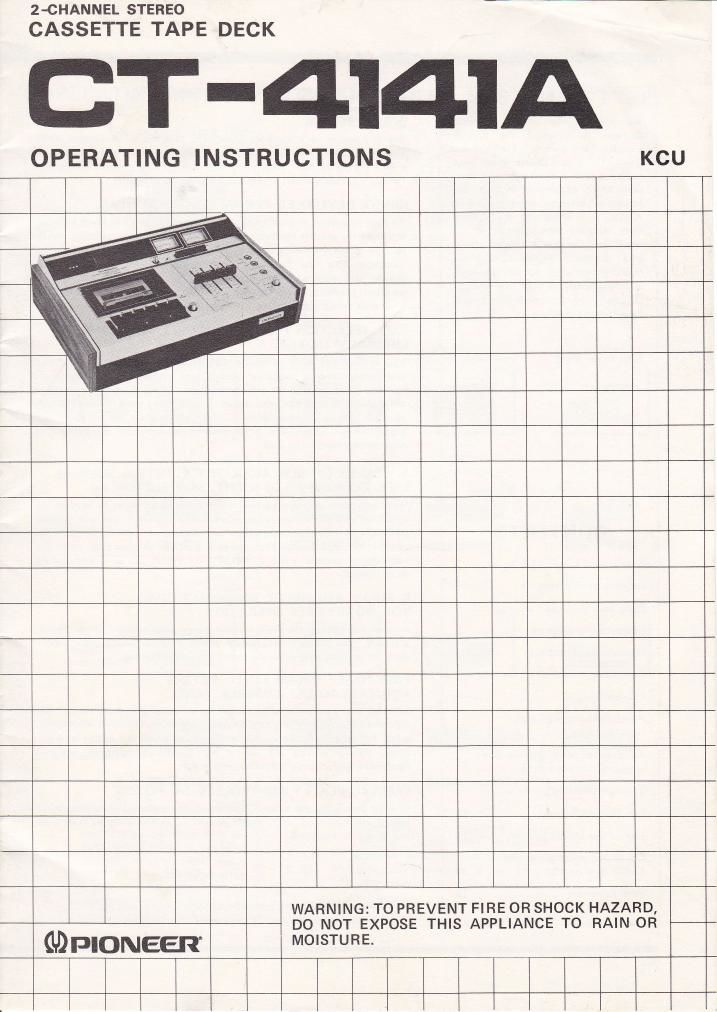
Pioneer ct 4141 a owners manual

This is the 17 pages manual for pioneer ct 4141 a owners manual.
Read or download the pdf for free. If you want to contribute, please mail your pdfs to info@audioservicemanuals.com.

Page: 1 / 17
left right
pioneer ct 4141 a owners manual

Extracted text from pioneer ct 4141 a owners manual (Ocr-read)


Page 1

PLAYBACK Insert a recorded cassette. Set the tape selector EQ switch for the tape being used. Refer to Table 1. (Page 8) Turn the PB LEVEL controls to MIN. Depress the PLAY button and commence tape transport.T rn up the PB LEVEL control until the volume is suitable for optimum listening enjoyment. When the recorded material and the tape come to an end, the auto*top mechanism comes into operation, the tape motion is anested, and the PLAY button returns to its normal position. If playback is to be terminated before the end of the tape, depress the STOP button. If the interruption to playback is to be only temporary, press the PAUSE button. This gives a convenient- ly smooth restart to playback. DOLBY SYSTEM PLAYBACK When playing tapes which have been recorded using the Dolby System ("Dolby-ized" tapes) the DOLBY switch should be depressed. The DOLBY INDI- CATOR will come on. Procedure after this is as detailed above in the PLAYBACK section. NOTES.' 1. When the dech is being used in connection with a Sterco Slstem, the cassette deck pbybach output leuel controla should. be set so that the amplifier uolume control is at the sane setting as b norrnally used for playing recorded discs or radio ptogtam* 2. Selection of a patticulat record.ed item muJt be carried out using the SKIP button duting playback. During an actual performance, etc., it is convenient to be able to set the stereo amplifiet uolume to MIN and search for the start of the next item while listening through head,phones. 3. When listening to conTmercial prerecorded, chrome cassette tapes, onl! set the tape selector EO switch to CHROME if the music tape concerned hu beenrecorded witha TOlJs hEh frequency characteristic. In all other coaea use ihe NORMAL setting of EQ for pre -rec orded chtom e cassette tapes. WHAT IS CHROME TAPE? A recording tape is'composed of a thin film of polyester or acetate to which is applied a coating of magnetic material. The surface of the tape thus becomes coated over with many minute sensitive magnetic partieles. Iron oxide has been the usual material to coat recording tape. The chrome tapes:use chromium dioxide in place of iron oxide. This results in a great improvement of the frequency response and signal-to-noise ratio and .also reduces distortion. The dynamic range is also significantly extended. In terms of frequency response, in particular, chrome tape yields a 2O to 30Vo improvement over conven- tional tape, making it an ideal high-performance tape for hi-fi music recording and playback. POINTERS FOR CARE OF YOUR CASSETTE TAPES EXTERNAL TAPE "SLACKS'' OR SPILLAGE If there is a slack of tape outside the cassette, the tape may not enter the space between the capstan and the pinch roller properly. In such cases, to take up the slack, use a pencil as shown in Fig. 11, inserting it at the center of one of the spools and turning it in the direction indicated. Fis. 11 PROTECTION AGAINST ACCIDENTAL ERASURE One unique feature of cassette tapes is the pair of protective tabs to be found on the back of every cassette case. If these are broken out with a screwdriver as shown in Fig. 12, further recording will no longer be possible, because the REC button cannot be de- pressed if this cassette is loaded, and accidental erasure becomes impossible. Please use this feature to protect your valuable recorded tapes. \? Break out the tabs with a screwdriver. Fig. 12 NO?ES: I. There is one ptotective tab for each sid,e of the cassette (A and B or 7st and.2nd sid.es), so that either or both sides can be protected, 'Idke care that the tab d,oes not enter the cwsette case. Should it d,o so, shahe the case to remoue the tab. If you later wish to rnake a record.ing on a cassette ftom which the tabs lnve been remoued, couer each tab position with adhesiue tape. 1. 2. 3. 4. 5. 6. 7. I o. Take up the slack by turning the pencil. \./ 10