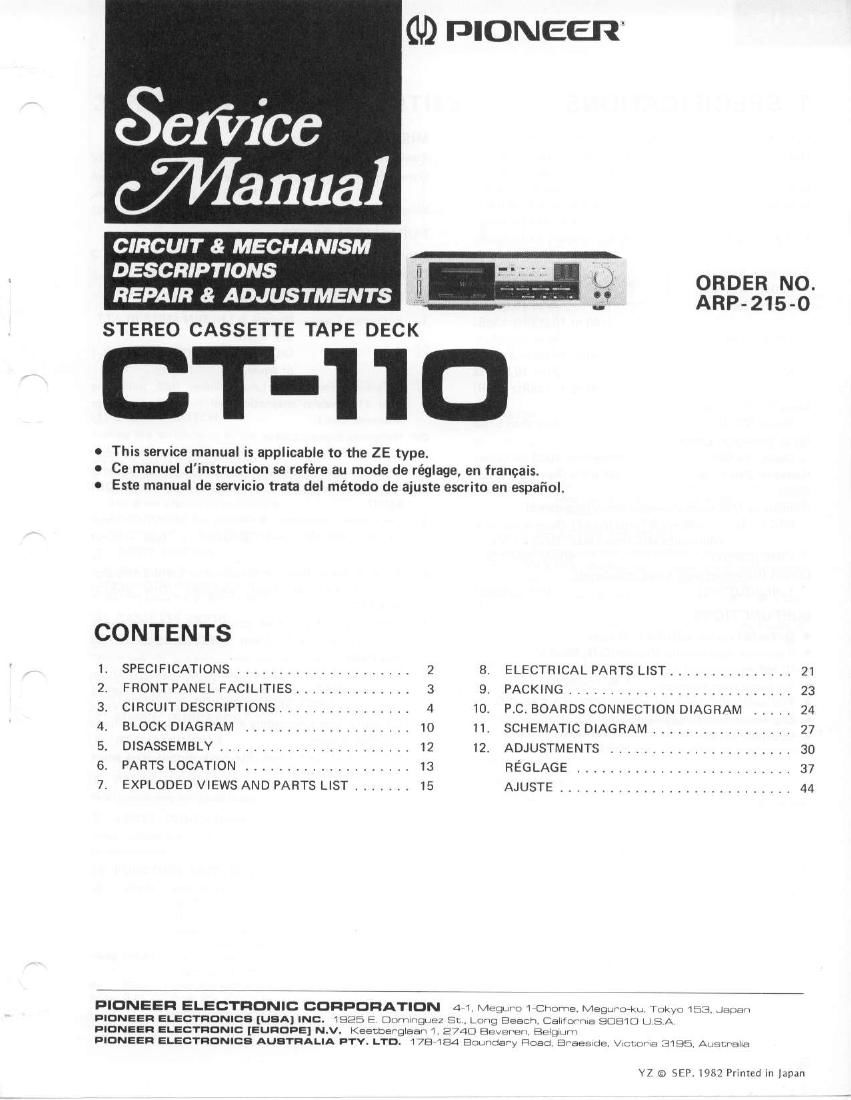
Pioneer ct 110 service manual

This is the 36 pages manual for pioneer ct 110 service manual.
Read or download the pdf for free. If you want to contribute, please mail your pdfs to info@audioservicemanuals.com.

Page: 1 / 36
left right
pioneer ct 110 service manual

Extracted text from pioneer ct 110 service manual (Ocr-read)


Page 1

1. SPEC|FtCATIONS Systems Compact cassette,2-channel stereo Heads . . . . "Hard Permalloy" recording/playback headx 1 "Ferrite" erasing h-‚¬ad x 1 ....... DCservomotorx 1 No more than 0.05% (WRMS) No more than 10.17% (OlN ) . Approximately 'l 10 seconds {C-60 tape) Input (Sensitivity/l\4aximum aliowable input/lmpedance) MIC (L, R) . .0.35mV/57mV/10.5kO,6mm diam. jack (Reference MIC impedance;250fl to 1OkO) LfNEflNPUT) . . . . . . . 50mV /25Vl75kO Output (Reference level/Load impedance) LINE (OUTPUT) 45OmV/50kf,2 SUBFUNCTIONS . Dolby NR system (ON/OFF) B type . 3 position tape selector (NoFM/croz /M ETAL) . lC full logic control . Air damp eject function a Full automatic stop mechanism o One-touch recording system . LED level meter MISCELLANEOUS Power Requirements . . . . , . ......DC20V Dimensions .420 (W) x 101 {H)x 237 (D) mm 16-9/16 (W) x 4 (H) x 9-3/8 (D) in. Weight (without package) . FURNISHED PARTS Connection cord DC Power cord NOTES: 3.3k9 {7 lb 4 oz) 1. Reference Tapes: Normal & LH: DIN 45513/BLATT 6 or equiv. CrO, DIN 45513/BLATTT (CrOz ) or equrv. 2. Reference Recording Level: fvleter 0dB indicating level ('l60nwb/m magnetic level = Phillips cassette reference level) 3. Reference Signal: 333H2 4. Wow & Flutter: . JIS [3kHz, with acoustic com- pensation (weighted) rms value] DIN [3.150H2, with acoustic compensation (weighted) PEAK valuel; DIN 45507 5. Frequency Response: a Measured at -20d8 level. DOLBY NR OF, level deviation is 16dB without indication. 6. Signal to Noise Ratio: o Measured at the third harmo- nic distortion 3% level, weighted (DlN 45513/ B LATTT). 7. Sensitivity: Input level (mV) required for reference recording level with input (REC) controls set to maximum. 8. Maximum Allowable Input: While decreasing settings of input (REC) level controls and increasing level at input jacks. this is the maximum input level (mV) at the point where recording amplifier output waveform becomes clipped. 9. Beference Output Level: Playback output level when meter indicates 0dB. l\4otor. . . WowandFlutter....... FastWindingTime ...... Frequency Response - 20dB recording: Normal tape Chrome tape lvletal tape Signal-to-Noise Ratio DolbyNROFF......... Noise Reduction Effect DolbyNRON......... Harmonic Distortion . . . . . . .30to 16,000H2 (40 to 15.000H2 t3dB) .......30to16,000H2 (40 to 15,000H2 i3dB) .......301o16,500H2 (40 to 15,000H2 l3dB) ...... Morethan5TdB More than 10dB {at skHz) No more than 1.0% (0dB)

Page 2

2. FRONT PANEL FACILITIES @ eowen swrrcH Pushing this switch turns on the power and causes the power indi- cator to light. Push the switch again to release it when switching off the power to the unit. . The muting circuit is activated after the POWER switch has been set to ON and the unit will not operate for about 4 seconds. This is not a failure or malfunction. . When the POWER switch is set to OFF while the unit is operating, the unit's operation is released and the stop mode is established. @ e.lecr BUTToN Push this button to open the cassette holder. To close the cassette holder, push the top back until it locks. . Do not press this button while the tape is moving. @ cnsserrE DooR @ reee couNTER This shows the position of the tape by means of a 3-digit meter. @ coururEn REsET BUTToN Push this button to reset the tape counter display to 000. @ eowen tNDtcAToR @ nec tNDtcAToR This lights during the recording mode. @ enuse rNDtcAToR This lights during the pause mode. @ LEVEL tNDtcAToRs These indicate the input level during recording and the output level during playback. @ rurucrroN swtrcHEs O (REC) : Push this switch to start recording. When depressed to the ON position, the REC indicator tights. The switch does not work when a cassette is not loaded or when the erasure prevention tabs of a loaded cassette have been broken off. < (REWI : Push this switch to rewind the tape at high speed (from right to teft). >> (FF) : Push this switch to send the tape forward at hiqh speed (from left to right). I (STOPI : Push this switch to stop the tape travelling and to release the function switches. tl (Pausef : Push this switch to stop the tape temporarily during recording or playback. Release it to allow the tape to resume traveling. The tape does not stop during fast forward or re- wind operations even when tne ll (nause) switch as pushed. @ reee sELEcroR swtrcHEs These selectors allow the tape's bias and equalization characteristics to be selected during recording and the equalization characteristics during playback, in line with the type of tape being used. Normal tape : Release the teft switch to the "out" ( I ) posi- tton. Chrome tape : Push the left switch to the "in" ( - ) position and release the right switch to tlre "out" ( I ) oosition. Motal tapo : Push both left and right switches to the ,'in" position ( - ). @ oolav* NR swtrcH Push this switch to ON when recording with the built-in Dolby noise reduction system and when playing back tapes which have been recorded using the system. For other tapes, do not push this switch. @ rurc JAcKs These are the input jacks for microphone recording. plug the left channel microphone into the L jack and the right channel micro- phone into the R .iack. @ rrueur LEvEL coNTRoL Use this to adlust the level of the input signals from the MIC iacks or from the rear panel LINE INPUT terminals. Rotating this control clockwise increases the level. For further details, refer to SETTING THE RECORDING LEVEL. The word "Dolby" and D0 are trademarks of Dolby Laboratories Lice nsi ng Corporation. Noise Reduction System mqnufactured under license from Dolby Laboratories Licensi ng Corporation. 5