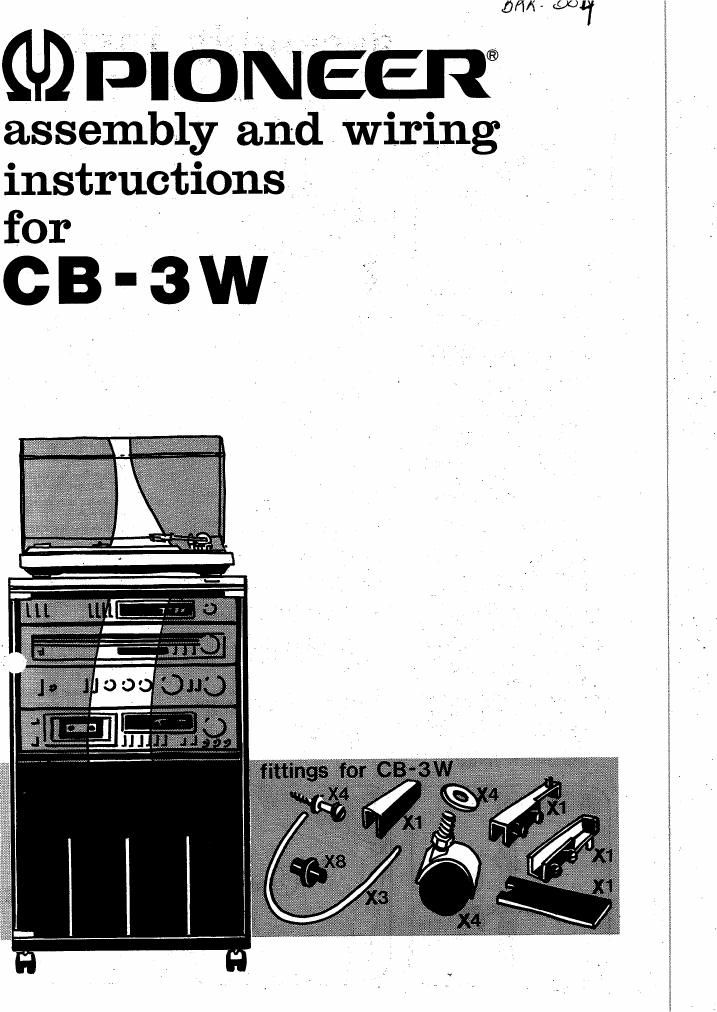
Pioneer cb 3 w owners manual

This is the 4 pages manual for pioneer cb 3 w owners manual.
Read or download the pdf for free. If you want to contribute, please mail your pdfs to info@audioservicemanuals.com.

Page: 1 / 4
left right
pioneer cb 3 w owners manual

Extracted text from pioneer cb 3 w owners manual (Ocr-read)


Page 2

assembly instruc

1 Lay the sidepanels on the carton and
fix the assembly screws as indicated
(lig. 0).

ATTENTION: Stipulate the place of the
adjustable shelf according to one of
the following situations:

. In the highest position for a receiver .

combined with a casette deck

2. In the second position for combina-
tion 1 plus a timer.

3. In the third position for the combi-
nation ot a tuner, amplifier and a
casette deck.

4. In the lowest position for combi-
nation 3 plus a timer.

Attach the top panel to the left and right
side panels (fig. A).

Slide the back panel in the appropriate
grooves.

Attach the bottom panel to the left and
-right panel (fig. A).

Fix the wheels (fig. B).

Put the rack in its upstanding position.

Fix the metal record holders (fig. E).

. Attach the adjustable shelf to the fixing
screws (fig. 0).
Insert the stop-pins in the left and right
panels (fig. D).
(These pins are necessary to retain the
front panel of the equipment).

Attach the hinge to the bottom of the

glass door while mounting the door in

the rack. Also put the upper hinge in

the top panel and fix it to the glass

door (fig. E).

Press the small magnet-plate to the
upper corner of the glass door.

-e

Poser les panneaux de cote sur Ie carton et
Erflettrg)les vis d'assemblage comma indigué
lg. .

Al'l'ENTION: prévoir la place de la lablelte
ajustatlle selon dune des positions suivan»
tes:

1. En position haute: pour un ampli-tuner et
une platine cassette.

2. En deuxieme position si un timer est
ajoute a la premiere cambinaison.

3. En truisielne position si la chaine est
oomposée dun tuner. dun amplifieateur
et dune platine cassette.

4. En position la plus hasse si un timer est
ajoute a la troisieme combinaison.

Fixer 1e dessus aux cotés limit at gauche
(W A)

Glisser le panneau arriem dans les rainures
prevues a cat eflet
leer le fond aux otités'droit st gauche

Fixer les roues (fig. B).
Mettre le rack en position verticale.

Fixer Ies supports metalliques de disques.
(Fi'xeré: tablette aiustaole aux vis de tixation
lg.

Menre les arrtts dans les panneaux droit et,

gauche (ces arrets sont nécessaires pour
Etaingnir le panneau avant de l'ensemble)
Ig. .

6 Fixer le gond an has de la porte vitrée. Tout

ell posant la porte sur le rack mettre le pond
on haut dans le plateau du dessus et le fixera
la porte vitrée (fig. F).

Appuyer la petite plaque aimantee en haut et
a droite sur la porte vilrée.

..

hefestigert Sie diese mit den dafilr Vorq
henen Sehrauhen wie aul dem Bild geze
(fig C) E

ACHTUNG: Je nach Bestilckung de. .
verschiebt sich die Einbauhiihe der verst
baren Bord.

Folgende Situationen sind miiglich: -
I. Hochste Position hei der Bestllckung
receiver und cassetten Maschirle.

2. Zweit hilchste Position filr eine Kombi
tion wie hei 1.

Jedoch mit zusitzlichem Timer.

3. Dritthochste Position hei der Bestflcku
mit Verstarker, Tuner und Cassette N
schine.

4. Niedrigste Position fiir eine Komhinati
wie bei 3. Jedoch mitzusattlichem Tim

2 Befesfigen Sie die ahere Abdeckplatte
den Seitenteilen (fig. A).

3 Schiehen Sie die flfickwand in die Nuten ei

Legen Sie die Seitenteile auf den Karlon:%

4 Befestigen Sie Bodenplatte mit den Seit:
teilen (fig. A).
Befestigen Sie die Flollen (fig. B).
Stellen Sie das Rack auirecht.

5 Befestigen Sie die Metallenen Schallp

tenstander.

. Belestigen Sie den Verstellbaren Fachlmc

mit den Schrauhen (fig. C).

Bringen Sie die Stopper in den Iinken l

rechten Seitenteilen an (urn ej: -ue
schieben der Gerate nach hinten it rt

zu vermelden (fig 0). /

B Clas Schamier untenan der Glastflr bet '

tigen.

wahrend rler montage der TiJr an das Ra g
das ohere Soharnier in die Abdeekpl
dnlcken und die Glastur an das Schar
hefestigen.

Bracken sie die ldeine Magnetplalte auf
obere Ecke der Glastflr (fig. F).