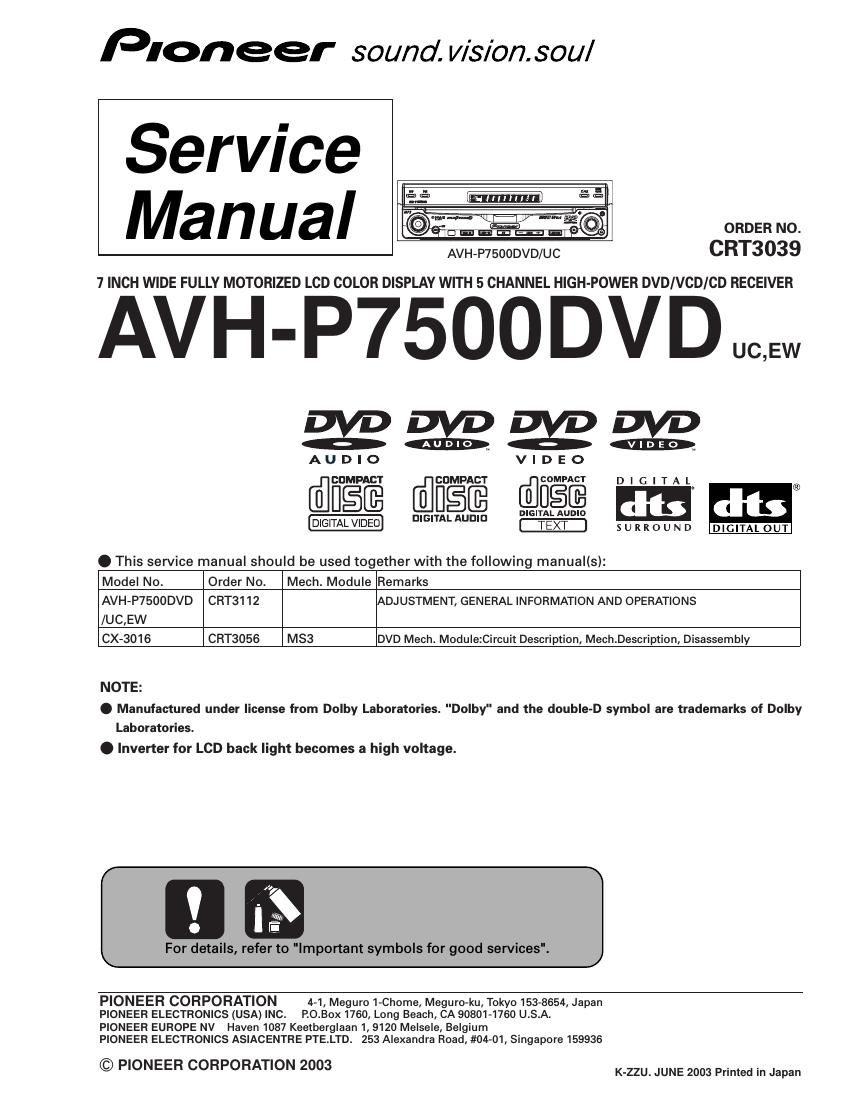
Pioneer avhp 7500 dvd service manual

This is the 187 pages manual for pioneer avhp 7500 dvd service manual.
Read or download the pdf for free. If you want to contribute, please mail your pdfs to info@audioservicemanuals.com.

Page: 1 / 187
left right
pioneer avhp 7500 dvd service manual

Extracted text from pioneer avhp 7500 dvd service manual (Ocr-read)


Page 1

Pioneer sound. WIS/onsou/

Service
Manual cfitézlé

7 INCH WIDE FULLY MOTORIZED LCD COLOR DISPLAY WITH 5 CHANNEL HIGH-POWER DVD/VCD/CD RECEIVER

AVH-P7500DVDUC,.W

A U D I O V I D E O
@C-OMPACT @CDMPACT @figflé D I G I T A L a
D§@ DIGITDAEJE DIGITAL AUDIO m db
_IGITAL VIDEO TEXT S U R R 0 U N D
O This service manual should be used together with the following manual(s):
Model No. Order No. Mech. Module Remarks
AVH-P7500DVD CRT3112 ADJUSTMENT, GENERAL INFORMATION AND OPERATIONS
/UC,EW
CX-3016 CRT3056 M83 DVD Mech. Module:Circuit Description, Mech.Description, Disassembly
NOTE:

. Manufactured under license from Dolby Laboratories. "Dolby" and the double-D symbol are trademarks of Dolby
Laboratories.
. Inverter for LCD back light becomes a high voltage.

For details, refer to "Important symbols for good services".

PIONEER CORPORATION 4-1, Meguro 1-Chome, Meguro»ku, Tokyo 153-8654, Japan
PIONEER ELECTRONICS (USA) INC. P.O.Box 1760, Long Beach, CA 90801-1760 U.S.A.
PIONEER EUROPE NV Haven 1087 Keetberglaan 1, 9120 Melsele, Belgium

PIONEER ELECTRONICS ASIACENTRE PTE.LTD. 253 Alexandra Road, #04»O1, Singapore 159936

© PIONEER CORPORATION 2003 K-ZZU. JUNE 2003 Printed in Japan

Page 2

0 DVD Player Service Precautions n

1. Before disassembling the unit, be sure to turn off the power. Unplugging and plugging the connectors during
power-on mode may damage the ICs inside the unit.

2. To protect the pickup unit from electrostatic discharge during servicing, take an appropriate treatment (shorting-sol-
der) by referring to " the DISASSEMBL " on page 49 of CRT31 12.

3. Please adjusting the skew after changing the pickup unit(see page 8 of CRT3112).

4. During disassembly, be sure to turn the power off since an internal IC might be destroyed when a connector is
plugged or unplugged.

SAFETY INFORMATION
UC

CAUTION

This service manual is intended for qualified service technicians; it is not meant for the casual do-it-yourselfer.
Qualified technicians have the necessary test equipment and tools, and have been trained to properly and safely repair
complex products such as those covered by this manual.

Improperly performed repairs can adversely affect the safety and reliability of the product and may void the warranty.
If you are not qualified to perform the repair of this product properly and safely, you should not risk trying to do so
and refer the repair to a qualified service technician.

WARNING

This product contains lead in solder and certain electrical parts contain chemicals which are known to the state of
California to cause cancer, birth defects or other reproductive harm.
Health at Safety Code Section 25249.6 - Proposition 65

EW

1. Safety Precautions for those who Service this Unit.

- Follow the adjustment steps (see pages 4 of CRT3112 through 48 of CRT3112)in the service manual when servicing
this unit. When checking or adjusting the emitting power of the laser diode exercise caution in order to get safe,
reliable results.

Caution:

1. During repair or tests, minimum distance of 13cm from the focus lens must be kept.
2. During repair or tests, do not view laser beam for 10 seconds or longer.

2. The triangular label is attached to the mechanism
unit frame.