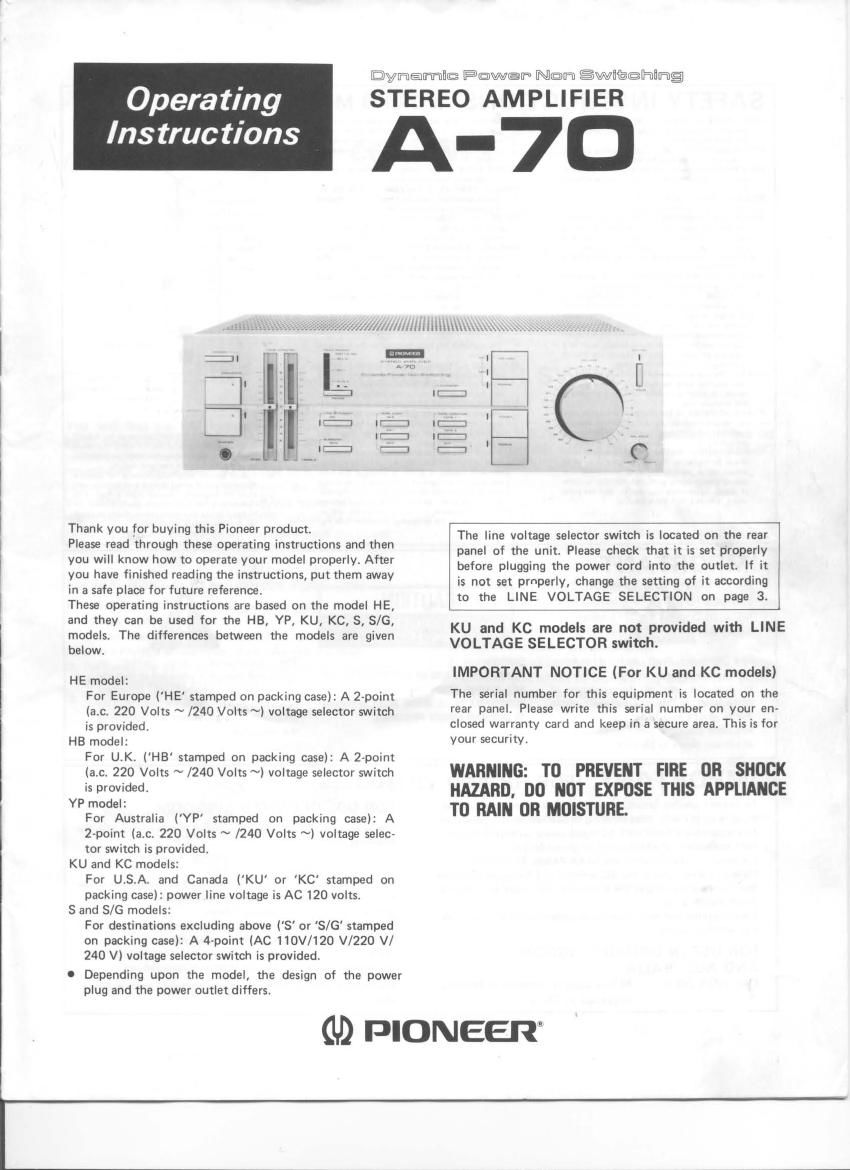
Pioneer a 70 owners manual

This is the 16 pages manual for pioneer a 70 owners manual.
Read or download the pdf for free. If you want to contribute, please mail your pdfs to info@audioservicemanuals.com.

Page: 1 / 16
left right
pioneer a 70 owners manual

Extracted text from pioneer a 70 owners manual (Ocr-read)


Page 1

Operating

Ins truc tions

,miy/mfiii i l l i l llll\\\t\:

Dynamfltg @@W@P N©fi SWIIEIEIHIIIFDQ

STEREO AMPLIFIER

A-7D

:1
I '2 ' |
I<:I If: I:
._ Ir-I Ir'-i -
.. . . _. I __
. :1 :1 I: - 0

Thank you for buying this Pioneer product.

Please read through these operating instructions and then
you will know how to operate your model properly. After
you have finished reading the instructions, put them away
in a safe place for future reference.

These operating instructions are based on the model HE,
and they can be used for the HB, YP, KU, KC, S, S/G,
models. The differences between the models are given
below.

HE model:
For Europe ('HE stamped on packing case): A 2-point
(a.c. 220 Volts ~ /240 Volts ~) voltage selector switch
is provided,

HB model:
For U.K. ('HB stamped on packing case): A 2-point
(a.c. 220 Volts ~ /240 Volts ~) voltage selector switch
is provided.

YP model:
For Australia (YP stamped on packing case): A
2-point (a.c. 220 Volts ~ /240 Volts ~) voltage selec»
tor switch is provided.

KU and KC models:
For U.S,A. and Canada ('KU or KC' stamped on
packing case): power line voltage is AC 120 volts.

8 and 5/6 models:
For destinations excluding above (8' or S/G' stamped
on packing case): A 4-point (AC HOV/120 V/220 V/
240 V) voltage selector switch is provided.

I Depending upon the model, the design of the power
plug and the power outlet differs.

The line voltage selector switch is located on the rear
panel of the unit. Please check that it is set properly
before plugging the power cord into the outlet. If it
is not set properly, change the setting of it according
to the LINE VOLTAGE SELECTION on page 3.

KU and KC models are not provided with LINE
VOLTAGE SELECTOR switch.

IMPORTANT NOTICE (For KU and KC models)

The serial number for this equipment is located on the
rear panel. Please write this serial number on your an
closed warranty card and keep in a secure area. This is for
your security.

WARNING: TO PREVENT FIRE OR SHOCK
HAZARD, DO NOT EXPOSE THIS APPLIANCE
TO RAIN OR MOISTURE.

(U) PIONEER

Page 2

SAFETY INSTRUCTIONS [FOR KU MODEL]

READ INSTRUCTIONS 7 All the salary and
operating instructions should be rand heron the
appliance II operated.

RETAIN INSTRUCTIONS 7 The operating instruo
liens should be m-Ined lor Iqure Iafarunca.

NEED WARNING 7 All warnings on the appliance
and In the operarIng Instructions should be adhered
to.

FOLLOW INSTRUCTIONS 7 All opuating and use
Inatruclipnl should be lollewed,

WATER AND MOISTURE - The appliance should
not be used near water 7 la: axampla. near a
bathtub, washoowl. kitchen sink, laundry tub. in a
we- balamant. or near a swmImIng pool, etc,

LOCATION - The appliance should be InsuIlad In a
stable location

WALL 0R CEILING MOUNTING 7 The appliance
should not he mounted to s wall or ceding,

VENTILATION 7 The eppIIance should he Illunlod so
that Its locanan or posIIion does not Interrera wuh
Its proper ventilation, For example, tha appliance
should not he situated on a bed, sols. rug. or
similar surraca that may block [M ventilation open-
ings; or, placed In a built-in Installation, such as a
bookcase or cabinet met may impede the flow el
lir through the ventilation cpenmgs

NEAT - Tha appliance should be situated away lrom
heat sources such as radiators. heat regisrers.
sums. or alhar appliances (including amplmersl
IhaI produce heat.

POWER SOURCES - Tho appliance should be con-
nected to a power supply only ol the type descrio
ed In the nperaIIng tnllructions or n marked on the
appliance.

POWER-CORD PROTECTION 7 Power-wpnlv cords
should be routed so that thly are not liltaly to he
walked on or pinched by Items placed upon or
agaInsI them, payIng pamculer ltlentlon Io cards
at plugs, convenience receptacles. and the point
where they esIs lrom Ihe upplllncl,

CLEANING 7 The appliance should DI clothed only
with s polishing cloth or a son dry cloIh. Mme:
clean with lumitun will, bunting mlectrcida or
other volatile liquids since they Inly corrode the
cabmel.

POWER UNES 7 An outdoor anlunna would b.
Iocsrad away rrom power Iim.

NONUSE PERIODS 7 The power cord of the Ip-
plisncu should he unplugged trom the outlet when
left unused In! a long period uI lime,

OBJECT AND lIOIJID ENTRY - Can lhould bl
taken so Ihal objects do not lull and liouldl am not
spilled Into the enclosure through openings.

DAMAGE REQUIRING SERVICE 7 The appliance
should he serviced Irv cheer authonxad service
center or uualflied scMca personnel when

- The powarvsupply cord or me plug hnc been
damaged: or

I Obiccu hurl. Tulle", or hand! ha: boon ap-llad Into
IM appliance; or

I The appliance has been OXW to rim: or

- the appliance do not appear Io opems nonmlly
or ashram a marked change in penormance. or

- TM Ipplianca has b6!" 6709990; 0' the anclosura
damped.

SERVICING - Th0 uaII should not lltompI to lawn
tho appliance bayond that descrihod in the
operating instructiona. For all other semcing, conv
Incl (he Marni! Pioneer aulhorlzod "Nico cantor

OUTDOOR ANTENNA GROUNDING - II In out.

Imam h connected lo the anion? "Will. be
sur- thn antenna system Is grounded so u to on)
Vida some protection sgainsI voltage surges and
buill up static charges.
In thI U.S.At uclion RIO DI ma NID'OVIOI Mimi
Coda, ANSI/NEPA No mlfll, Vomiti- Worm»
lion with respect to proper groundla at th- man
and supporting suucuue. grounding or the loadvin
ere to an antenna dischlm unit. size ol groun-
ding conducton. location at manna-flinchuga
unit, connection to grounding decried-t and rI~
duh-menu Ior Ihe grounding dacrroda. See Fig,
A.

EXAMPLE OF ANTENNA GROUNDING AS
PER NATIONAL ELECTRICAL CODE INSTRUC
TIONS


Ground clamp

a) or
MasI
ground :1
ere Antenna To Antenna Iermmal
discharge .
unII
al a)
Ground
me
Ground :Iemos
7 Grounding alecrrode
dIIyan a me me asnn
I2 44 maiarsi
Fig A

or use No. Io awc I53 mm) copper or No 9 AM;
[51 mmll aluminum or No 17 AWG ll 0 mml
cooper-clad steel or hronse we, or larger as
ground wlm lor both mast and lead-In

or Secure lead-In wire lrom amount) to antenna
discharge unit snd malt ground wlla In house wIIh
sundhrr Inlulllors, spaced ham 4 leer [1.22
mutual lo a mu um matanl span,

cl Mount smenns dilchlrga unil as closely aI pour»
[all It) era lead-In inter! housu.

IMPORTANT

The lightning flash with arrowhead,
within an equilateral triangle, is intended
to alert the user of the presence of
uninsulated "dangerous voltage" within
the product's enclosure that may be of
sufficient magnitude to constitute a risk
of electric shock to persons

CAUTION

RISK OF ELECTRIC SHOCK
DO NOT OPEN

CAUTION:

TO PREVENT TNE NBK 0F ELEM m III
NOT REMOVE COVER lllll mm m USE!»
SENVIEEAILE PANTS INSIDE NET-EN SEW
TD mum SERVICE PERSONNEL

The exclamation point within an
equilateral triangle is intended to alert the
user of the presence of important
operating and maintenance (servicing) in~
structions in the literature accompanying
the appliance.

IMPORTANT [FOR HB AND YP MODELS]

To prevent electric shock, do not remove cover. No user sar-
vicaabla parts inside; refer servicing to qualified service personnel ,
This apparatus is fitted with AC mains power outlatlsl for conva-
niant connection of additional Hi-Fi componentlsl.

For details on the outlatlsl. see REAR PANEL FACILlTIES.
Make all connections to the AC outlatlsl and the signal terminals
first. Connect the plug to the wall socket last; make sure that the
power switch is off.

Disconnect the wall plug when the equipment is not in regular use,
5.9. when on vacation.

FOR USE IN UNITED KINGDOM
AND AUSTRALIA

CAUTION 240 V: Mains supply voltage is factory
adjusted at 240 V.

FOR USE IN UNITED KINGDOM

The wires in this mains lead are coloured in accordance with the
following cord:

Blue: Neutral

Brown: Live
As the colours of the wires in the mains lead of this apparatus may
not correspond with the coloured marking identifying the ter-
minals in your plug proceed as follows:
The wire which is coloured blue must be connected to the terminal
which is marked with the letter N or coloured black.
The wire which is coloured brown must be connected to the tar
minal which is marked with the letter L or coloured red.

Equipment sold in the U.K. is not supplied with a power
plug.