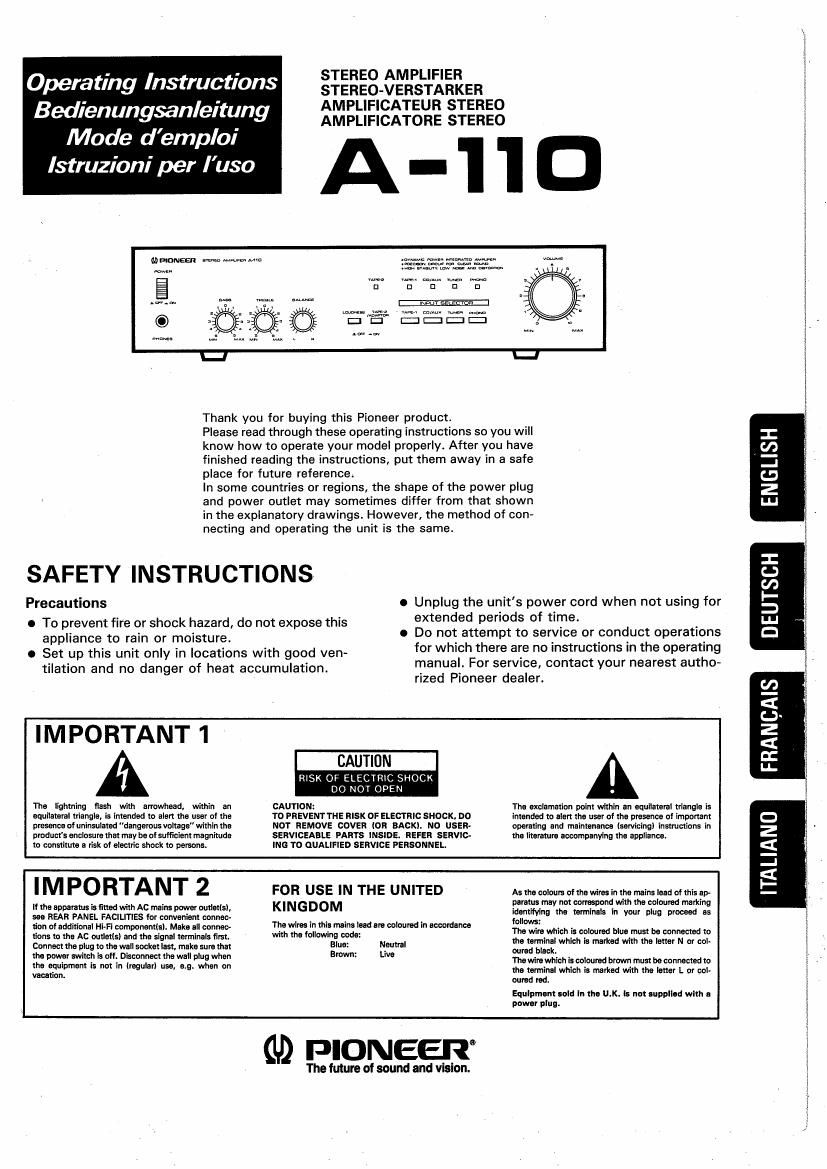
Pioneer a 110 owners manual

This is the 32 pages manual for pioneer a 110 owners manual.
Read or download the pdf for free. If you want to contribute, please mail your pdfs to info@audioservicemanuals.com.

Page: 1 / 32
left right
pioneer a 110 owners manual

Extracted text from pioneer a 110 owners manual (Ocr-read)


Page 1

STEREO AMPLIFIER
STEREO-VERSTARKER
AMPLIFICATEUR STEREO
AMPLIFICATORE STEREO

-'|D

Operating Instructions
Bedienungsanleitung

Mode demploi
Istruzioni per Iuso

in mm m we. mm

D Cl [1 El n
ww- m

:1]:

wee. gem. ru-o rm

DEED

© ifQ? 1:61: £69}

\-I

Thank you for buying this Pioneer product.

Please read through these operating instructions so you will
know how to operate your model properly. After you have
finished reading the instructions, put them away in a safe
place for future reference.

in some countries or regions, the shape of the power plug
and power outlet may sometimes differ from that shown
in the explanatory drawings. However, the method of con-
necting and operating the unit is the same.

SAFETY INSTRUCTIONS

Precautions

e To prevent fire or shock hazard, do not expose this
appliance to rain or moisture.

e Set up this unit only in locations with good venr
tilation and no danger of heat accumulation.

e Unplug the unit's power cord when not using for
extended periods of time.

0 Do not attempt to service or conduct operations
for which there are no instructions in the operating
manual. For service, contact your nearest autho»
rized Pioneer dealer.

IMPORTANT 1

CAUTION

RlSK OF ELECTRKC SHOCK
DO NOT OPEN

CAUTION:
TO PREVENTTHE RISK OF ELECTRIC SHOCK. DO

The lightning flash witn arrowhead, within an
equilateral triangle, is intended to alert the user at the

The exclamation DOI'M within en equilateral triangle is

FRANCAIS

presence of uninwllred "dangerous voltage" wlthln the
product 5 enclosure that may be of sufficient magnitude
to commute I risk of electric shock to persons

NOT REMOVE COVER (0H BACKI. NO USER-
SERVICEABLE PARTS INSIDE. REFER SERVIC<
ING T0 QUALIFIED SERVICE PERSONNEL.

intended to elen the user of the presume of important
operating and maintenance (servicing) instructions in
the literature accompanying the appliance.

IMPORTANT 2

If the apparent: is fitted with Ac mains power outlitls).
see HEAR PANEL FACIIJTIES for convenient connec-
tion at additional Hi-Fl component). Make all mm
tier-is to the AC ouumlel end the eignel terminals first.
Connect the plug to the well eocketleer. make sure that
the power switch is OH. Disconnect the wall plug when
the equipment Is no! in (regular) use, 9.9. when on
vacation

FOR USE IN THE UNITED
KINGDOM

The wires in chi: mains lead are coloured in accordance
with me folk/Mug code:

Blue: Neutrul

Brown: Live

A: the colours of the wires in the mains lead of this ap-
pom: my not mneepond with the coloured marking
Identifying Ihe terminals in your plug proceed as
(OHM:

The wire which is coloured blue must be connected to
the terminal which marked with the letter N or col-
cured black.

The wire which in coloured brawn must be connected to
the terminal which is marked with the letter L of col»
cured red.

Equlpmcnl sold In the U.K. I: not supplied WI! I
power ulna.

(U) PIONEER

The future at sound and vision.

ITALIANO

Page 2

Rear Panel Facilities .................................... 2
Connections ............ . 3
Front Panel Facilities .. 4

CONTENTS

Operations ...........
Troubleshooting .
Specifications ..

REAR PANEL FACILITIES

® <5) <4)
i@©_ ©31® ©3© @; .9.
Q© (a) o

G) Turntable ground terminal (GND)

® TAPE 1 REC output terminals

Connect these terminals to the record input terminals
of your tape deck. .

@ TAPE 1 PLAY input terminals

Connect these terminals to the playback output ter-
minals of your tape deck.

@ TAPE ZIADAPTOR input/output terminals

These terminals can be connected to the record in-
put/output terminals of a second tape deck as

_ directed in the table below or to the input and out-
put terminals of adaptor equipment (such as a
graphic equalizer).

Second tape deck A-11O end
REC TAPE ZIADAPTOR OUT
input terminals terminals
PLAY TAPE ZIADAPTOR IN
output terminals terminals

2

< 3413-72001 >

G) PHONO input terminals

Connect these terminals to the output terminals of
your turntable.

© TUNER input terminals

Connect these terminals to the output terminals of
your tuner.

® CDIAUX input terminals
Connect these terminals to the output terminals of
a CD player or other stereo unit.

SPEAKERS terminals
® Power cord