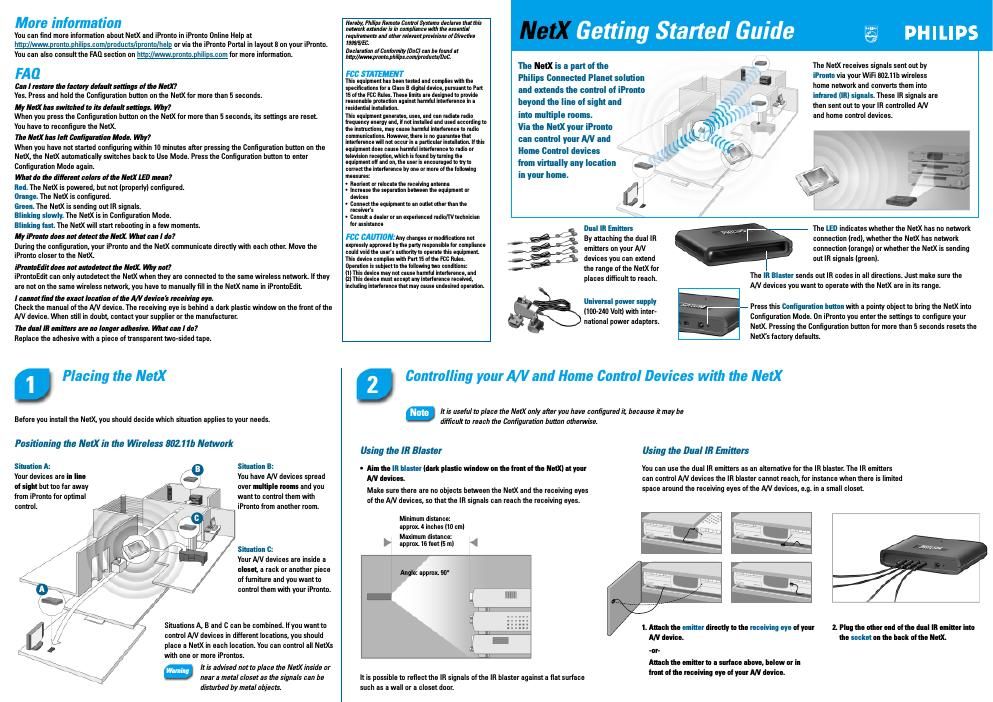
Philips ntx 6400 owners manual

This is the 2 pages manual for philips ntx 6400 owners manual.
Read or download the pdf for free. If you want to contribute, please mail your pdfs to info@audioservicemanuals.com.

Page: 1 / 2
left right
philips ntx 6400 owners manual

Extracted text from philips ntx 6400 owners manual (Ocr-read)


Page 1

3 Powering the NetX 1.Checkwhich type of power socket you have in your home and then follow one of the procedures below. 4 Configuring the NetX for your Wireless Network During the configuration, iPronto will connect directly to the NetX. Therefore, make sure your iPronto is within the range of the NetX. You can find more information about using iPronto in iPronto Online Help at http://www .pronto.philips.com/pr oducts/ipr onto/help or via the iPronto Portal in layout 8 on your iPronto. 5 Linking your A/V Devices to the NetX with iProntoEdit 6 Using iPronto with the NetX After configuring and placing the NetX, test whether iPronto is working with the NetX over your wireless home network: 1. On iPronto, select a Remote Control application. 2. Navigate to an A/V device that you have linked to the NetX. 3. Tap several buttons and check whether the A/V device reacts. If the A/V device does not react: - Follow the steps in procedure 4, Configuring the NetX for your Wireless Network and procedure 5 Linking your A/V Devices to the NetX with iProntoEdit again. - Configure the iPronto buttons with actions. In iProntoEdit you can check whether the correct actions are attached to the buttons. You can also learn functions with your iPronto. - Consult the FAQ section on http://www .pronto.philips.com/ . 1. OpeniProntoEditon your computer. 2. Open the iCF. -or- Click the button to upload your iCF from your iPronto to iProntoEdit. In the tree view, select the A/V device that you want to control with the NetX. 3. Click the button in the toolbar. The Device Properties appear. 4. In the Device Properties, select the NetX tab. 5. Select the RF enabled radio button to use your device with the NetX. 6. Click the AutoDetectbutton to automatically detect all NetXs in your home network. The Looking for NetXs window appears in which you can select your NetX. -or- Enter the name of the NetX you are using for this device in the NetX Hostname field. 7. Savethe iCF. 8. Click the button to download the iCF from iProntoEdit to your iPronto. After downloading, iPronto can be used with the NetX. Congratulations! You have fully configured your NetX in your home network. Press the Configuration buttonbriefly with iProntos stylus or another pointy object. The NetX switches to Configuration Mode. The LED on the top of the NetX starts to blink slowly. You cannot configure the NetX while EPG data are being downloaded or while an iCF is being downloaded or uploaded. You cannot configure multiple NetXs simultaneously. On your iPronto, navigate to a Remote Control application. Tap and hold to access the Remote Control settings. The Remote Control flipside appears. On the Remote Control flipside, select the NetX tab. Your new NetX is not listed yet, because it is not configured for your wireless network at this moment. Tap at the bottom of the NetX tab. iPronto starts looking for NetXs. When the NetX is found, the NetX Configuration screen appears. Enter a specific NetX Name, so that iPronto and iProntoEdit can identify the NetX in your wireless network. You can name your NetX after the room it is placed in, for example living room. Additionally, you can type a description for your NetX. Tap to automatically adopt the iPronto settings for the NetX. All settings are copied. Only when your iPronto uses Fixed IP, you have to fill in an IP address for the NetX in the IP address field. If you do not want to adopt iProntos settings, you can manually fill in these fields. This may be the case when the NetX is in a different wireless network. Tap to save the settings that you have made. The NetX will reboot and is ready for use. Within 30 seconds the orange LED appears on the NetX. If the orange LED does not appear within 30 seconds, perform the steps in procedure 4 Configuring the NetX for your Wireless Network again. You can tap or to stop configuring without saving the changes that you have made. On your iPronto the NetX tab appears again and the configured NetX appears in the list. Multiple NetXs If you have multiple NetXs, repeat the steps in procedure 4 Configuring the NetX for your Wireless Network for every NetX. List of configured NetXs. 1 3 4 8 2 5 6 7 1.Flip upthe two metal pins of the power adapter as shown in the illustration. 1.Selectthe correct plug. 2.Placethe plug on the power adapter and slide it into the opening until it clicks. 2. Plug the power adapter into the NetX. 3. Plug the other end of the power adapter into the socket. The red LED appears. - When an orange LED appears after 15 seconds, go to procedure 5 Linking your A/V Devices to the NetX with iProntoEdit. - When the LED remains red, you need to perform the steps in procedure 4, Configuring the NetX for your Wireless Network. 2-pin plug 3-pin plug Note -or (outside the US) -In iProntoEdit you define for which A/V devices your iPronto has to send out signals via the NetX. To do this automatically, your PC and the NetX need to be connected via the same wireless network. You can find more information about using iProntoEdit in iProntoEdit Help via the Help menu in iProntoEdit.