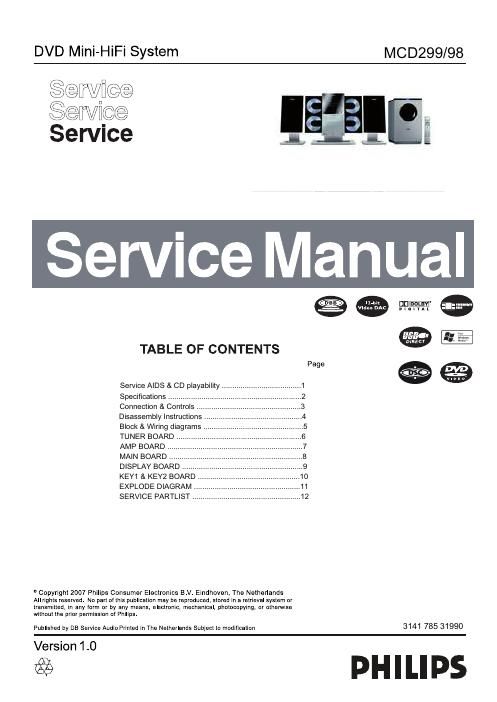
Philips mcd 299 service manual

This is the 40 pages manual for philips mcd 299 service manual.
Read or download the pdf for free. If you want to contribute, please mail your pdfs to info@audioservicemanuals.com.

Page: 1 / 40
left right
philips mcd 299 service manual

Extracted text from philips mcd 299 service manual (Ocr-read)


Page 1

DVD Mini-HiFi System

MCD299/98

§@fl@@@
Service

Service

Service Manua

TABLE OF CONTENTS

Page

_\

Service AIDS & CD playability ......................................
Specifications ............
Connection & Controls ..
Disassembly Instructions .
Block & Wiring diagrams ..
TUNERBOARD ...............
AMPBOARD.
MNNBOARD
DBPLAYBOARD .........
KEY1&KEY2BOARD.
EXPLODE DIAGRAM
SERWCEPARTUSTHH

" Copyright 2007 Philips Consumer Electronics B.V. Eindhoven, The Netherlands
AII rights reserved. No part of this publication may be reproduced, stored in a retrieval system or
transmitted, in any form or by any means, eIectronic, mechanical, photocopying, or otherwise
without the prior permission of PhiIips.

Published by DB Service Audio Printed in The Netherlands Subject to modification

DUIHEI'

DiQITAL

non-I :: Vm
DIRECT " W

@@

m
-= Vid DAC

3141785 31990

Version 1.0

e

PHILIPS

Page 2

1-1

SERVICE AIDS

Service Tools: Compact Disc:

Universal Torx driver holder ................................. 4822 395 91019 SBC4ZG/426A Test disc 5 + 5A ........................... 4822 397 30096
TorX bit T10 150mm ........................................... 4822 395 50456 SBC442 Audio Burn-in test disc 1kHz ................. 4822 397 30155
Torx driver set T6-T20 ......................................... 4822 395 50145 SBC429 Audio Signals diSC ................................. 4822 397 30184
Torx driver T10 extended ..................................... 4822 395 50423 Dolby Pro-logic Test Disc .................................... 4822 395 10216

WARNING ESD

All ICs and many other semiconductors are
susceptible to electrostatic discharges (ESD).
Careless handling during repair can reduce life
drastically.

When repairing, make sure that you are
connected with the same potential as the mass
of the set via a wrist wrap with resistance.
Keep components and tools also at this
potential.

Salety regulations require that the set be restored to its original CLASS 1

condition and that arts which are identical with those 5 ecified,
reused p LASER PRODUCT

Satety components are marked by the symbol A.

INFORMATION ABOUT LEAD-FREE SOLDERING

Philips CE is producing lead-free sets from 1.1.2005 onwards.
IDENTIFICATION:

Regardless of special logo (not always indicated) one must treat all sets from 1 Jan 2005 onwards, according next rules:

0 On our website www.atvourservice.ce.Philips.com you find more information to:
as BGA-de-lsoldering (+ baking instructions)
* Heating-profiles of BGAs and other le used in Philips-sets
A: Lead free
You WlII find this and more technical information wtthin the "magazine", chapter "workshop news".

For additional questions please contact your local repair-helpdesk.

SERVICE INSTRUCTION

Safety regulations require that after a repair, the set must be returned in its original condition. Pay in particular attention to
the following points:

Route the wire trees correctly and fix them with the 1- UnPIUQ the AC Power cord and connect a Wire
mounted cable clamps. between the two pins of the AC Power plug.

Check the insulation of the AC Power lead for external 2- 35 the AC Power 5W'ICI 0 "5 "on" POSIIIOT (keep the
damage, AC Power cord unplugged!).

Check the strain relief at the AC Power cord for proper 3. Measure the resistance value between the pins of the
function. AC Power plug and the metal shielding of the tuner or
Check the electrical DC resistance between the AC Power the aerial connection 0 the set-The reading ShOUId be
Plug and the secondary side (only for sets which have a AC larger than 4-5 MOW" (F0? U-S- Ii ShOUld be between
Power isolated power supply): 4-2 Mohm and 12 Mohm).

4. Switch "off" the set, and remove the wire between the
two pins of the AC Power plug.

0 Check the cabinet for defects, to avoid touching of any
inner parts by the customer.