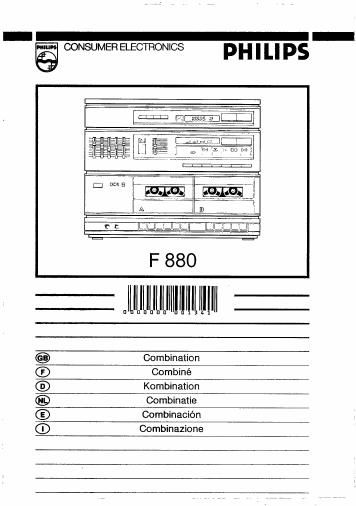
Philips f 880 owners manual

This is the 20 pages manual for philips f 880 owners manual.
Read or download the pdf for free. If you want to contribute, please mail your pdfs to info@audioservicemanuals.com.

Page: 1 / 20
left right
philips f 880 owners manual

Extracted text from philips f 880 owners manual (Ocr-read)


Page 1

_ _
CONSUMER ELECTRONICS D I Ll p5

.2.

F880

________|[J|Hllll lllllllllUllllll:

U 0 fl 0
Combination
Combiné
Kombination
Combinatie
Combinacién
Combinazione

@®@©®@

Page 2

E n g l I S h page 2
Figures page 5859,6061
Guarantee and service pages 62,613.64
Francais page 11
Figures page 55.559.60.61
Garantie et service aprés-vente pages 62.63.64
DeUtSCh Seite 20
Amtsblatt Seiten 28,29
Abbildungen Seite 58.59.60.61
Garantieleistung und Service Seiten 62.63.64
Nedellands pagina30
Figuren pagina 58.59.60.61
Garentie en service paginas 62.63.64
Espafiol pagina as
Figuras paginas 58.59.60.61
Garantia paginas 62.63.64
Italiano pagina 46
Figure pagine 58.59.60.61
Garanzie e servizio pagine 62.63.64

English

INSTALLATIO N

o Unpack all parts. remove any protective material
and put separately packed components to one
side.

0 Open the battery compartment of the remote
control unit and insert the batteries (delivered with
the unit), as indicated in Fig. 10.

lnstallafian of the record player

(NOT ON ALL VERSIONS)

0 Fully tighten both record player transit screws A
(Fig. 3) (screw in clockwise direction). This relea-
ses the record player and enables it to rest on its
springs.

When positioning the unit, bear in mind the
following important points:

0 Every amplifier produces heat when in use, this
must be able to dissipate freely. For this reason do
not cover any vents and make sure that there is
sufficient ventilation room around the unit.

0 Do not place the unit in direct sunlight or close to
radiators. heaters etc. This will prevent overhea-
ting.

0 Do not expose the unit to rain or moisture.

CONNECTIONS

The following points are important when connect-
ing other units to this system:

0 Ensure that the system is not switched on.

0 Make the connections in the given sequence:
first the loudspeakers to the terminals @. then the
aerial to the socket. and other components to the
sockets © to G), and finally the mains lead to
terminal @.

o Checkthat each connection is correct and make
sure the plugs are properly inserted into the
terminals.

0 Always connect plugs or terminals which are
black or white or marked with L' or 'LEFl" with
similarly marked terminals in this system.

The same should be done with plugs or terminals
which are red or marked with R or 'RIGHT.

Fig. 1

(9 terminals for loudspeakers
For connecting a pair of loudspeakers. mini«
mum impedance 4 ohms.