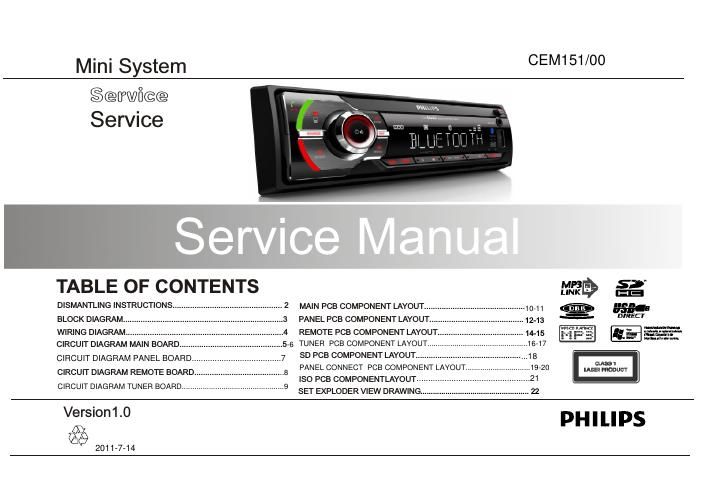
Philips ce 151 service manual

This is the 22 pages manual for philips ce 151 service manual.
Read or download the pdf for free. If you want to contribute, please mail your pdfs to info@audioservicemanuals.com.

Page: 1 / 22
left right
philips ce 151 service manual

Extracted text from philips ce 151 service manual (Ocr-read)


Page 1

Mini System CEM151/00

§@Wfi@@
Sen/ice

TABLE OF CONTENTS 5"
DISMANTLING INSTRUCTIONS ..... MAIN PCB COMPONENT LAYOUT ......... 05'-
BLOCK DIAGRAM ................... PANEL PCB COMPONENT LAYOUT ....... M"
- =3:-
WIRING DIAGRAM ...................... ..4 REMOTE PCB COMPONENT LAYOUT ....... l u: 5; .5 =75.
CIRCUIT DIAGRAM MAIN BOARD ................................. TUNER PCB COMPONENT LAYOUT ............
CIRCUIT DIAGRAM PANEL BOARD ....................................... 7 SD PCB COMPONENT LAYOUT -----------------------------
CIRCUIT D'AGRAM REMOTE BOARD PANEL CONNECT PCB COMPONENT LAYOUT.. mm
ISO PCB COMPONENTLAYOUT ..............................
CIRCUIT D'AGRAM TUNER BOARD """"" SET EXPLODER VIEW DRAWING .................................................... 22

Version1.0 PHILIPS
@

20117-14

Page 2

CEM151ifim7ifii
METHOD OF DISASSEMBLING CEM151

a itllfilmfii

The procedure of disassembling the unit
1) fizilllfififlfiEJtflfixlfififlfi:

Press EJ button and take out panel

2) flfifitffilffiififiAfiEéfi:

Use electrical screw bit to take out A screw in top cover of the unit
3) fiitfi?i§l§fi%§kfiflflflifiifi. #leiflifiifii:

Use tweezer to prize up top cover as the arrow direction that below picture showed

WA
EJ button a.)

Dunns

: fififlfifiifllfiifiz
The procedure of disassembling panel
1) fifiififimfififlflfifiififié:
Use electrical screw bit to take out five screws in back panel
2) fififlfifllfilflflififiéfififigffififig. ififllfi'fiflfififi:
Separate back panel and front panel

3) HXLllKBtli
Take out KB board

Take out 5 screws in back panel