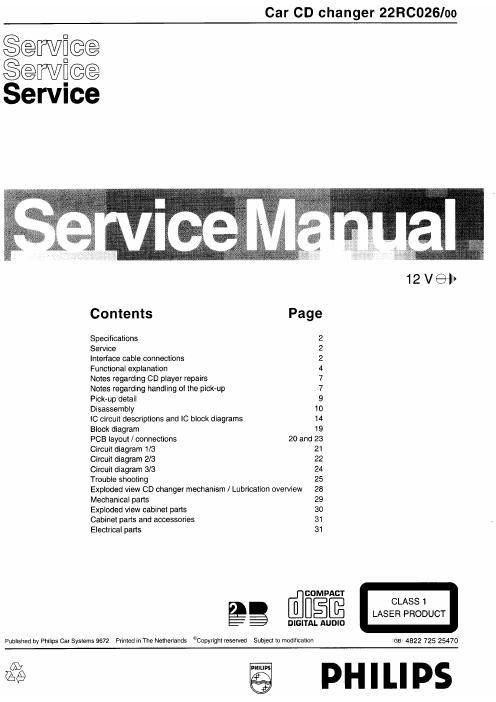
Philips 22 rc 026 service manual

This is the 39 pages manual for philips 22 rc 026 service manual.
Read or download the pdf for free. If you want to contribute, please mail your pdfs to info@audioservicemanuals.com.

Page: 1 / 39
left right
philips 22 rc 026 service manual

Extracted text from philips 22 rc 026 service manual (Ocr-read)


Page 1

Car CD changer 22RC026/oo

Service
Service
Servrce

C ontents Pag e
Specifications 2
Service 2
Interface cable connections 2
Functional explanation 4
Notes regarding CD player repairs 7
Notes regarding handling of the pick-up 7
Pickup detail 9
Disassembly 10
IC circuit descriptions and IC block diagrams 14
Block diagram 19
PCB layout / connections 20 and 23
Circuit diagram 1/3 21
Circuit diagram 2/3 22
Circuit diagram 3/3 24
Trouble shooting 25
Exploded view CD changer mechanism / Lubrication overview 28
Mechanical parts 29
Exploded view cabinet parts 30
Cabinet pans and accessories 31
Electrical parts 31
COMPACT
mil CLASS 1
LASER PRODUCT
DIGITAL AUDIO
Published by Philips Car Systems 9672 Printed in The Netherlands ®Copyright reserved Subject to modification (as: 4822 725 25470

£59 PHILIPS

Page 2

SPECIFICATIONS
Power supply
Frequency response
DAC resolution

Bus interface

Crosstalk L<>R
S/N ratio

SERVICE

IMPORTANT I!

13.2VDC (nom.)
16.0VDC (max)
20-20,000 Hz (1 1dB)
1 bit per channel

028

s -75dB

96dB (A-weighted)

Distortion

Data - Track mute
Wow and flutter
Output voltage
Operating positions
Weight

Dimensions (HxWxD)

s 0.01% (at 1kHz)

2 93dB (A-weighted)
unmeasurable

700mV
HorizontalNenical/45°
2 kg

66 x 259 x 175 mm

!! IMPORTANT

- When disassembling, ALWAYS protect the pick-up unit against ESD damage by closing the solder connection of
the pick-up unit either on the CD panel or the flexible foil pcb!
(See also the repair notes and disassembly procedures described in this manual.)

- New pick-up units are supplied with CLOSED solder connections on the flexible foil pcb.

Do NOT forget to remove the solder connection AFTER replacing the unit!

SERVICE HINTS

To prevent magazine check (duration approx. 30-40 sec.), insert the magazine and press the 'eject' button
SIMULTANEOUSLY. In that case disc no.1 is loaded and the set comes into 'Standby' mode.

Use (home-made) extension cables of approx. 30 cm to get access to the bottom side of the main pcb for
measuring purposes. Two extension cables (a 2-pole and a 5-pole one) are required To make these cables, the
following parts can be ordered and used for making the extension cables:

08801 - cable assy 2-pole - 4822 321 62668

08802 - cable assy 5-pole - 4822 320 11738

The set can also operate without cover, but take care of the following measures:

~ ABSOLUTELY NEVER PERMIT LASER BEAMS TO ENTER THE EYES

- DO NOT EXPOSE THE SET TO BRIGHT (SUN)LIGHT

When the CD changer has a defect while the magazine is still in, the magazine can be removed by moving the
emergency eject lever to the right by a small screwdriver, as shown in figure 1 below. First the protection sheet has
to be removed. DO NOT FORGET to put the sheet back, to prevent dust intrusion! When a disc is chucked, turn the
gear to the right until the slide lever reaches to the edge of the left side (see figure 2).

'k-I-" Slide lever Gear
0 ;
BOTTOM VIEW '
2 c0
""""""""""""""""" % LEVER . III
L.,_._.__.__._._.__. _ L, . _. m

INTERFACE CABLE CONNECTIONS

Figure 1

Figure 2

22R0026 2 -