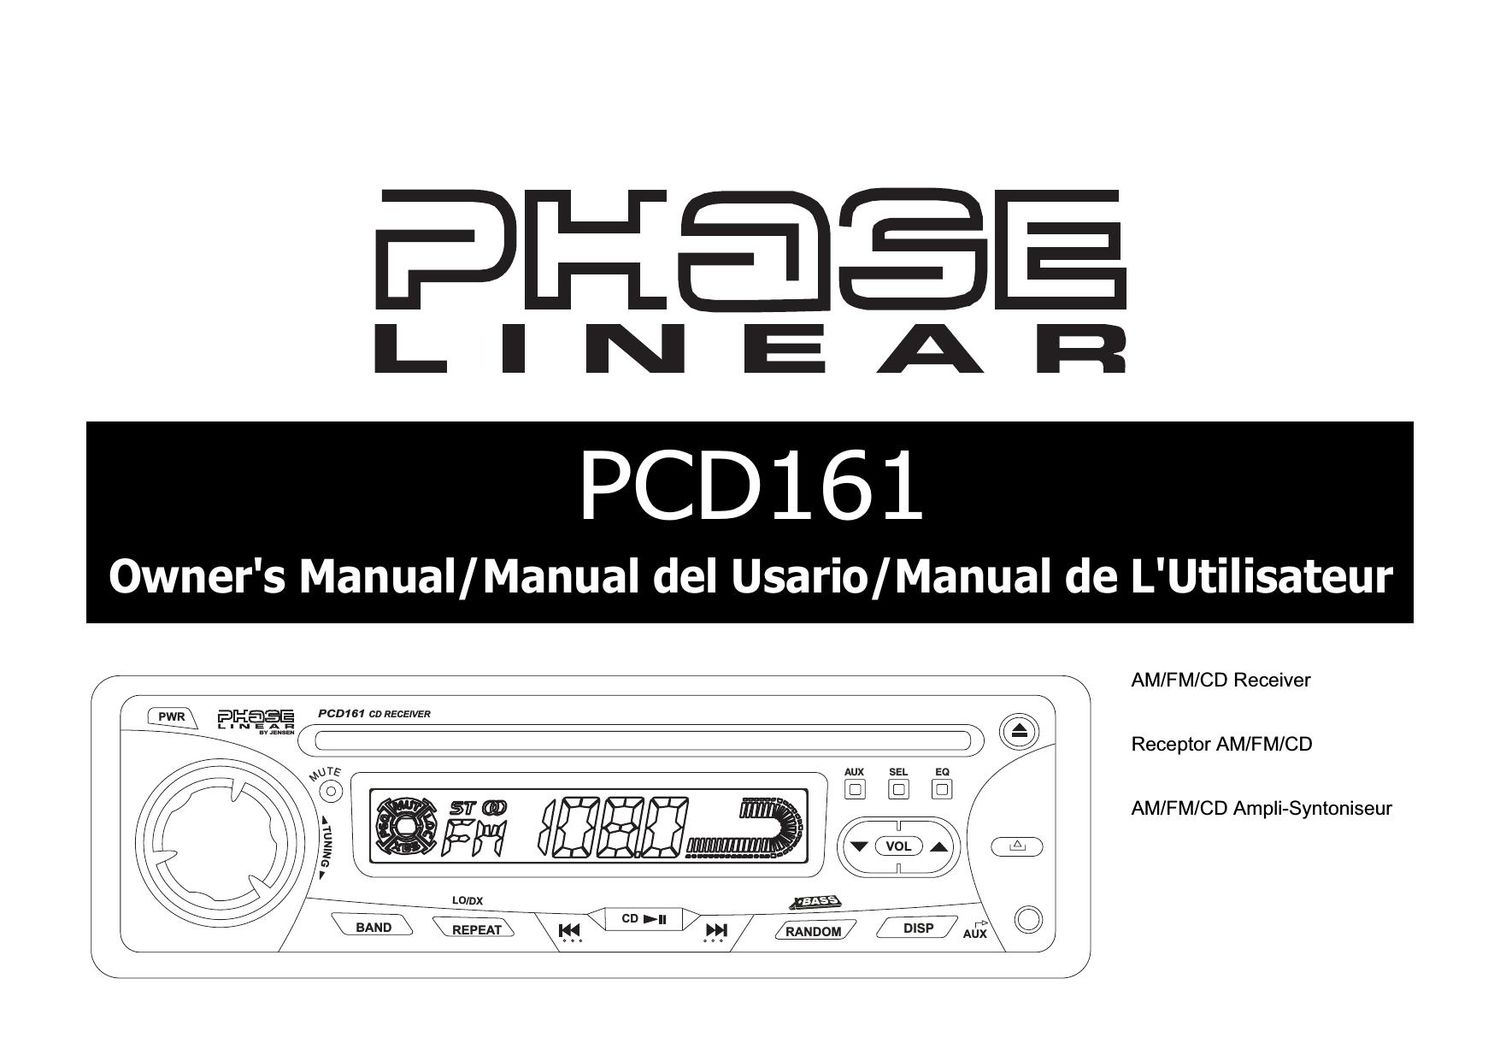
Phase Linear PCD 161 Owners Manual

This is the 46 pages manual for Phase Linear PCD 161 Owners Manual.
Read or download the pdf for free. If you want to contribute, please mail your pdfs to info@audioservicemanuals.com.

Page: 1 / 46
left right
Phase Linear PCD 161 Owners Manual

Extracted text from Phase Linear PCD 161 Owners Manual (Ocr-read)


Page 1

PCD161 PREPARATION Getting Started Its a good idea to read all of the instructions before beginning the installation. Contents Installation Instructions .............................. 3 Wiring ........................................................ 5 Installing the Removable Faceplate .......... 6 Operating Instructions ............................... 7 CD Player Operating Instructions ............ 10 Care and Maintenance ............................ 12 Specifications .......................................... 13 Installation Requirements This unit is designed for installation in cars, trucks and vans with an existing radio opening. In many cases, a special installation kit will be required to mount the radio to the dashboard. These kits are available at electronics supply stores and car stereo specialty shops. Always check the kit application before purchasing to make sure the kit works with your vehicle. If you need a kit but cannot locate one, call our customer support line at 1-800-323-4815. (U.S.A. and Canada only.) Tools and Supplies The following tools and supplies are needed to install the radio. - Torx type, flathead and Philips screwdrivers - Wire cutters and strippers - Tools to remove existing radio (screwdriver, socket wrench set or other tools) - Electrical tape - Crimping tool - Volt meter/test light - Crimp connections - 18 gauge wire for power connections - 16-18 gauge speaker wire Speaker Requirements Only connect speakers rated with a load impedance of 4 ohms. Speakers with a load impedance of less than 4 ohms could damage the unit. Disconnect Battery Before you begin, disconnect the battery negative terminal. Toll-Free Installation Assistance If you require assistance, contact Technical Support at 1-800-323-4815 from 8:30 a.m. to 7:00 p.m. EST Monday through Friday and from 9:00 a.m. to 5:00 p.m. EST on Saturday. (U.S.A. and Canada only.) Pour des instructions en Francais, référez-vous à la page 30. Para obtener instrucciones en Espa ñol, diríjase a la página 16.

Page 2

PCD161 INSTALLATION INSTRUCTIONS Installation Using a Mounting Sleeve 1. Slide the mounting sleeve off the chassis. If it is locked into position, use the removal tools (supplied) to disengage it. 2. Check the dashboard opening size by slid- ing the mounting sleeve into it. If the opening is too small, carefully cut or file as necessary until the sleeve easily slides into the open- ing. Do not force the sleeve into the opening or cause it to bend or bow. Check for suffi- cient space behind the dashboard for the radio chassis. 3. Locate the series of bend tabs along the top, bottom, and sides of the mounting sleeve. With the sleeve fully inserted into the dash- board opening, bend as many of the tabs outward as necessary to firmly secure the sleeve to the dashboard. 4. Place the radio in front of the dashboard opening so the wiring can be brought through the mounting sleeve. Follow the wir- ing diagram carefully and make certain all connections are secure and insulated with wire nuts or electrical tape. After completing the wiring connections, turn the unit on to confirm operation (vehicle ignition must be on). If the unit does not operate, re-check all wiring until the problem is corrected. 5. Make sure the radio is right-side up, then carefully slide the radio into the mounting sleeve until it is fully seated and the spring clips lock it into place. 6. Attach one end of the perforated support strap (supplied) to the screw stud on the rear of the chassis using the hex nut provided. Fasten the other end of the perforated strap to a secure part of the dashboard either above or below the radio using the screw provided. Bend the strap to position it as necessary. 7. Test the radio using the Operating Instruc- tions that follow. DE BA D E RD O M E VS M O D ETE R E R CH PM P I CD /M P RE EI ER CAUTION: The support strap must be used to prevent damage to the dashboard from the weight of the radio or improper operation due to vibration. CAUTION: For proper operation of the CD player, the chassis must be mounted within 20° of horizontal. Make sure the unit is mounted within this limitation. BEND TABS INSTALLATION

Page 15

PCD161 PREPARACIÓN Comenzando Es buena idea leer completamente las instrucciones antes de iniciar la instalación. Contenido Instrucciones de Instalación .................... 17 Cableado ................................................. 19 Instalación de la Cubierta Desmontable .. 20 Instrucciones de Operación..................... 21 Funcionamiento del Lector de CD ........... 24 Cuidados y Mantenimiento ...................... 26 Especificaciones...................................... 27 Requisitos para la Instalación Esta unidad está diseñada para instalarse en autos, camiones y camionetas con abertura para radio preexistente. En muchos casos, se necesitará un equipo de instalación especial para montar el radio al tablero de instrumentos. Estos equipos se consiguen en tiendas de artículos electrónicos o tiendas de estéreos para automóviles. Antes de comprar el equipo, asegúrese de que funcione con su vehículo. Si necesita un equipo de instalación pero no puede conseguirlo, llame a nuestra línea de atención al cliente al 1-800-645-4994 (sólo para U.S.A. y Canadá). Herramientas y Provisiones Las siguientes herramientas y provisiones son necesarias para instalar el radio: - Llave torx, destornilladores plano y Philips - Cúter y peladores de cables - Herramientas para remover la radio existente (destornillador, equipo de llave de casquillo y otras herramientas) - Cinta aisladora - Enganchador - Voltímetro / luz de prueba - Conexiones para enganchar - Cable de calibre 18 para conexiones eléctricas, cable de altoparlante de calibre 16 a 18 Requerimientos del Altavoz Solamente conecte los altavoces de carga de impudencia de 4 ohms. Altavoces con una carga de impedancia menor a los 4 ohms pueden dañar la unidad. Desconecte la Batería Antes de empezar, siempre desconecte la terminal negativa de la batería. Asistencia Gratuita en la Instalación Si requiere asistencia, llame al Soporte Técnico al 1-800-323-4815 de lunes a viernes de 8:30 AM a 7:30 PM tiempo del este y los sábados de 9:00 AM a 5:00 PM tiempo del este (para USA y Canadá solamente. Pour des instructions en Francais, référez-vous à la page 30. For instructions in English, refer to page 2.