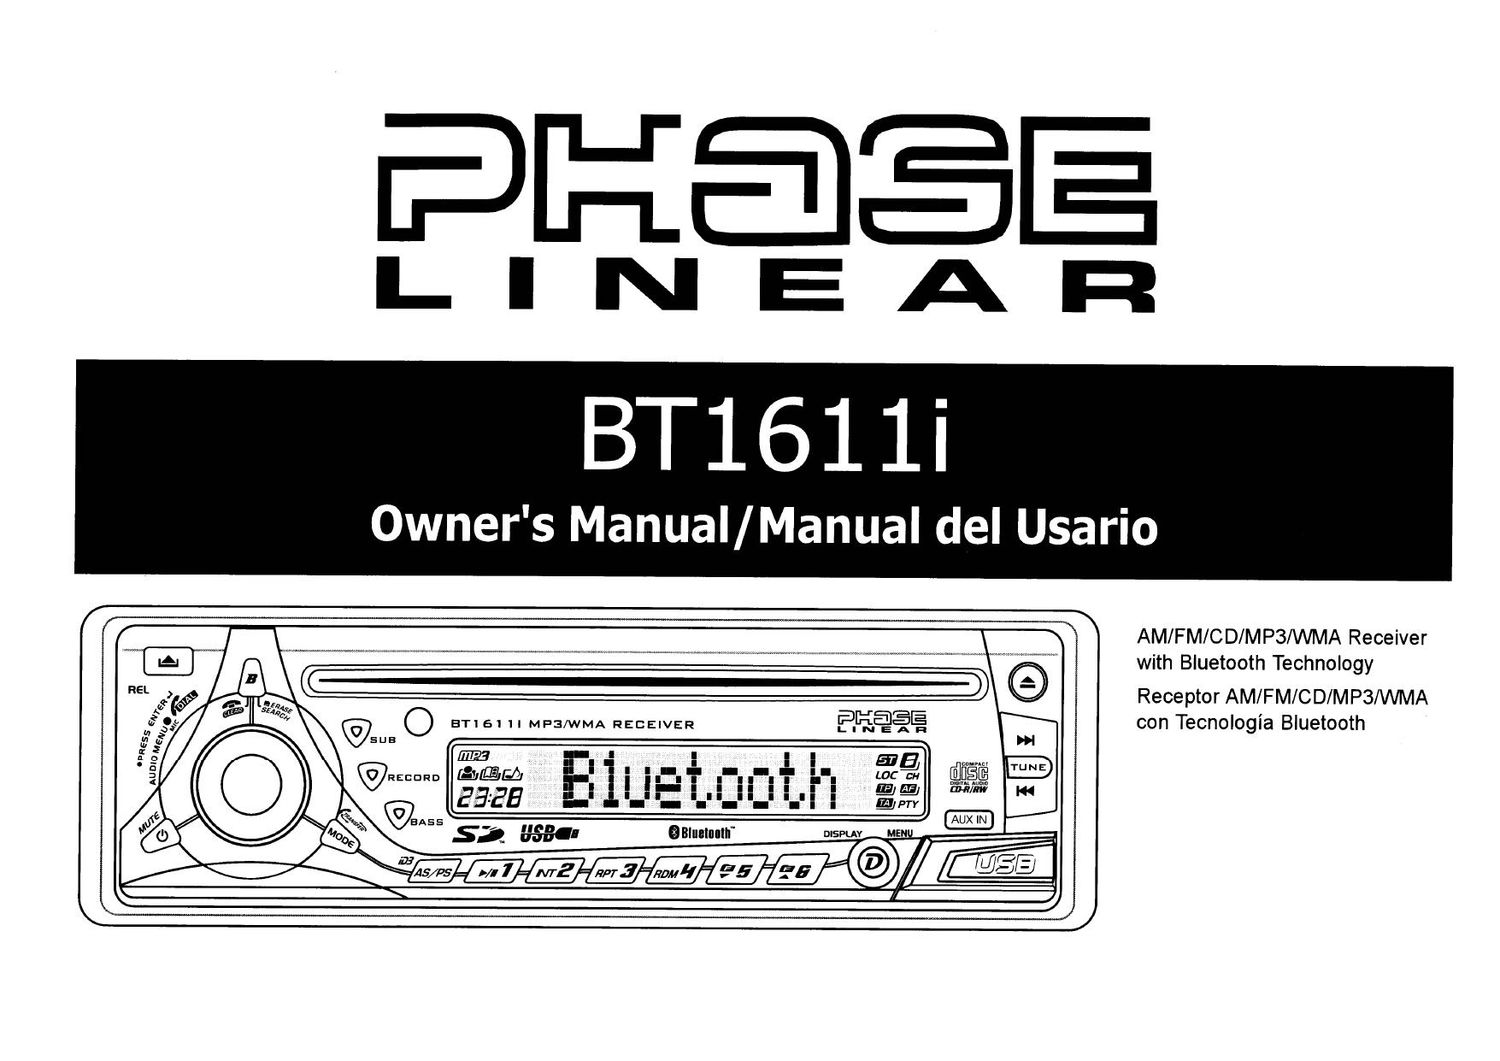
Phase Linear BT 1611i Owners Manual

This is the 40 pages manual for Phase Linear BT 1611i Owners Manual.
Read or download the pdf for free. If you want to contribute, please mail your pdfs to info@audioservicemanuals.com.

Page: 1 / 40
left right
Phase Linear BT 1611i Owners Manual

Extracted text from Phase Linear BT 1611i Owners Manual (Ocr-read)


Page 2

333. 3%

LI

Para obtener instrucciones en Espar'iol, dirijase a la pagina 32.

PREPARATION

Getting Started

Congratulations on your purchase ofthe Phase
Linear BT1611i Mobile AM/FM/CD/MP3/WMA
Receiver. Its a good idea to read all ofthe
instructions before beginning the installation.
We recommend having your Phase Linear
BT1611i installed by a reputable installation
shop.

Contents

Installation Instructions .............................. 3
V\firing ........................................................ 6
Operating Instructions ............................... 7
Tuner Operation ....................................... 11
CD Player Operation ............................... 13
MP3/WMA Operation .............................. 15
Using a USB Device or SD Card. ..
iPod Operation ........................................ 21
Bluetooth Operation ................................ 23
Remote Control ....................................... 27
Care and Maintenance ............................ 28
Troubleshooting ...................................... 29
Specifications .......................................... 30

Installation Requirements

This unit is designed for installation in cars,
trucks and vans with an existing radio opening.
In many cases, a special installation kit will be

required to mount the radio to the dashboard.
These kits are available at electronics supply
stores and car stereo specialty shops, Always
check the kit application before purchasing to
make sure the kitworks with your vehicle. lfyou
need a kit but cannot locate one. call our
customer support line at 1-800-323-4815.
(U.S.A. and Canada only.)

Tools and Supplies

The following tools and supplies are needed to
install the radio.

- Torx type, flathead and Philips screwdrivers
- \Mre cutters and strippers

- Tools to remove existing radio (screwdriver,
socket wrench set or other tools)

- Electrical tape

- Crimping tool

- Volt meter/test light

- Crimp connections

- 18 gauge wire for power connections
. 16-18 gauge speaker wire

Speaker Requirements

Only connect speakers rated with a load
impedance of 4 ohms. Speakers with a load

2

BT1611i

impedance of less than 4 ohms could damage
the unit.

Disconnect Battery

Before you begin, disconnect the battery
negative terminal.

Toll-Free Installation Assistance

Ifyou require assistance, contact Technical
Support at 1-800-323-4815 from 9:00 am, to
6:00 pm. EST Monday through Friday (U.S.A.
and Canada only.)

Page 8

3%

LINE

Treble

Press the AUDIO CONTROL button (4) three
times until TREBLE appears in the display.
Within five seconds, turn the AUDIO
CONTROL (3) to adjust Treble from -6" to +6".
0" represents a flat response. The treble level
is shown on the display for five seconds or until
another function is activated.

Balance

Press the AUDIO CONTROL button (4) four
times until BALANCE" appears in the display.
Within five seconds, turn the AUDIO
CONTROL (3) to adjust the Balance between
the right and left speakers from R1 2 (full right)
to L12 (full left). COO represents an equal
balance level between the right and left
speakers. The balance position is shown on the
display for five seconds or until another function
is activated.

Fader

Press the AUDIO CONTROL (4) five times until
FADER appears in the display. Within five
seconds, turn the AUDIO CONTROL (3)
clockwise or counter clockwise to adjust
balance between the front and rear speakers
from R12" (full rear) to F12" (full front). COO"
represents an equal balance level between the
front and rear speakers. The fader position is
shown on the display for five seconds or until
another function is activated.

VOLUME

,/
FADERé W BASS
/

BALANCE m/ mTREBLE

System Menu

Press and hold the D/DISPLAY button (9) to
view the system MENU". Press the D/
DISPLAY button repeatedly or use the Up
Tuning >>| and Down Tuning |<< (14, 13)
buttons to access the following MENU options.

PAIRING

This feature is used to pair your mobile phone
to the units Bluetooth system. To initiate the
pairing process select Pairing" and then press
the AUDIO CONTROL button.

RE-CONN/DIS-CONN

Use this feature to reconnect or disconnect a
paired mobile phone manually. Turn the AUDIO
CONTROL (3) to select RE-CONN" to re-
connect or DIS-CONN to disconnect and then
press the AUDIO CONTROL button (4) to
perform the operation.

BT1611i

A ANSWER (On/Off)

Select On" to automatically answer calls
without pressing the AUDIO CONTOL button
(4),

PHONE VOL (00-38)

Use this feature to set the default ringing
volume for all incoming calls. Use the AUDIO

CONTROL to adjust the ring volume from 00"
to 38".

CONTRAST (00-10)

Use the AUDIO CONTROL to adjust the
contrast level from 00-10.

Clock FORMAT (12H/24H)

This option allows selection of a 12 Hour or 24
Hour clock format. The default clock format is
12H. Turn the AUDIO CONTROL to select the
24H" format.

Clock SET

Turn the AUDIO CONTROL left to adjust the
hours and right to adjust the minutes.

AREA

Turn the AUDIO CONTROL to select the
appropriate frequency spacing for your area:
U.S.A., Latin, Europe. or Oirt (Russia).
Distant/Local

This feature is used to designate the strength of
the signals at which the radio will stop during
automatictuning. Distant is the default setting,