Parasound hca 600

This is the 10 pages manual for parasound hca 600.
Read or download the pdf for free. If you want to contribute, please mail your pdfs to info@audioservicemanuals.com.

Page: 1 / 10
left right
parasound hca 600

Extracted text from parasound hca 600 (Ocr-read)


Page 1

PARASOUND

H CA-600 High C urrent Power Amplifier

Congratulations on your purchase of this precision audio component and thank you for your selection of
Parasound, Your HCA»600 is among the elite of the finest power amplifiers ever made. You have made an
outstanding investment in your musical and home theater pleasure for years to come.

Every part, every direct-coupled circuit, has been painstakingly selected for optimum musical quality on the
finest and most challenging music and loudspeaker loads. Take a look at the special features found near the
end of this manual to fully appreciate its sophisticated design.

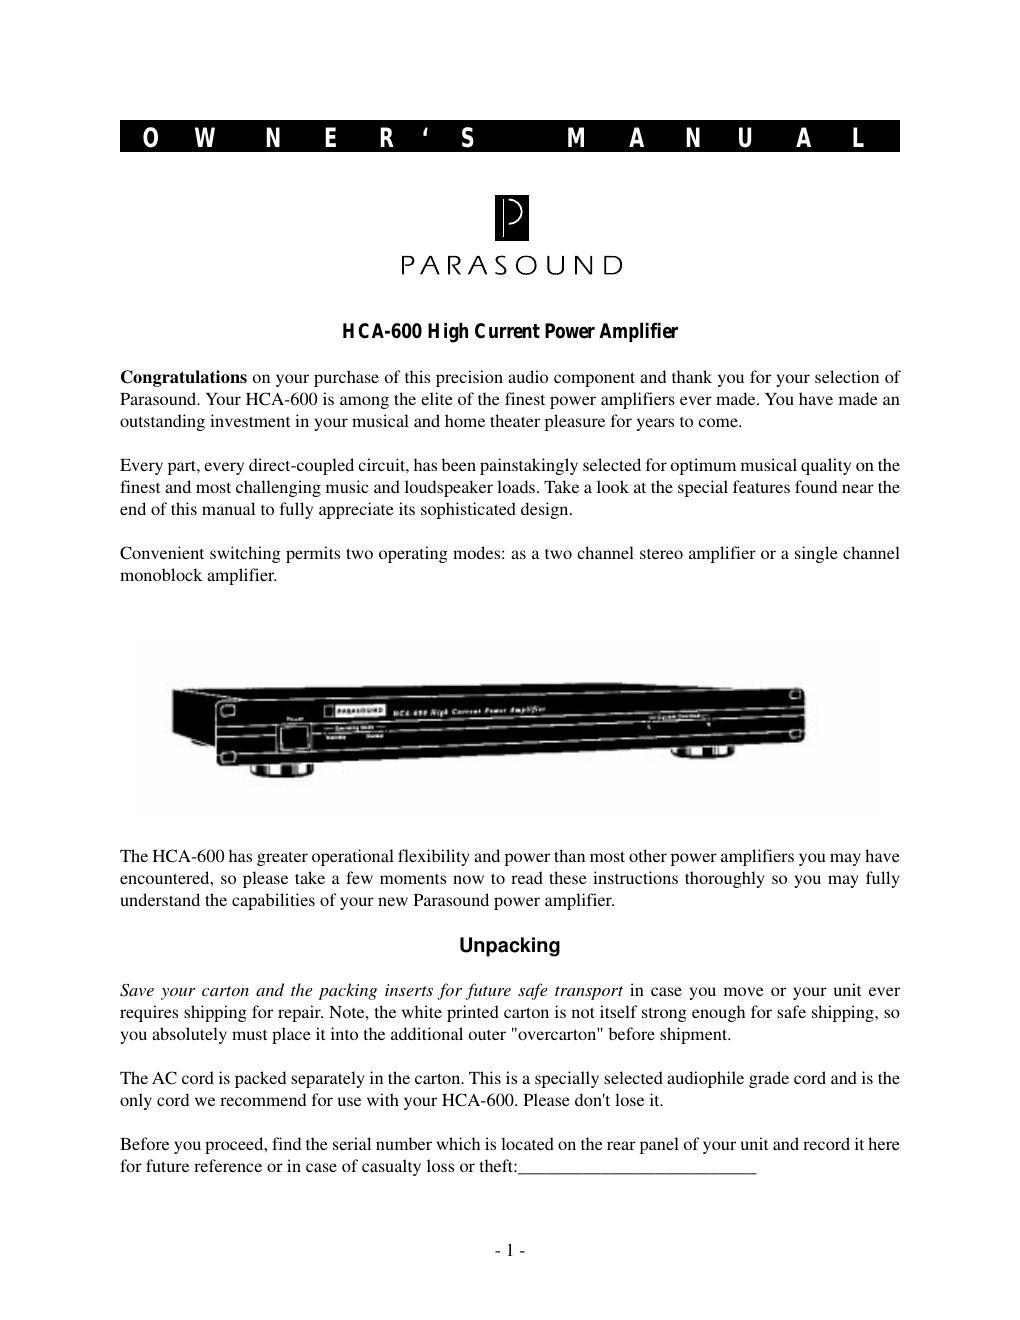
Convenient switching permits two operating modes: as a two channel stereo amplifier or a single channel
monoblock amplifier

The HCA-600 has greater operational flexibility and power than most other power amplifiers you may have
encountered, so please take a few moments now to read these instinctions thoroughly so you may fully
understand the capabilities of your new Parasound power amplifier.

Unpacking
Save your carton and the packing insem for future safe transport in case you move or your unit ever
requires shipping for repair. Note, the white printed carton is not itself strong enough for safe shipping, so

you absolutely must place it into the additional outer "overcarton" before shipment.

The AC cord is packed separately in the carton, This is a specially selected audiophile grade cord and is the
only cord we recommend for use with your HCA-600. Please don't lose it.

Before you proceed, find the serial number which is located on the rear panel of your unit and record it here
for future reference or in case of casualty loss or theft:

Page 2

Rear Panel

1. Input Jacks
2. Input level controls
3. Mono bridge mode selector switch
4. Channels 1, 2 4 Q - 8 (2 speaker terminals
5. AC cord connector
2 l 3 l 2
_ t- I' .+ ..*- E w '-
"" Managua
.9 :g._ Q:- oIo_IoIo - m w
4
Front Panel
1. PowerSwitch
2. Standby-Operation LEDs
3. Current Overload LEDs
I 2 3

((-3 a: on 4.. cut emu. n... "pun-t
~ - --5 (fi-