Panasonic sl sx 289 v owners manual

This is the 8 pages manual for panasonic sl sx 289 v owners manual.
Read or download the pdf for free. If you want to contribute, please mail your pdfs to info@audioservicemanuals.com.

Page: 1 / 8
left right
panasonic sl sx 289 v owners manual

Extracted text from panasonic sl sx 289 v owners manual (Ocr-read)


Page 1

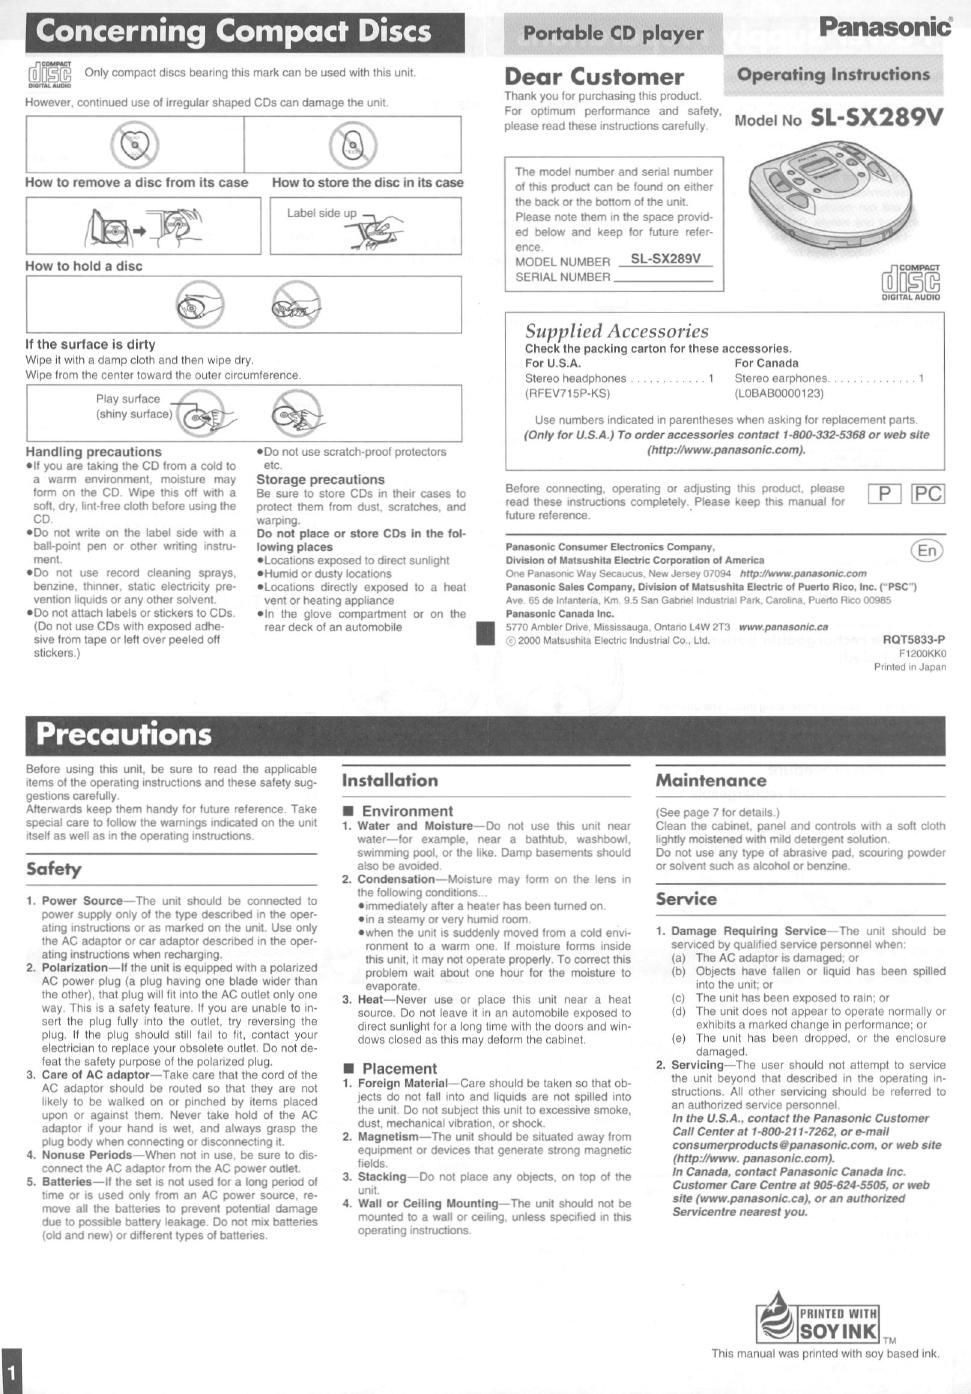
Concerning Compact Discs

m
[ill]§@ Only compact discs bearing this mark can be used With this unit,
mutu-

However. continued use ol irregular shaped CDs can damage the unit

\..,-"

Store-Elia this

lay» '

Dear Customer
Thank you lor purchasmg this product

For optimum performance and safety.
please read these instructions carelully

Panasonic

Operating Instructions

Model No SL'SX289V

How to 5:66,; disc trom its case How to store the disc in its case

IE???

Label side up E

How to hold a disc

The model number and serial number
of this product can be tound on either
the back or the bottom oi the unit

Please note them in the space prov-d»
ed below and keep lor luture reter»

It the surface is dirty
Wipe it With a damp cloth and then wipe dry.
Wipe item the center toward the outer circumlerence.

Play surtace

(shiny suflace®

\

Handling precautions

all you are taking the CD lrom a cold to

000 not write on the label Side with a

'00 not use record cleaning sprays.

000 not attach labels or stickers to (305

etc.
a warm envrronmenl. morsture may
lorm on the CD Wipe this oil wrth a
soft. dry, lint-tree cloth belore using the
CD warping.
ball-point pen or other writing instru-
ment.

benzine. thinner, static electricny pre-
vention liquids or any other solvent.

(Do not use CDs With exposed adhe~
sive trorn tape or lett over peeled ott
stickers J

000 not use scratch-prool protectors

Do not place or store CD: in the tal-

Iowing places

oLocatioris exposed to direct sunlight

oHurnid or dusty locations

ILocations directly exposed to a heat
vent or heating appliance

oln the glove compartment or on the
rear deck 01 an automobile

Use numbers indicated in parentheses when asking lor replacement pans
(Only for U.S.A.) To order accessories contact 1-800-332-5368 or web site
(htth/wwwplnasonicconr}

ence.
MODEL NUMBER M
SERIAL NUMBER
DMIVIL AUDIO
Supplied Accessories
Check the packlng carton for these accessorlee.
For U.S.A. For Canada
Stereo headphones . 1 Stereo earphones. . . . . . . 1
(RFEV7l5P-KS) (LOBABOOOWZSl

Storage precautions
Be sure to store (305 in their cases to
protect them lrorn dust. scratches. and

luture reterence

Belore connecting. operating or adjusting this product. please
read these instnictions completely _Please keep this manual lor

El

Panasonic Consumer Electronics Compony.

Dtvlslan ol autism" Electric Cotpomion oi Am

One Panasonic Way Secaucus New Jersey 07094 http:/Mww.nnn.llonlc.com
Panasonic Salad Company. Division 0| Mluthfll Electric 0' Puone Rice, Inc. ("PSC")
Ave 65 do Inlanleria, Km 9 5 San Gabriel Industrial Park Carolina Puano Rico 00955

Pun-Ionic Clnldl Inc.

®

5770 Ambler Drive. MiSSissauga, Ontario LAW 2T3 www.pllllunic.cl
r 2000 Matsushita Electric Induslilal Co . Ltd

FIOT5833-P
FlZOOKKU
Printed in Japan

BCGU OIIS

Belore using this unit. be sure to read the applicable
items ol the operating instructions and these satety sug-
gestions carelully

Alterwards keep them handy tor luture reterence Take
speCiaI care to Iollow the warnings Indicated on the unit
use" as well as in the operating instructions,

Safety

1.

Power Source-The unit should be connected to
power supply only ol the type described in the open
aling instructions or as marked on the unit. Use only
the AC adaptor or car adaptor described in the oper-
ating instmctions when recharging,

2. Polarization-It the unit is equipped with a polarized

AC power plug (a plug having one blade wider than
the other). that plug wtll lit into the AC outlet only one
way. This is a salely taature ll you are unable to in-
sert the plug lully into the outlet, try reversing the
plug. It the plug should still tail to lit. contact your
electrician to replace your obsolete outlet. Do not de-
ieat the salety purpose at the polarized plug.

. care or Ac adaptor-Take care that the cord or the

AC adaptor should be routed so that they are not
likely to be walked on or pinched by items placed
upon or against them Never take hold at the AC
adaptor it your hand is wet, and always grasp the
plug body when connecting or disconnecting it

4. Nonuse Periods-When not in use. be sure to dis-

connect the AC adaptor lrom the AC power outlet.

, Batteries-ll the set is not used tor a long period at

time or is used only lrom an AC power source. re-
move all the batteries to prevent potential damage
due to possible battery leakage Do not mix batteries
told and new) or different types ol batteries

Installation

Maintenance

l Environment
1. Water and Molsture-Do not use this unit near
water-tor example. near a bathtub. washbowl.
swimming pool. or the like Damp basements should
also be avoided
2. Condenflllon-MOIsture may term on the lens in
the lollowing conditions
aimmediately alter a heater has been turned on
em a steamy or very humid room.
owhen the unit is suddenly moved lrom a cold envi-
ronment to a warm one It moisture lonris inside
this unit, it may not operate properly. To correct this
problem wait about one hour tor the moisture to
evaporate
3. Hut-Never use or place this unit near a heat
source Do not leave it in an automobile exposed to
direct sunlight tor a long time With the doors and Win»
dows closed as this may delorm the cabinet.

I Placement

1. Foreign Materialvcare should be taken so that ob-
iects do not tall into and liquids are not spilled into
the unit Do not subject this unit to excessrve smoke.
dust. mechanical Vibration. or shock

2. Magnetism-The unit should be situated away irom
equipment or devices that generate strong magnetic
lields.

3. StackingiDo not place any objects. on top at the
urlit

4. Wall or Ceiling Mounting-The unit should not be
mounted to a wall or ceiling. unless specitied in this
operating instructions

[See page 7 tor details )

Clean the cabinet. panel and controls With a soft cloth
lightly maistened with mild detergent solution

Do not use any type ol abrasive pad, scouring powder
or solvent such as alcohol or benzine

Service

1

Damage Requiring Service-The unit should be

serviced by qualitied servrce personnel when.

(a) The AC adaptor is damaged. or

(b) Objects have lallen or liquid has been spilled
into the unit: or

(c) The unit has been exposed to rain: or

(d) The unit does not appear to operate normally or
exhibits a marked change in ponormance: or

(e) The unit has been dropped, or the enclosure
damaged.

Servlclng-Tne user should not attempt to service

the unit beyond that described in the operating in-

structions All other servicing should be rolarred to

an authorized service personnel.

In the U.S.A., contact the Pannsonlc Customer

Call Center at 1-800-21 1-7262, or e-rriall

consumerproductsfipanasoniccom. or web site

(http://www. panasonlccon-i).

In Canada. contscl Panasonic Canada Inc.

Customer Care Centre at 905-624-5505, or web

site (wwwpanasanloca), or an authorized

Servicenlre nearest you.

_ riiiiirrii turn
59) sov IN K w

This manual was printed With soy based ink.

Page 2

l i'" l'll l'

x l""oi':ll ll rlzi

rations»

W

iidill Al 1

it ni'

91' 5" LPlYWreP

Ll
.lnl. ,, l..u;.ii.i.i ll

Refer to the specifications (page B) for information on operating times when using rechargeable batteries or dry cell batteries.

Important note about the memory

and the power supply

To preserve the contents of the memory, ensure

the unit has a constant supply of power.

°Turn the unit off before changing the batteries and
before connecting or disconnecting the AC adaptor.

°The unit can maintain the memory without power
for about one minute. Change batteries or recon-
nect the AC adaptor within this time.

°As a precaution, insert batteries even when using
the AC adaptor or car adaptor.

Using the AC adaptor
(not included)
Be sure to obtain the optional AC adaptor.
Optional AC adaptor : RP-AC46
Connect the AC adaptor.

DC IN jack (DO IN 4.5 V 966)

Household
AC outlet

Back panel of
the unit

AC adaptor

Conserving power

To save power when the unit is not to be used for a long
time, unplug the AC adaptor from the household AC
ouflet

Using the rechargeable batteries
(not included)

Obtain the optional rechargeable batteries.

Recharge the batteries before using them. The unit can»
not be used to charge rechargeable batteries other than
those specifically designed for it.

Optional batteries: P~3GAVA/ZB

Recharging procedure

1 Insert the special rechargeable bat-
teries.

2 Connect the AC adaptor.
(Refer to Using the AC adaptor" for connection
instructions.)
Recharging starts and the charging indicator
flashes on the unit's display.
When the rechargeable batteries are fully re-
charged the charging indicator disappears.

3 When recharging is complete, dis-
connect the Ac adaptor from the
unit's DC IN jack and the household
AC outlet.

ONever mix dry cell and rechargeable batteries.

OFlechargeabIe batteries have a service life oi approxi-
mately 300 charge-discharge cycles. The batteries
have reached the end of their operational life if they
last for a noticeably shorter time alter recharging, or if
they cannot be recharged at all. Replace the batteries.

aRecharging may only be performed when the unit is
powered off.

°The AC adaptor and rechargeable batteries may be-
come warm while recharging is in progress. This is not
a malfunction.

«Leaving the AC adaptor connected can cause the bat-
teries to go flat. After recharging the batteries, discon-
necting the AC adaptor from the household AC outlet,
ensure you disconnect the adaptor from the unit's
[DC W 4.5 V 969 ) terminal.

If the battery lid 1 Removing batteries

comes loose ) Push up on the battery

. . . in the direction indicat-
Slide the lid back into 1 ed by the arrow. Then
place horizontally. l Iiititout.


tau-kl

HOLD mode

swinging of the unit.

tions.

canceled.

This function causes the unit to ignore

,Lm ,' d" indication

short, accidental button presses. (The

disc lid can still be opened and closed.)

The HOLD function prevents the

following:

oThe unit is powered on accidentally
when not in use, causing the batteries
to run down.

9A button is accidentally pressed during
play, interrupting the operation.

To use the HOLD function
Set [HOLD] to the HOLD position.

When the unit is in HOLD mode, press-
ing any button causes the indication
ha i d" to appear on the display.

When the unit is powered off:
The hold" indication appears only
when [Mr] or [RADIO/BAND] is
pressed.

Before operating the buttons
Be sure to move [HOLD] to release
the unit from the HOLD mode.

Using dry cell batteries
(not included)

After disconnecting the AC adaptor, insert two AA"
(LBS) alkaline batteries.

The procedure for inserting and removing dry cell bat-
teries is identical to that for rechargeable batteries.

Battery indicator

Battery indicator

This indicator flashes when the batteries are almost out
of power. Power is out off a short while later. Recharge
the rechargeable batteries or replace the dry cell batter-
ies with new ones.

IHow long the unit continues to operate after the bat-
tery indicator starts flashing depends on the type of
batteries and on whether you are using the unit to play
CDs or the radio.

IThe battery indicator may not flash it rechargeable
batteries other than those designated by Panasonic
are used.

Using the car adaptor (not included)

Be sure to obtain the car adaptor (SH-CD09). available
as an optional accessory.

CAUTION:

Use only car adaptor, Model: SH«CDC9 manufac-
tured by Matsushita Electric industrial 00.. Ltd.

The car adaptor can be used to recharge the unit's bat-
teries while in the car.

If the unit malfunctions or freezes during use.
disconnect the power sources (the AC adaptor
or batteries).

lie-connect the power source and continue
operation.

This system deals with skipping in a variety of ways:
OAn anti-skip mechanism prevents skipping caused when play speed changes due to

8A recovery system immediately returns the laser pickup to its original position if it is

knocked off the track by a strong shock.
°The 40-second anti-skip memory fills in interruptions caused by bumps and vibra-

The anti-skip system works automatically while the unit is on and cannot be

When bumps continue repeatedly
The message SORRY" appears on the display and sound is interrupted.

The anti-skip memory compresses digital signals.