Panasonic sl ct 470 owners manual

This is the 8 pages manual for panasonic sl ct 470 owners manual.
Read or download the pdf for free. If you want to contribute, please mail your pdfs to info@audioservicemanuals.com.

Page: 1 / 8
left right
panasonic sl ct 470 owners manual

Extracted text from panasonic sl ct 470 owners manual (Ocr-read)


Page 1

tr
. n
x.

Make sure the anti-shock luNiloii
is ON.

® Before jogging wrth this unit. allow

suiticient time tor the memory

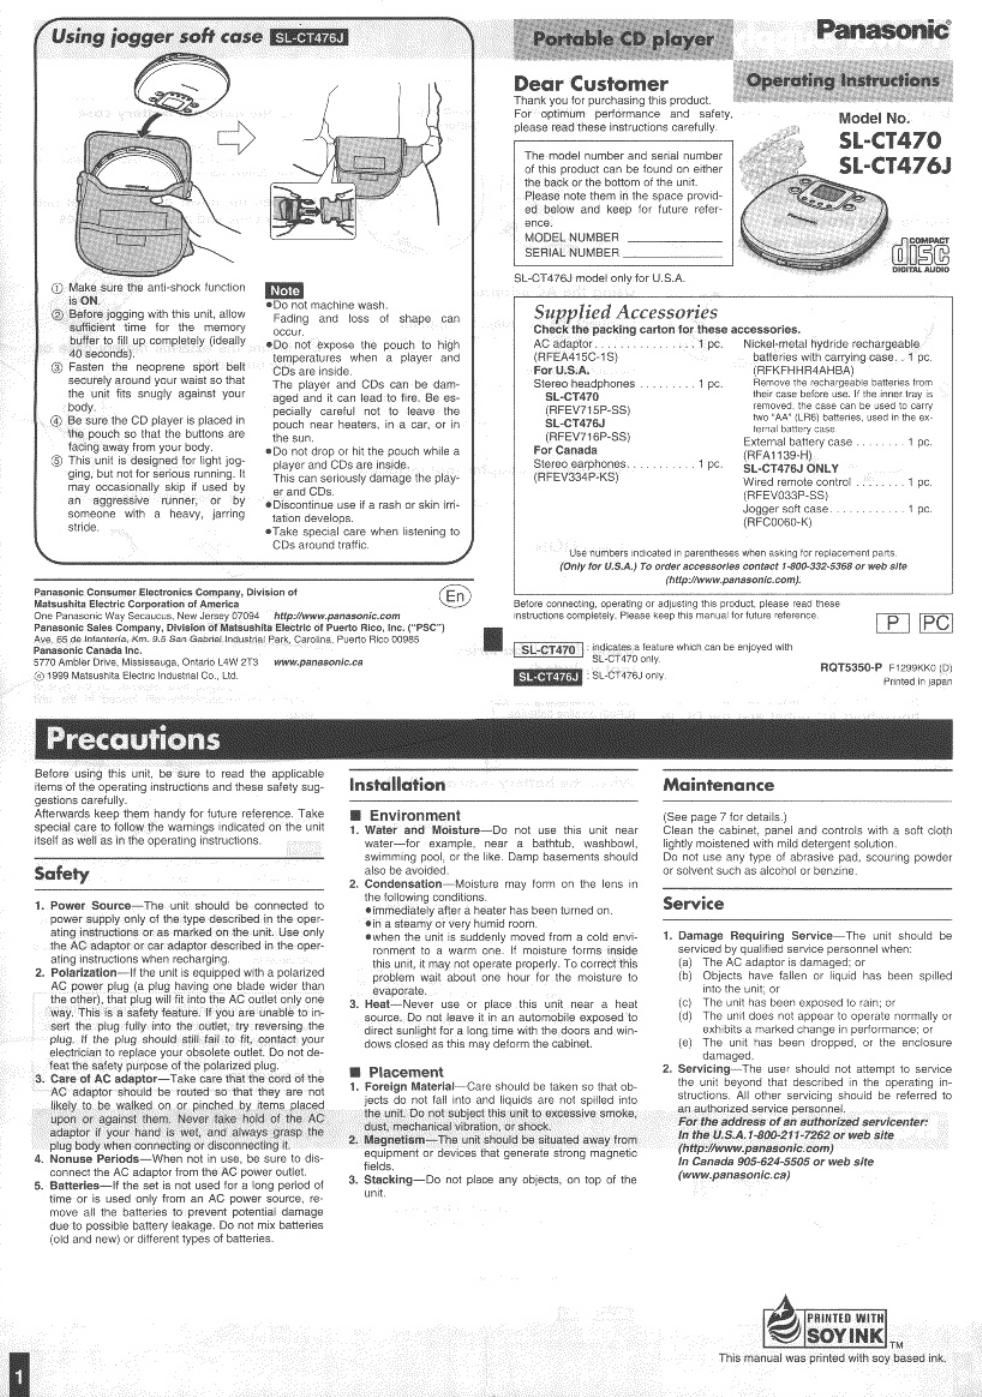
( Using jogger soft case

0E0 nol machine wash.

Fading and loss or shape can
occur.

Dear Customer
Thank you lot purchasing thls product.
For optimum performance and safety.
please read these Instructions carefully

Model No.-
SL-CT47O
SL-CT476J

The model number and aenal number
of this product can be lound on etther
the back or the bottom of the and.
Please note them in the space provrd»
so below and keep or luture retcr~
once.

MODEL NUMBER _______
SERIAL NUMBER s...

SL~CT476J model only for U.S.A.

Supplied Accessories
Check the packing carton lot that acussorlec.

butler '0 ll "P CWIBWW (Ideally 000 not emcee the pouch to high AC adaptor. . . . . . . . 1 pc. NIckol-rnolsl hydride rechargeable
mm temperatures when a player and (RFEA415C-1Sl batteries Willi carrying case. 1 pc.

(5) Fasten the neoprene sport ha" 003 ateinsldo For U.S.A. [RFKFHHFHAHBAJ
seairelyaround your waist so that The player and CD5 can be dam- 519,59 headphones . . . .. . . 1 pc. Horror/ewe ushsmaos oatlonss Irom
mm" "9" 9" W .9......M....d.o W "7" 2:23

_ eciall caratul nol to leave the lRFEV715P55i . t . ' V "

(9) Be sure tho CD player is placed In :wchyneat healers. in a car. or in SL-CT47B-l $332,313 3'9" we W "'5 B"
the pouch so that the buttons are the 5,, magi/71513.55) External battery case 1 ll r
9"9 (all "0' WW W -Do not drop or tin the pouch while a For Canada "g, 139.) '

{5} This unit is designed tor light tog player and ODS are tnsrde. 319,90 earphones. . y t W- SL-CT47BJ ONLY
9'"9- m "° '°' 59m """'"9- " This can seriously damage the play- (HFEVIBW'KS) wned more commit 1 pg
may occastonally skip ti used by er and CDs. lRFEVOSSP-SS) VVVVVVV .
an aggresyve mnner. or bV CDisoontirtue use it a rash or skin lrri- Jogqer fig" amp l in:
someone with a heavy, iorflng Mon melons. (RFbuotin-Kl . . . . .

stride OTake special care when listening to

K (:05 around trailto /

Pun-mil: Cnnwmt Elbumlttu canplny. Division or [E n\.
tut-undo Electric Corporation oi Amnc- \.. .2
on: Panasonic Way Setaucus. New Jersey 07094 hflpJMwmpln-mtincom

Pun-Iona: Sule- Oorrtpnny. met-Ion oi Mmulhltl Electric ol Plum Rico. Iris. (PEG)

two 55 an Int-numb. Km. 9.5 slut Gunner Industrial Park. Carolna. Puerto Rico 00955
Pun-onto Can-d- inc.

5770 Ambler Drtvtt Minststeuqa, Omitto thw 2'3
1..) two Mallusma Eleolric industrial Co , Ltd.

the numbers indoated tr :aranlhme when ulna lcr remecwent pens
i'Only tor MM.) To order loco-aorta Contact twang or won all:
{hupmpmnoninsom}.

Senora ommrxng. operating or adiuslirtg this prtduzl please res: these
inttructtons completely Please keep this mnrual Ior lulitre 'elnrome

I SL-CYlt't) initiates a lest-ire wlim cm be named with

5L-CM?D only
SL-CNVEJ any

ENE!

norsziso-P l- rational: lbi
Printed tr lav-n

Precautions

Belore using this unit. be sure to read lhe applicable _ ,
items at the operating instructions and these salaty sug- II'ISM llution Maintenance
gaations carefully. m- i
Atterwerds keep them handy tor tutu-re reterenoe. Take . Environment .1599 page 7 ic-r details 1
3995" 03, 0 'O'IW "'3 mm? momma 0" "9 n" I. Wltnr Ind Moisturo-Do not use this unit near Clean the cabinet. panel and controls With a soft cloth
"59" as we" 35 in "0 ON'ai'm] immm'ons water-tar example. near a bathtub, \veahbowl. lightly moistened with mild detergent solmron

swimming pool or the like Damp basements should Do not use any type of abrasive pad. scouring powder
Safety

trump-name.

also be avoided or solvent such as alcmul or berwrie
1. Power Source-The unit should be connected to

2. Condonntion , Moisture may term on Iho Ions in
power supply only ot the type described in the oparv
sting instructions or as marked on the unit. U19 only
the Ac adaptor or car adaptor described in the oper-
ating Instructions when recharging.

2. Polortntton' It the unit is equipped with a polarized
AC power plug (a plug havtng one blade wider litan
the other). that plug will tit into the AC outlet only one
way. This is a sstety feature. It you are unable to in-
sert the plug fully Into the bullet, try reversing the
plug. it the plug should still tart to L contact your
electnmen to replace your obsolete outlet. Do not de-
test the stately purpose oi the polarized plug.

a Care at AC adaptor-Take care that the cord oi the
AC adaptor should be routed so that they are not
likely to be walked on or pinched by items placed
upon or against them. Never taint hold at the AC
adaptor it your hand Is wet. and always grasp the
plug body when connecting or disoonrtectlng it.

I. Nonuse Periods-When not in use. be sum to dis»
connect the AC adaptor irorn the AC power outlet.

5. Batteries-it the set is not used tor a long period oi
time or is used only trorn an AC power source. re-
move all the batteries to prevent potential damage
duo to possible battery leakage. Do not mix batteries
(bid and new) or allterent types at batteries

the tollwnng conditions

Ulmmediatety alter a heater has been turned on.

Din a steamy or very humid room

owhen the unit iS suddenly mved tram a cold envt-
ronmem m a warm one I morsture torms inside
this urirt, it may not operate properly. To correct this
problem wait about one hour lor the moisturo lo
evaoorale.

3. Holt-Never use or place this unit near a heat
source. Do not leave it in an automobile exposed to
arrest sunlight for a long time wnh the doors and win-
dows closed as this may deform the cabinel.

I Placement

1. Foreign Material~~Carc should bu taken so than ob-
;ecls do not tall into and liquids are not spilled into
the unit. DD not subject this unit to excessive smoke.
dust. mschantcsd vibration. or short.

2. Megnutlem-The unit should be situated away lrorn

equipment or devtoss that generate strong magneoc
fields.

3 Sucking-Do not place any obgeets. on top sit the

unit

Service

1. Damage Requiring Service-The unit stiwld be
servrcad by ouairlied service personnel when
lat The AC adaptor is damaged: or
[ti] Objects have ialleri or liquid has been spilled
rntothe unll or
to) The unit has boon amused to ram; o:
id} The and clubs not appear to overall: normally or
uxhibits it Marked mange in pedoimamez or
lot The unit nas been dropped. or the enclosure
damaged
2. Servicing-The useV should not attempt to service
the uni: beyond that descrtbed in the operating in-
structions. All other servicing should be reterred to
an authorized service personnel.
Fol tho lddnur of an authorized servicemen
in th- U.S.A.1-000-2l1-7262N web site
(hflpzflbvwwpenuonlcm)
In Can-d5 gas-521m or web site
(www.muonlc.cl)

@

This manual was printed with soy based ink.

Page 2

Power upply Prepara on

Refer to the specifications (page B) for information on operating times when using rechargeable batteries or dry-cell batteries.

Using rechargeable batteries

Make sure to recharge the batteries before using them.
The unit cannot be used to charge rechargeable batter-
ies other than those specifically designed for it.
Supplied batteries (HHR4AHEBAI)

OOptional batteries (HHR-4AHA/ZB)

Recharging procedure

1 Insert the special rechargeable bat-
teries into the unit.

If the battery lid
comes loose
Slide the lid back into
place horizontally.

Removing
batteries

Push up on the battery in
lhe direction Indlcalad by
the arrow Then lift it out.

AME

2 Connect the AC adaptor.
DC IN jack ( see Dc IN 4.5 V)

%

Back panel of
the unit


Household

AC adaptor AC outlet

Recharging starts and the I" charging indicator
flashes on and off on the unit's display.

When the rechargeable batteries are fully re-
charged. the charging indicator disappears. (It
takes approximately 3 hours to fully recharge the
supplied rechargeable batteries.)

3 When recharging is complete, un-
plug the AC adaptor from the
household AC outlet and the DC IN
jack.

ORechargeable batteries have a service life of approxi-
mately 300 charge-discharge cycles. If the operating
time on one full charge becomes noticeably shoner
than it used to be. the battery has reached the end of
its service life and should be replaced.

oRecharglng may only be performed when the unit is
powered off. (It is not possible to recharge the batter-
ies while playing a CD.)

0The AC adaptor and rechargeable batteries may be-
come warm while recharging Is in progress. This Is not
a malfunction.

HOLD funct on

Using the AC adaptor

Connect the AC adapter supplied.
Refer to the step 2 in Using rechargeable batteries" for
connection instructions.

Conserving power

The AC adaptor consumes 1.8 W when the unit is
turned off with [l, OPR OFF). To save power when the
unit is not to be used for a long time. unplug the AC
adaptor from the household AC outlet. Reprogram
tracks if necessary before use.

Using the car adaptor (not included)

Be sure to obtain the car adaptor (SH-CD09). available
as an optional accessory.

CAUTION:

Use only car adaptor. Model: SH-CDCQ manufac-
tured by Matsushita Electric Industrial Co.. Ltd.

The car adaptor can be used to recharge the unit's bat-
teries while in the car.

Using dry cell batteries
(not included)

After disconnecting the AC adaptor. insen two "AAA"
(LROS) alkaline batteries.

The procedure for Insertan and removing dry-cell bat-
teries ls identical to that for rechargeable batteries.

When the battery indicator flashes

- Battery indicator

Power is cut off a short while later. Recharge the
rechargeable batteries or replace the dry cell batteries
with new ones.

0 he ength of time the unit will continue to operate be-
tween when the battery indicator starts flashing and
when the power is cut off differs depending on the
type of batteries used.

IThe battery indicator may not be displayed if recharge-
able batteries other than those designated by
Panasonic are used.

Using the external battery case

4 The external battery case allows you to extend the max
imum playing time of the unit by loading an additional
two AA" (LRE) alkaline batteries.

1 Open the cover of the external bat-
tery case and insert the batteries.

Insert the and
marked (-) first.

2 Mount the external battery case on
the unit body.

Screw


Insert the protrusions
on the external

battery case into the
three indentations in
the unit body.

0

Bottom of
the unit


3 Secure in place with the screw.

Reverse the above procedure to remove the ex-
ternal battery case.
For your reference:
0The unit can be powered by the batteries in the exter-
nal battery case alone. No batteries need to be loaded
in the player.
0The maximum playing time depends on the type of
batteries (rachargeable/dry-cell) loaded in the unit
body.

It the cover of the e®xternal battery case
comes loose:

Insert the
protrusions on the
cover into the
holes" In the case.

I133

IThough you can use rechargeable batteries In the ex-
ternal battery case. it does not recharge them. (Use
dry cell batteries if possible.)

Ilf rechargeable batteries and dryvcell batteries are
used together. make sure to use fully charged
rechargeable batteries and new dry-cell batteries.

OWhen using four dry-cell batteries. do not mix new and
old batteries.

If the unit malfunctions or freezes during
use, disconnect the power sources (the
AC adaptor or batteries).

Re-connect the power source and contin-
ue operation.

HOLD mode

This function causes the unit to ignore short. accidental

button presses. (The disc lid can still be opened and

closed.)

The HOLD functlon prevents the following:

OPowering on the unit accidentally (which can cause
the batteries to run down).

IPlay being cut off unexpectedly in the middle of a se~
Iection.

To use the HOLD function

Set [HOLD] to the HOLD position.

S 47

The um and wired remote control have HOLD func-
tions. each of which works independently.

"ho Id" indication

When the unit is in HOLD status, pressing any button
causes the indication "he } d" to appear on the display.
When the unit is powered off

The "hold" indication appears only when [>II] is
pressed.

Before operating the buttons
Be sure to move [HOLD] to release the unit from
the hold mode.