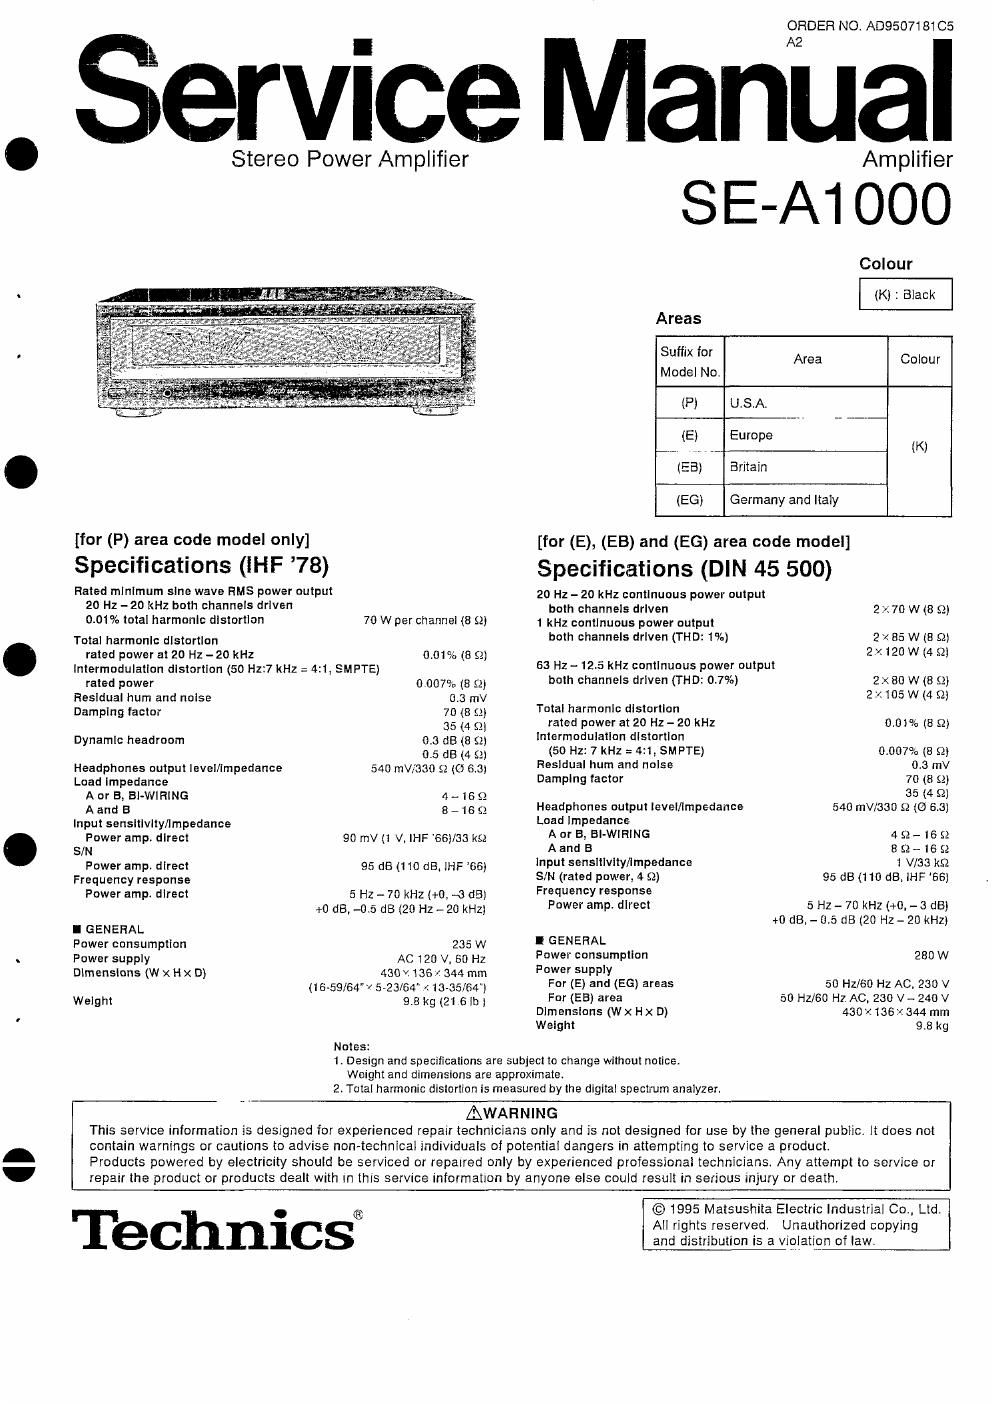
Panasonic se a 1000 service manual

This is the 30 pages manual for panasonic se a 1000 service manual.
Read or download the pdf for free. If you want to contribute, please mail your pdfs to info@audioservicemanuals.com.

Page: 1 / 30
left right
panasonic se a 1000 service manual

Extracted text from panasonic se a 1000 service manual (Ocr-read)


Page 2

SE-At 000
l Contents

Safety Precaution
Before Repair
Protection Circuitry
Accessories ......
Caution for AC Mains Lead
Connections .........
Front Panel Controls
Operations.
Operation Check and

Main Component Replacement Procedures .......................... 7~1i

'U
n:
(D
m

M} .
mmmmmmmm

I Safety Precaution

[for (P) area code model only]
1. Before servicing, unplug the power cord to prevent an electric shock.

Measurements and Adjustment
Schematic Diagram .....
Printed Circuit Board Diagram
Wiring Connection Diagram
Block Diagram
Replacement Parts List
Cabinet Parts Location
Packaging

24~27, 30
28. 29
. 30

2. When replacing parts, use only manufacturers recommended components for safety.

3, Check the condition of the power cord. Replace if wear or damage is evident.

4. After servicingI be sure to restore the lead dress. insulation barriers, insulation papers, shields, etc.

5. Before returning the serviced equipment to the customer, be sure to make the following insulation resistance test to prevent the customer from

being exposed to a shock hazard.
I INSULATION RESISTANCE TEST

1. Unplug the power cord and short the two prongs of the plug with a jumper wire.

2. Turn on the power switch.

3. Measure the resistance value with ohmmeter between the jumpered AC plug and each exposed metal cabinet part, such as screwheads antenna.
control shafts, handle brackets, etc. Equipment with antenna terminals should read between 3 M9 and 5.2 ME: to all exposed parts. (Fig. A)
Equipment without antenna terminals should read approximately infinity to all exposed parts. (Fig. B)

Nata: Some exposed parts may be isolated from the chassis by design, These will read infinity.

/

Antenna

terminal \4 l-
l
|
l

,6

Exposed /
metal part

Ohmmeter
(FiglA)
Resistance = 3 M9 - 52 M9

/

Exposed /
metal part

Ohmmeter
(Fig- 5)

Resistance = Approx. co

4. If the measurement is outside the specified limits, there is a possibility of a shock hazard. The equipment should be repaired and rechecked before

it is returned to the customer.

I Before Repair

(1) Turn off the power supply. Using a 10 $2, 10 W resistor, connect both ends of power supply capacitors (C701, C702) in order to discharge the voltage.
(2) Before turning the power supply on, after completion of repair. slowly apply the primary voltage by using a power supply voltage controller to make
sure that the consumed current at 50/60 Hz in NO SIGNAL mode should be shown below with respect to supply voltage 120 V/230 V/240 V.

Power supply voltage AC 120 v, 60 Hz AC 240 v. 50 Hz

300 ~ 600 mA

AC 230 V, 50 Hz

Consumed current 160 - 320 mA 160 ~ 320 mA

I Protection Circuitry

The protection circuitry may have operated if either of the following conditions is noticed:

I No sound is heard when the power is switched ON.

0 Sound stops during a performance.

The function of this circuitry is to prevent circuitry damage if, for example, the positive and negative speaker connection wires are "shorted", or if
speaker systems with an impedance less than the indicated rated impedance of this unit are used.

If this occurs, follow the procedure outlined below:

1. Switch OFF the power.

2. Determine the cause of the cause of the problem and correct it.

3. Switch ON the power once again.

Note:
When the protection circuitry functions, the unit will not operate unless the pDWer is first switched OFF and then ON again.