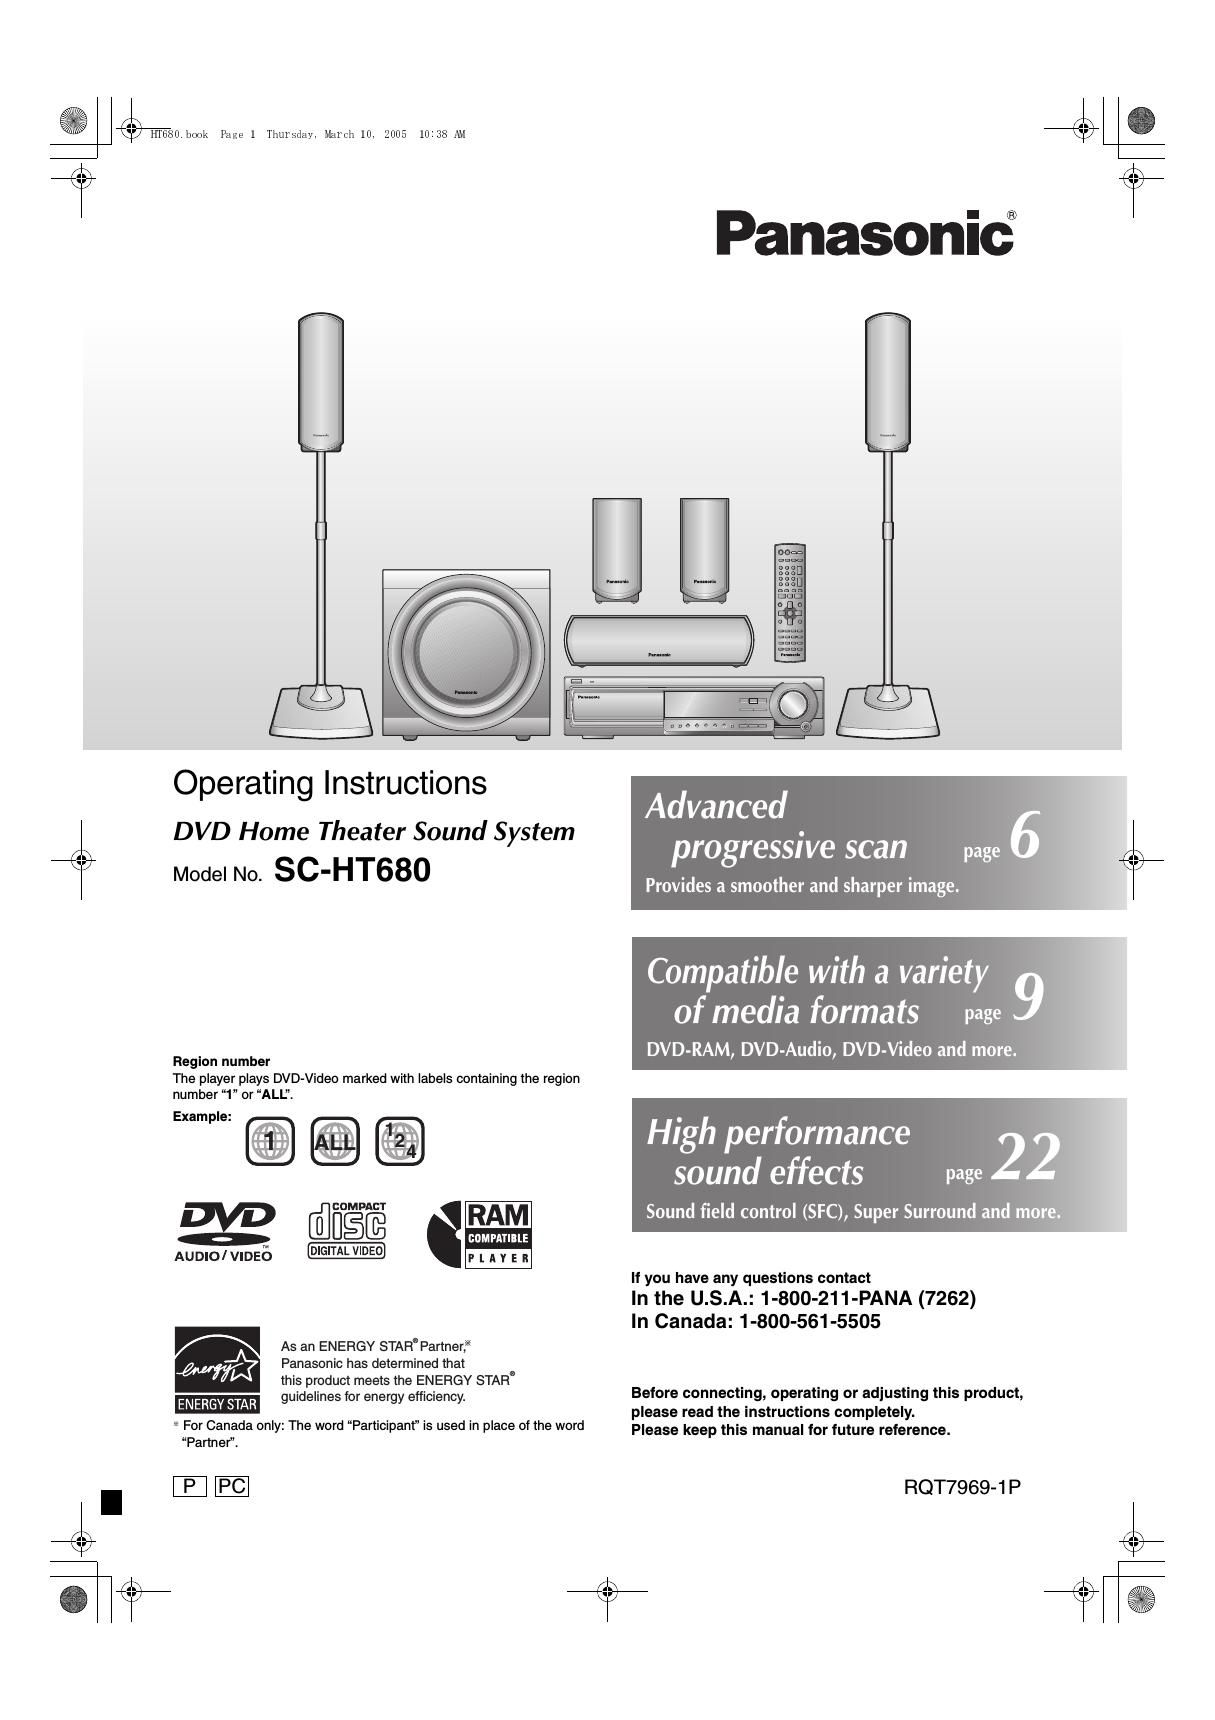
Panasonic sa ht 680 owners manual

This is the 32 pages manual for panasonic sa ht 680 owners manual.
Read or download the pdf for free. If you want to contribute, please mail your pdfs to info@audioservicemanuals.com.

Page: 1 / 32
left right
panasonic sa ht 680 owners manual

Extracted text from panasonic sa ht 680 owners manual (Ocr-read)


Page 1

2 RQT7969 Dear customer Thank you for purchasing this product. For optimum performance and safety, please read these instructions carefully. THE FOLLOWING APPLIES ONLY IN THE U.S.A. Operations in these instructions are described mainly with the remote control, but you can perform the operations on the main unit if the controls are the same. System SC-HT680 Main unitSA-HT680 Front speakersSB-FS680 Center speakerSB-PC680 Surround speakersSB-FS681 SubwooferSB-W680 CAUTION! THIS PRODUCT UTILIZES A LASER. USE OF CONTROLS OR ADJUSTMENTS OR PERFORMANCE OF PROCEDURES OTHER THAN THOSE SPECIFIED HEREIN MAY RESULT IN HAZARDOUS RADIATION EXPOSURE. DO NOT OPEN COVERS AND DO NOT REPAIR YOURSELF. REFER SERVICING TO QUALIFIED PERSONNEL. WARNING: TO REDUCE THE RISK OF FIRE, ELECTRIC SHOCK OR PRODUCT DAMAGE, DO NOT EXPOSE THIS APPARATUS TO RAIN, MOISTURE, DRIPPING OR SPLASHING AND THAT NO OBJECTS FILLED WITH LIQUIDS, SUCH AS VASES, SHALL BE PLACED ON THE APPARATUS. CAUTION! DO NOT INSTALL OR PLACE THIS UNIT IN A BOOKCASE, BUILT-IN CABINET OR IN ANOTHER CONFINED SPACE. ENSURE THE UNIT IS WELL VENTILATED. TO PREVENT RISK OF ELECTRIC SHOCK OR FIRE HAZARD DUE TO OVERHEATING, ENSURE THAT CURTAINS AND ANY OTHER MATERIALS DO NOT OBSTRUCT THE VENTILATION VENTS. The socket outlet shall be installed near the equipment and easily accessible or the mains plug or an appliance coupler shall remain readily operable. CAUTION: This equipment has been tested and found to comply with the limits for a Class B digital device, pursuant to Part 15 of the FCC Rules. These limits are designed to provide reasonable protection against harmful interference in a residential installation. This equipment generates, uses and can radiate radio frequency energy and, if not installed and used in accordance with the instructions, may cause harmful interference to radio communications. However, there is no guarantee that interference will not occur in a particular installation. If this equipment does cause harmful interference to radio or television reception, which can be determined by turning the equipment off and on, the user is encouraged to try to correct the interference by one or more of the following measures: -‰¥Reorient or relocate the receiving antenna. -‰¥Increase the separation between the equipment and receiver. -‰¥Connect the equipment into an outlet on a circuit different from that to which the receiver is connected. -‰¥Consult the dealer or an experienced radio/TV technician for help. Any unauthorized changes or modifications to this equipment would void the users authority to operate this device. This device complies with Part 15 of the FCC Rules. Operation is subject to the following two conditions: (1) This device may not cause harmful interference, and (2) this device must accept any interference received, including interference that may cause undesired operation. The lightning flash with arrowhead symbol, within an equilateral triangle, is intended to alert the user to the presence of uninsulated dangerous voltage within the products enclosure that may be of sufficient magnitude to constitute a risk of electric shock to persons. CAUTION CAUTION: TO REDUCE THE RISK OF ELECTRIC SHOCK, DO NOT REMOVE SCREWS. NO USER-SERVICEABLE PARTS INSIDE. REFER SERVICING TO QUALIFIED SERVICE PERSONNEL. The exclamation point within an equilateral triangle is intended to alert the user to the presence of important operating and maintenance (servicing) instructions in the literature accompanying the appliance. RISK OF ELECTRIC SHOCK DO NOT OPEN (Inside of product) HT680.book Page 2 Tuesday, December 14, 2004 8:55 AM

Page 2

3 RQT7969 IMPORTANT SAFETY INSTRUCTIONS/Table of contents IMPORTANT SAFETY INSTRUCTIONS Read these operating instructions carefully before using the unit. Follow the safety instructions on the unit and the applicable safety instructions listed below. Keep these operating instructions handy for future reference. 1) Read these instructions. 2) Keep these instructions. 3) Heed all warnings. 4) Follow all instructions. 5) Do not use this apparatus near water. 6) Clean only with dry cloth. 7) Do not block any ventilation openings. Install in accordance with the manufacturers instructions. 8) Do not install near any heat sources such as radiators, heat registers, stoves, or other apparatus (including amplifiers) that produce heat. 9) Do not defeat the safety purpose of the polarized or grounding- type plug. A polarized plug has two blades with one wider than the other. A grounding-type plug has two blades and a third grounding prong. The wide blade or the third prong are provided for your safety. If the provided plug does not fit into your outlet, consult an electrician for replacement of the obsolete outlet.10) Protect the power cord from being walked on or pinched particularly at plugs, convenience receptacles, and the point where they exit from the apparatus. 11) Only use attachments/accessories specified by the manufacturer. 12) Use only with the cart, stand, tripod, bracket, or table specified by the manufacturer, or sold with the apparatus. When a cart is used, use caution when moving the cart/apparatus combination to avoid injury from tip-over. 13) Unplug this apparatus during lightning storms or when unused for long periods of time. 14) Refer all servicing to qualified service personnel. Servicing is required when the apparatus has been damaged in any way, such as power-supply cord or plug is damaged, liquid has been spilled or objects have fallen into the apparatus, the apparatus has been exposed to rain or moisture, does not operate normally, or has been dropped. IMPORTANT SAFETY INSTRUCTIONS . . . . . . . . . . . . . . .3 Control reference guide . . . . . . . . . . . . . . . . . . . . . . . . . . . 8 Discs that can be played . . . . . . . . . . . . . . . . . . . . . . . . . . 9 Main unit and disc caution. . . . . . . . . . . . . . . . . . . . . . . . . 9 Convenient functions . . . . . . . . . . . . . . . . . . . . . . . . . 12-15 Disc information/Displaying current playback condition (QUICK OSD)/Reviewing titles to play (ADVANCED DISC REVIEW)/ CD sequential play (CD MODE)/Quick replay/ Skipping one minute forward (CM SKIP)/ Changing the zoom ratio/Changing play speed/ Angle selection and Still picture rotation/advance/ Changing soundtracks/Changing subtitles/ Repeat play/Program/Random play Using navigation menus . . . . . . . . . . . . . . . . . . . . . . . . . 16 Playing data discs/ Playing from the selected track in the CD/ Playing HighMAT TM discs/Playing RAM discs Using on-screen menus . . . . . . . . . . . . . . . . . . . . . . . . . . 18 Main menu/Other Settings Changing the player settings . . . . . . . . . . . . . . . . . . . . . 20 Changing the delay time (Speaker Settings) Sound field and sound quality. . . . . . . . . . . . . . . . . . . . 22 Sound Field Control/Super Surround/Center Focus/ Dolby Pro Logic II/Down-mixing/Subwoofer level/ Speaker level adjustments Other useful functions . . . . . . . . . . . . . . . . . . . . . . . . . . 23 Sleep timer/Muting/Using headphones The radio . . . . . . . . . . . . . . . . . . . . . . . . . . . . . . . . . . . . . 24 Automatic presetting/Manual tuning/ Selecting the preset channels Operating other equipment . . . . . . . . . . . . . . . . . . . . . . 25 Operating the television and the video cassette recorder Other speaker setup options . . . . . . . . . . . . . . . . . . . . . 26 Specifications . . . . . . . . . . . . . . . . . . . . . . . . . . . . . . . . . 27 Troubleshooting guide . . . . . . . . . . . . . . . . . . . . . . . . . . 28 Product Service/Maintenance/Glossary . . . . . . . . . . . . 30 Limited Warranty (ONLY FOR U.S.A.) . . . . . . . . . . . . . . 31 Accessories . . . . . . . . . . . . . . . . . . . . . . . . . . . . Back cover Table of contents Getting started Simple setup STEP 1 Front speaker assembly . . . . . . . . . . . . . . . . 4 STEP 2 Positioning . . . . . . . . . . . . . . . . . . . . . . . . . . . 5 STEP 3 Speaker connections . . . . . . . . . . . . . . . . . . 6 STEP 4 Video connections. . . . . . . . . . . . . . . . . . . . . 6 STEP 5 Antennas and AC power supply cord . . . . . 7 Optional antenna connections STEP 6 The remote control . . . . . . . . . . . . . . . . . . . . 7 STEP 7 QUICK SETUP . . . . . . . . . . . . . . . . . . . . . . . . 8 Disc operations Basic play . . . . . . . . . . . . . . . . . . . . . . . . . . . . . . . . . 10 Using the main unit/Using the remote control Other operations Reference HT680.book Page 3 Tuesday, December 14, 2004 8:55 AM