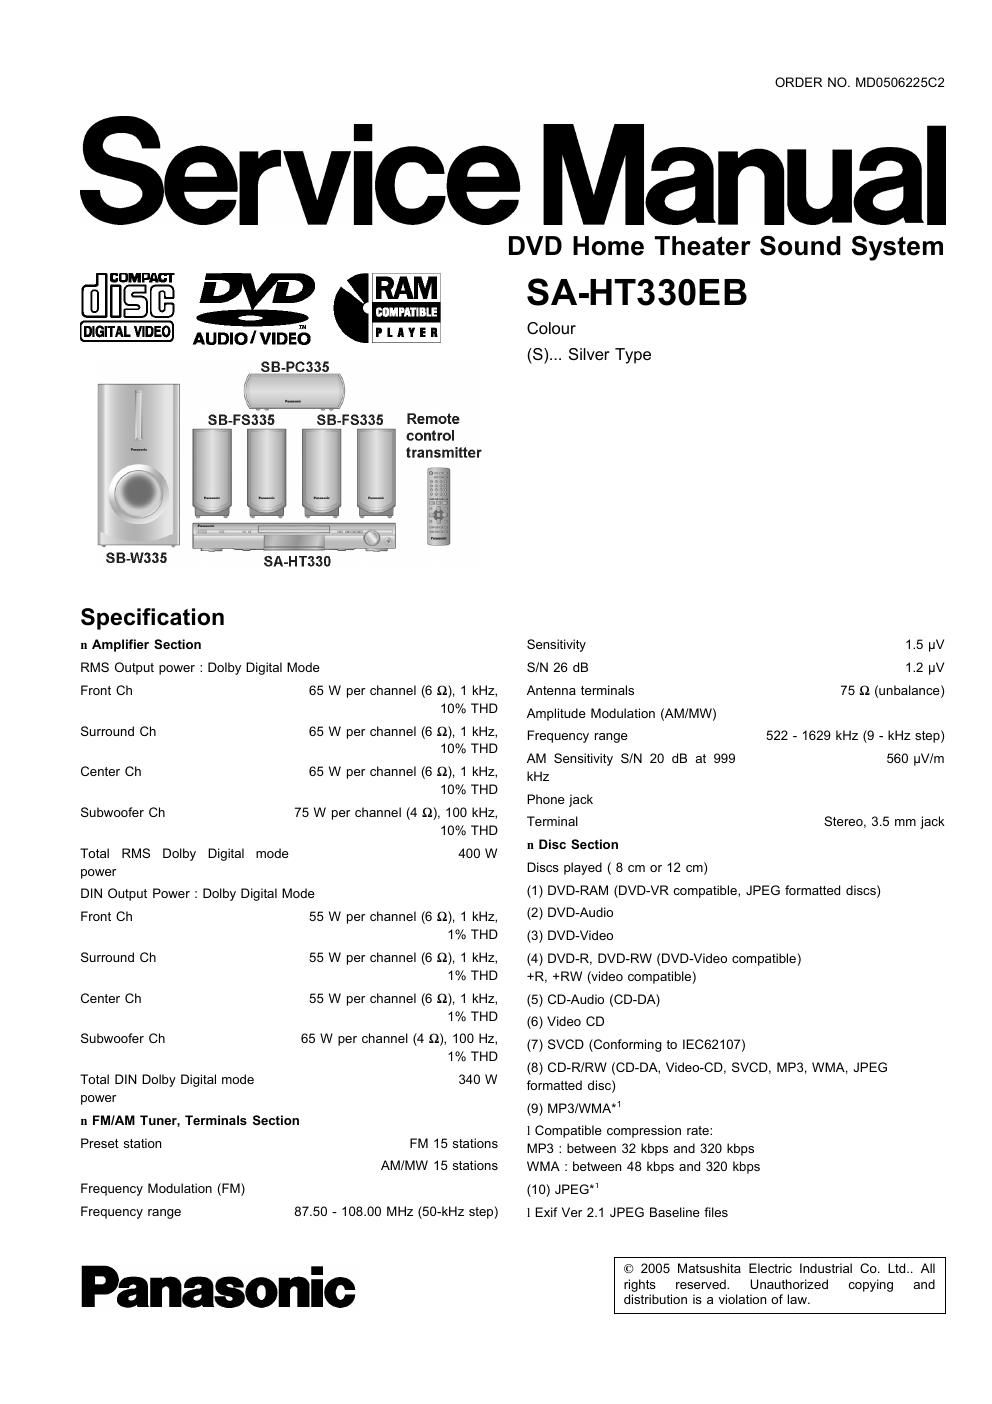
Panasonic sa ht 330 eb service manual

This is the 116 pages manual for panasonic sa ht 330 eb service manual.
Read or download the pdf for free. If you want to contribute, please mail your pdfs to info@audioservicemanuals.com.

Page: 1 / 116
left right
panasonic sa ht 330 eb service manual

Extracted text from panasonic sa ht 330 eb service manual (Ocr-read)


Page 2

SA-HTSZD EB

1 Picture resolution : between 320 x 240 and 6144 x 4096 pixels (sub
sampling is 4:2:2 or 4:2:0)
(11) HighMAT Level 2 (Audio and Image)

The total combined maximum number of recognizable audio and
picture contents and groups: 4000 audio and picture contents and
400 groups.

Pick up
CD 785 nm
DVD 662 nm
CLASS 2 / CLASS 3A

Wavelength

Laser power
Audio output (Disc)
Number of channels 5.1ch (FL, FR, C, SL, SR, SW)
n Video Section
Video system
Signal system PAL625/50, PAL525/60, NTSC
Composite video output
Output level 1 Vp-p (75 0)
Terminal Pin jack (1 system)
Scart jack (1 system)
S-video output
Y output level 1 Vp-p (75 0)
PAL; 0.3 Vp-p (75 9)
NTSC; 0.286 Vp-p (75 Q)

8 terminal (1 system)

C output level

Terminal
Scart jack (1 system)
Component video output

PR output level
Terminal

RGB video output

R output level

G output level

B output level

Terminal

n General

Power supply

Power consumption
Dimensions (W x H x D)
Mass

Operating temperature range
Operating humidity range

0.7 Vp-p (75 9)
Pin jack (Y: green, PB: blue,
PR: red) (1 system)

0.7 Vp-p (75 :2
0.7 Vp-p (75 :2
0.7 Vp-p (75 Q
Scartjack (1 system

AC 230 - 240 V, 50 HZ
Main unit 80 W

430 mm x 60 mm x 337 mm
Main unit 3.3 kg

+5 C to +35 °C
5%1090%RH (no

condensation)

Power consumption in standby approx 0.5 W
mode

System SC-HT330

Main unit SA-HT330

Front speakers SB-FS335

Center speakers SB-PC335

Surround speakers SB-FS335

Subwoofer SB-W335
Notes :

1. Specifications are subject to change without notices.

[NTSC: 525 (480) p/525 (480) i, PAL: 525 (576) p/625 (576) i]

Y output level
PB output level

1 Vp-p (75 o)
0.7 Vp-p (75 9)

Mass and dimensions are approximate.

2. Total harmonic distortion is measured by the digital spectrum
analyzer.

A. WARNING

This service information is designed for experienced repair technicians only and is not designed for use by the general public

It does not contain warnings or cautions to advise non-technical individuals of potential dangers in attempting to service a product.
Products powered by electricity should be serviced or repaired only by experienced professional technicians. Any attempt to service
or repair the product or products dealt with in this service information by anyone else could result in serious injury or death.

CONTENTS

1 Safety Precautions
1.1. GENERAL GUIDELINES

2 Caution for AC Mains Lead ----------------------------------------------------- 5
3 Before Repair and Adjustment ----------------------------------------------- 6
4 Protection Circuitry ----------------------------------------------------------------- 6

5 Prevention of Electro Static Discharge (ESD) to
Electrostatically Sensitive (ES) Devices --------------------------------- 7
6 Handling the Lead-free Solder ------------------------------------------------ 7
6.1. About lead free solder (PbF) ------------------------------------------ 7

7 Precaution of Laser Diode ---------------------------

8 Handling Precautions for Optical Pickup Uni
8.1. Cautions to be taken in handling the Optical Pickup Unit -9

8.2. Cautions to be taken when replacing the Optical Pickup
Unit ------------------------------------------------------------------------------- 9
8.3. Grounding for electrostatic breakdown prevention ------------ 9

9 Accessories -------------------------------------------------------------------------- 11

10 Operation Procedures
11 Disc information ------

12 About HighMAT ..................................................................... 15
12.1. What I] HighMAT? ...................................................... 15
12.2. Why take advantage of HighMAT? -------------------------------- 15
12.3. Benefits of HighMAT? ........................................... 15

13 Assembling and Disassembling ------------------------------------------- 19
13.1. Disassembly flow chart ------------------------------------------------- 19

13.2. P.C.B. Locations ---------

13.3. Disassembly of Top Cabinet ---------

13.4. Disassembly of SMPS Module P.C.B

13.5. Disassembly of Rear Panel -----

13.6. Disassembly of AC Inlet P.C.B. ------------------------------------- 22

13.7. Disassembly of Digital Amplifier (side A 8 side B) P.C.B.
----------------------------------------------------------------------------------- 22