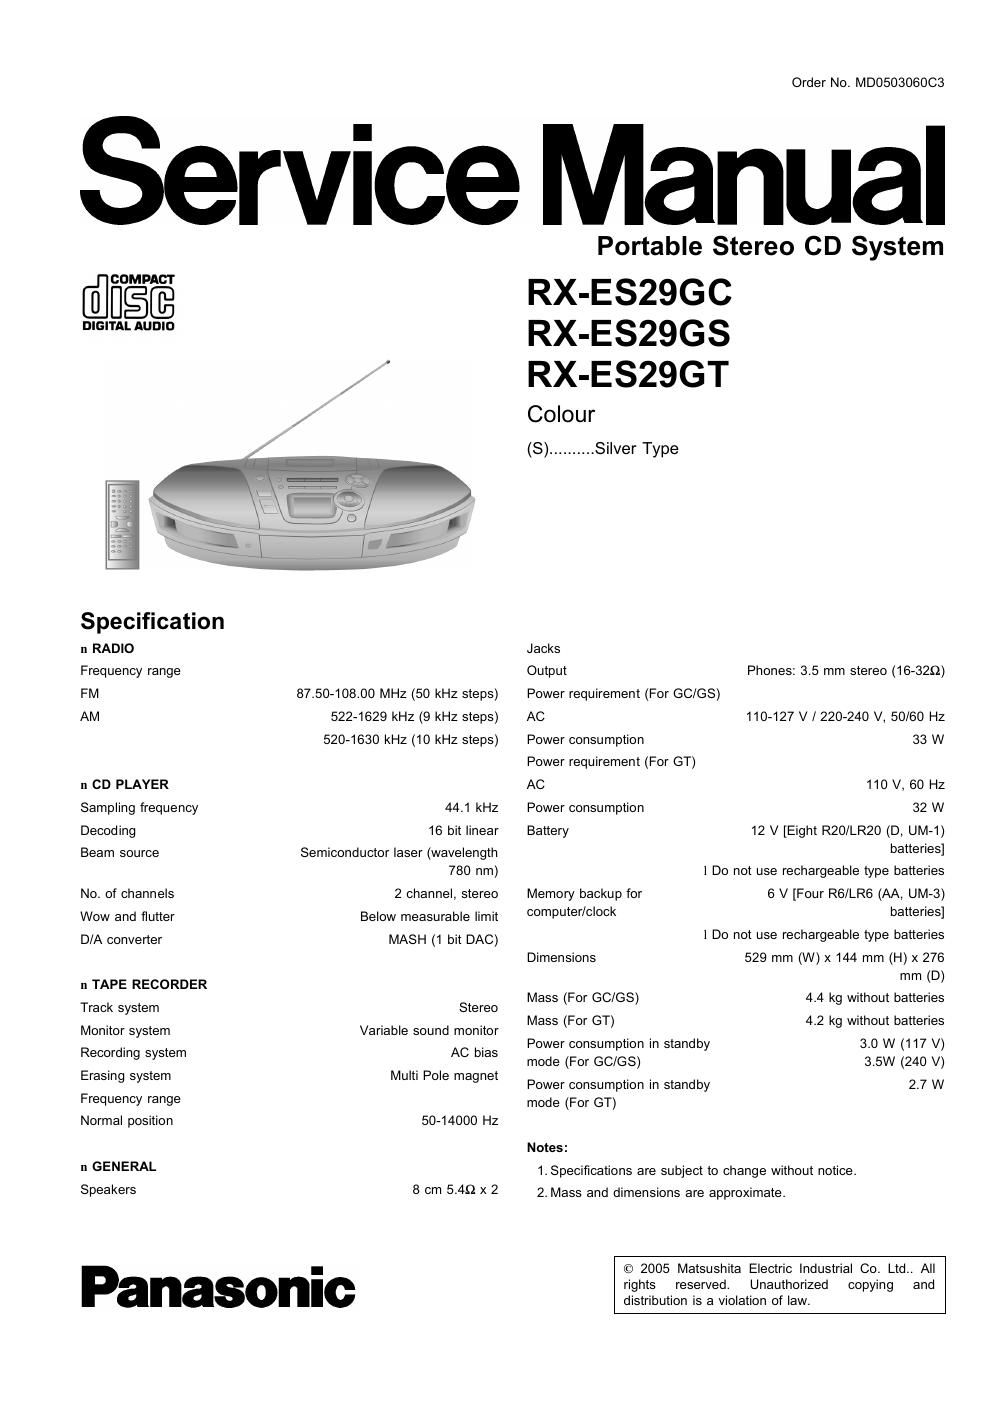
Panasonic rx es 29 gc service manual

This is the 85 pages manual for panasonic rx es 29 gc service manual.
Read or download the pdf for free. If you want to contribute, please mail your pdfs to info@audioservicemanuals.com.

Page: 1 / 85
left right
panasonic rx es 29 gc service manual

Extracted text from panasonic rx es 29 gc service manual (Ocr-read)


Page 1

Order No. MDO50306OC3

Service Manual

COMPACT

DIGITAL AUDIO

Specification
n RADIO

Frequency range

FM

AM

II CD PLAYER
Sampling frequency
Decoding

Beam source

No. of channels
Wow and flutter
D/A converter

n TAPE RECORDER
Track system
Monitor system
Recording system
Erasing system
Frequency range
Normal position

In GENERAL

Speakers

8750-10800 MHZ (50 kHZ steps)
522-1629 kHz (9 kHz steps)
520-1630 kHz (10 kHz steps)

44.1 kHz
16 bit linear

Semiconductor laser (wavelength
780 nm)

2 channel, stereo
Below measurable limit
MASH (1 bit DAC)

Stereo
Variable sound monitor
AC bias

Multi Pole magnet

504 4000 Hz

8cm 5.4flx2

Panasonic

Portable Stereo CD System

RX-ESZQGC
RX-ESZQGS
RX-ESZQGT

Colour
(8) .......... Silver Type

Jacks

Output Phones: 3.5 mm stereo (16329)
Power requirement (For GC/GS)

AC 110-127 V I 220-240 V, 50/60 HZ
Power consumption 33 W

Power requirement (For GT)

AC 110 V, 60 Hz
Power consumption 32 W
Battery 12 v [Eight R20/LR20 (D, UM-1)

batteries]

] Do not use rechargeable type batteries

6 V [Four R6/LR6 (AA, UM-3)
batteries]

Memory backup for
computer/clock

1 Do not use rechargeable type batteries

529 mm (W) x 144 mm (H) x 276
mm (D)
4.4 kg without batteries

Dimensions

Mass (For GC/GS)
Mass (For GT) 4.2 kg without batteries

Power consumption in standby 3.0 W (117 V)
mode (For GC/GS) 3.5w (240 V)

Power consumption in standby 2.7 W
mode (For GT)

Notes:
1.8pecifications are subject to change without notice.
2. Mass and dimensions are approximate.

© 2005 Matsushita Electric Industrial Co. Ltd. All
rights reserved. Unauthorized copying and
distribution is a violation of law.

Page 2

RX-ESZBGC I RX-ESZQGS I RX-ESZQGT

A WARNING

This sen/ice information is designed for experienced repair technicians only and is not designed for use by the general public.

It does not contain warnings or cautions to advise non-technical individuals of potential dangers in attempting to service a product.
Products powered by electricity should be serviced or repaired only by experienced professional technicians Any attempt to service
or repair the product or products dealt with in this service information by anyone else could result in serious injury or death.

CONTENTS


Page

1 Safety Precautions .................................................................. 3
1.1. GENERAL GUIDELINES ................................................ 3

2 Caution for AC Mains Lead ----------------------------------------------------- 4
3 Before Use ------------------------------------------------------------------------------ 5
4 Before Repair and Adjustment 5
5 Protection Circuitry -- 5
6 Handling the Lead Solder- 5
6.1. About lead free solder (PbF)- 5

7 Precaution of Laser Diode ...................................................... 5
8 Handling Precautions For Traverse Deck ............................... 7
9 Accessories ---------------------------------------------------------------------------- 3
10 Operation Procedures ............................................................ 9
10.1. Main unit ----------------------------------------------------------- 9
10.2. Remote control ------------------------------------------------------------ 10

11 Information on MP3 ....................................................... 11

12 Disassembly and Main Component Replacement Procedures

and Operational Check --------------------------------------------------------- 12
12.1. Disassembly procedures ----------------------------------------------- 12
12.2. Disassembly flow chart ------------------------------------------------- 12
12.3. Checking Procedure for each major P.C.B. ------------------- 13
12.4. Procedures for Replacing Pinch Roller and Head Block

(Deck Mechanism Unit) ------------------------------------------------ 21
12.5. Procedures for Replacing Motor, Capstan Belt A, Capstan
Belt B, and Winding Belt (Deck Mechanism Unit) ---------- 21
12.6. Procedures for Replacing Parts on Deck Mechanism PCB
-23
12.7. Procedures of Replacing Traverse Base (Unit), Driving
Gear, and Cam Gear (CD Mechanism Unit) ------------------ 23
12.8. Procedures for Replacing Optical Pickup (CD Mechanism
Unit) ---------------------------------------------------------------------------- 26
12.9. Procedures for Replacement Traverse Gear A and
Traverse Gear B (CD Mechanism Unit) ------------------------- 27
13 Procedure for checking of the major P.C.B. ------------------------- 29

13.1. Checking the Main P.C.B., Panel P.C.B., Deck Mechanism
P.C.B., CD Servo P.C.B., Battery P.C.B., Sensor P.C.B.,
Power-On P.C.B., Power and Standby LED P.C.B.- -29

14 Self Diagnostic Function -----------------------------------------

Page

14.1. Self-diagnosis Function ................................................ 30
14.2. Setting of doctor mode ------------------------------------------------- 32

15 Measurements and Adjustments .......................................... 33
15.1. Tuner Section -------------------------------------------------------------- 38

15.2. Deck Section --
16 Voltage Measurement-
16.1. CD Servo P.C.B.
16.2. Main P.C.B.-
17 Waveform Chart---


18 Notes of Schematic Diagram ................................................ 45
19 Schematic Diagram ............................................................... 46
19.1. CD SERVO CIRCUIT ................................................... 46
192. MAIN CIRCUIT and POWER 0N CIRCUIT ................... 48
19.3. MAIN (TUNER) CIRCUIT ............................................. 55

19.4. MAIN (DECK) CIRCUIT and DECK MECHANISM
CIRCUIT -- -57

19.5. PANEL CIRCUIT, STANDBY LED CIRCUIT, BATTERY
CIRCUIT, POWER CIRCUIT and SENSOR ClRCUIT---- 59

20 Printed Circuit Board ............................................................ 50
20.1. CD SERVO P.C.B. ------------------------------------------------------- 50
20.2. MAIN P.C.B. ---------------------------------------------------------------- 51
203. PANEL P.C.B. and DECK MECHANISM P.C.B. ............ 53

20.4. STANDBY LED P.C.B, BATTERY P.C.B, POWER ON
P.C.B and SENSOR P.C.B
20.5. POWER P.C.B.-

21 Wiring Connection Diagram

22 Type Illustration of IC 1] , Transistors and Diodes

23 Terminal Function 0f Ic [I ................................................... 69
23-1. K3801 (MN10IC74GAA2): Microprocessor -------------------- 59
24 Troubleshooting Flowchart (CD Section Circuit) .................. 70
25 Parts Location and Replacement Parts List ......................... 72
25.1. Deck Mechanism (RAA4401-1V) ................................... 73
25.2. CD Loading Mechanism ............................................... 75

25.3. Cabinet Part List
25.4. Electrical Part List-
25.5. Packaging Materials & Accessories Parts List
25.6. Packaging -------------------------------------------------------------------- 85

_.35