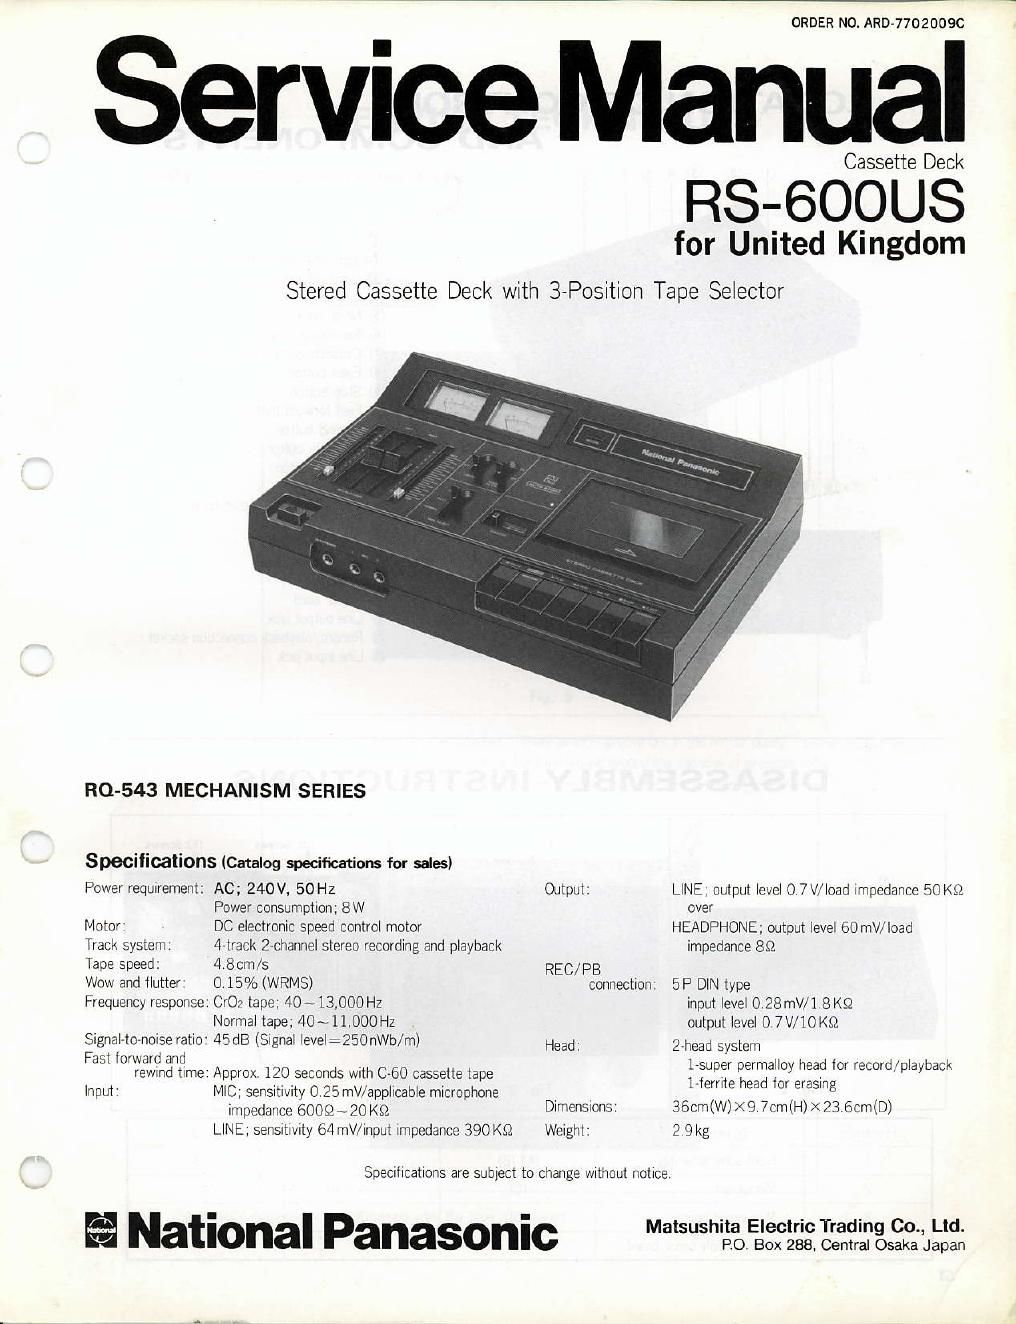
Panasonic rs 600 us schematic

This is the 20 pages manual for panasonic rs 600 us schematic.
Read or download the pdf for free. If you want to contribute, please mail your pdfs to info@audioservicemanuals.com.

Page: 1 / 20
left right
panasonic rs 600 us schematic

Extracted text from panasonic rs 600 us schematic (Ocr-read)


Page 1

'I II LOCATION OF CONTROLS AND COMPONENTS O Leve controls @ Tape selector @ Leve meters O Limiter switch @ Noise I lter swtch @ Recordns indication amp @ Cassette comparimeni door @ Eject button O Stop button @ Fast forward buiion @ R-‚¬w nd button @ Playback button @ Recofd button @ Pause button @ Tape counier and resei buiton @ Fle set markers @ N4icrophone jacks @ Headphones jack @ Power switch @ Power cofd @ Lne ouiput iack @ Record/payback connectioi socket @ Line lnplt lack DI SASSEMBLY I NSTRUCTIONS Fig. 2 Fis.3 Fis. 4 Shown n 1ig. (A), (B) 2,7 2,3 (c) (D) 7 Power supply circuli bodd 2

Page 2

SERVICE TECHNIOUES TAPE WINDING MALFUNCTION Although un key to happen, il the tape should become wound onto the capstan or pressure roter and thus making it mpossbe to open ihe cassette door, Jolow the procedure descrlbeo oerow. lHow to oDen the cassette door'l (A) Using a O screwdriver rernove ihe hoe cap on the bottom ol the unit. Fig. 5 (B) After ths cap is removed, the motor puley can be seen. There s a O groove cut n the motor pulley. Uslng a Osc.ewdriver, rotate ths motor pulley to the e{t (.r) n order to loosen the tape wound around the capstan or Dressure rorer. Fig.6 (C) The cassette door can be eas y opened after the tape is loosened