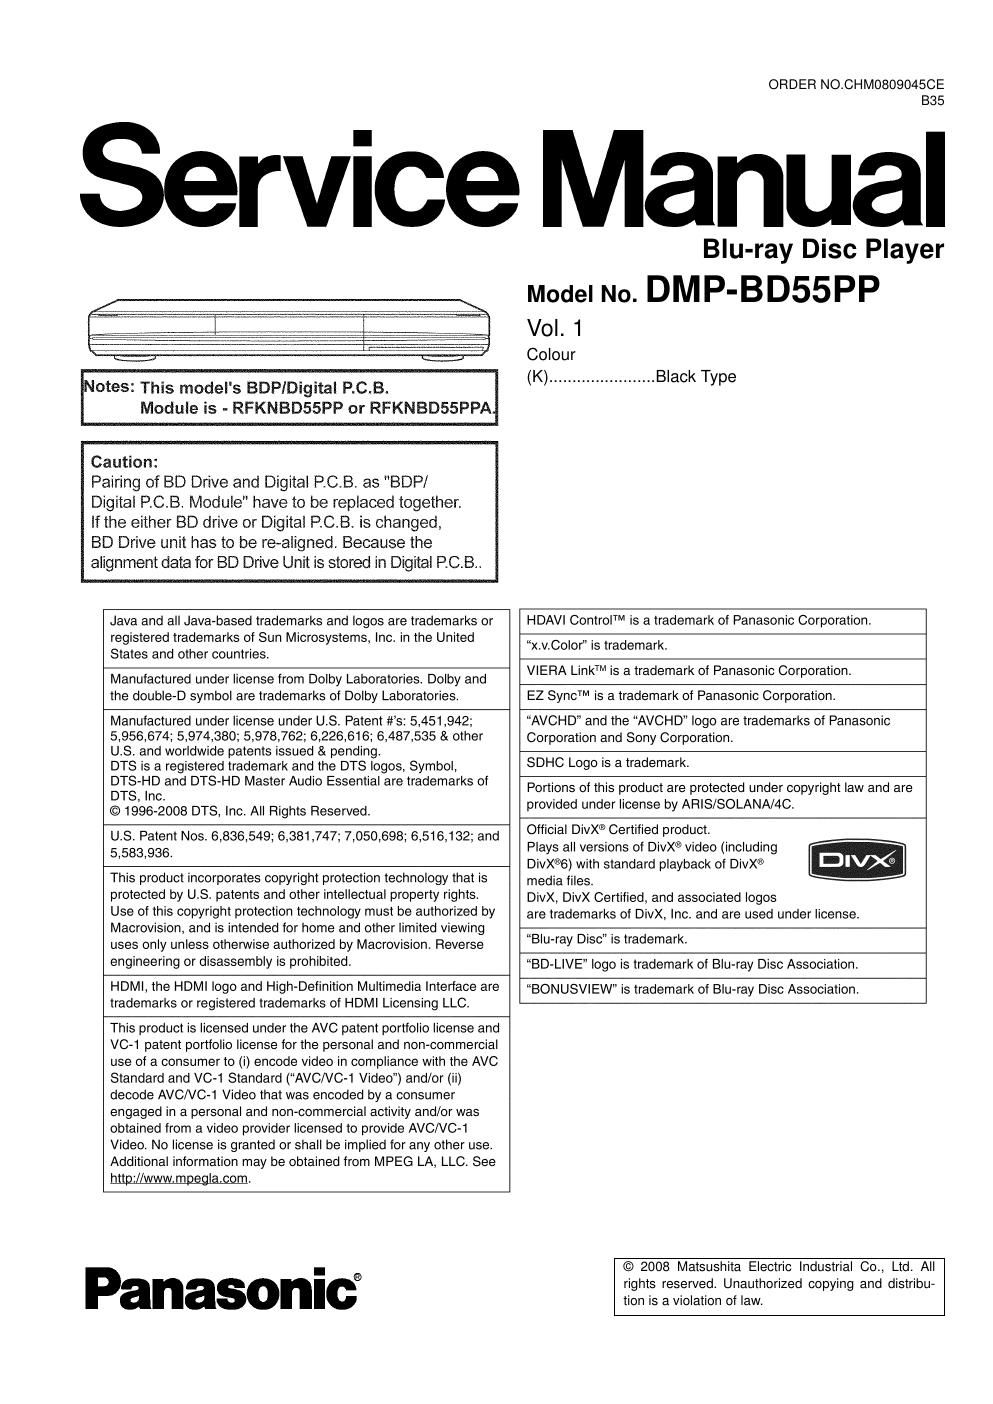
Panasonic dmp bd 55 pp service manual

This is the 73 pages manual for panasonic dmp bd 55 pp service manual.
Read or download the pdf for free. If you want to contribute, please mail your pdfs to info@audioservicemanuals.com.

Page: 1 / 73
left right
panasonic dmp bd 55 pp service manual

Extracted text from panasonic dmp bd 55 pp service manual (Ocr-read)


Page 1

2 TABLE OF CONTENTS PA G E PA G E 1 Safety Precaution-------------------------------------------------3 1.1. General guidelines ----------------------------------------- 3 1.2. Caution for fuse replacement ---------------------------3 2Warning--------------------------------------------------------------4 2.1. Prevention of Electrostatic Discharge (ESD) to Electrostatic Sensitive (ES) Devices --------------- 4 2.2. Precaution of Laser Diode ------------------------------- 5 2.3. Service caution based on legal restrictions----------6 3 Service Navigation------------------------------------------------7 3.1. Service Information ---------------------------------------- 7 3.2. Caution when Replacing the Parts--------------------- 7 4 Specifications------------------------------------------------------9 5 Location of Controls and Components------------------10 6 Operation Instructions----------------------------------------11 6.1. Taking out the Disc from BD Drive Unit when the Disc cannot be ejected by OPEN/CLOSE button-------------------------------------------------------- 11 7 Service Mode-----------------------------------------------------12 7.1. Self-Diagnosis and Special Mode Setting---------- 12 8 Service Fixture & Tools---------------------------------------20 9 Disassembly and Assembly Instructions---------------21 9.1. Unit----------------------------------------------------------- 21 9.2. BD Drive ---------------------------------------------------- 25 10 Measurements and Adjustments--------------------------32 10.1. Service Positions ----------------------------------------- 32

Page 2

3 1 Safety Precaution 1.1. General guidelines 1. When servicing, observe the original lead dress. If a short circuit is found, replace all parts which have been overheated or damaged by the short circuit. 2. After servicing, see to it that all the protective devices such as insulation barriers, insulation papers shields are properly installed. 3. After servicing, make the following leakage current checks to prevent the customer from being exposed to shock hazards. 1.1.1. Leakage current cold check 1. Unplug the AC cord and connect a jumper between the two prongs on the plug. 2. Measure the resistance value, with an ohmmeter, between the jumpered AC plug and each exposed metal- lic cabinet part on the equipment such as screwheads, connectors, control shafts, etc. When the exposed metal- lic part has a return path to the chassis, the reading should be between 1MΩ and 5.2MΩ. When the exposed metal does not have a return path to the chassis, the reading must be . 1.1.2. Leakage current hot check (See Figure 1.) 1. Plug the AC cord directly into the AC outlet. Do not use an isolation transformer for this check. 2. Connect a 1.5kΩ, 10 watts resistor, in parallel with a 0.15μF capacitors, between each exposed metallic part on the set and a good earth ground such as a water pipe, as shown in Figure 1. 3. Use an AC voltmeter, with 1000 ohms/volt or more sensi- tivity, to measure the potential across the resistor. 4. Check each exposed metallic part, and measure the volt- age at each point.5. Reverse the AC plug in the AC outlet and repeat each of the above measurements. 6. The potential at any point should not exceed 0.75 volts RMS. A leakage current tester (Simpson Model 229 or equivalent) may be used to make the hot checks, leakage current must not exceed 1/2 milliampere. In case a mea- surement is outside of the limits specified, there is a pos- sibility of a shock hazard, and the equipment should be repaired and rechecked before it is returned to the cus- tomer. Figure 1 1.2. Caution for fuse replacement