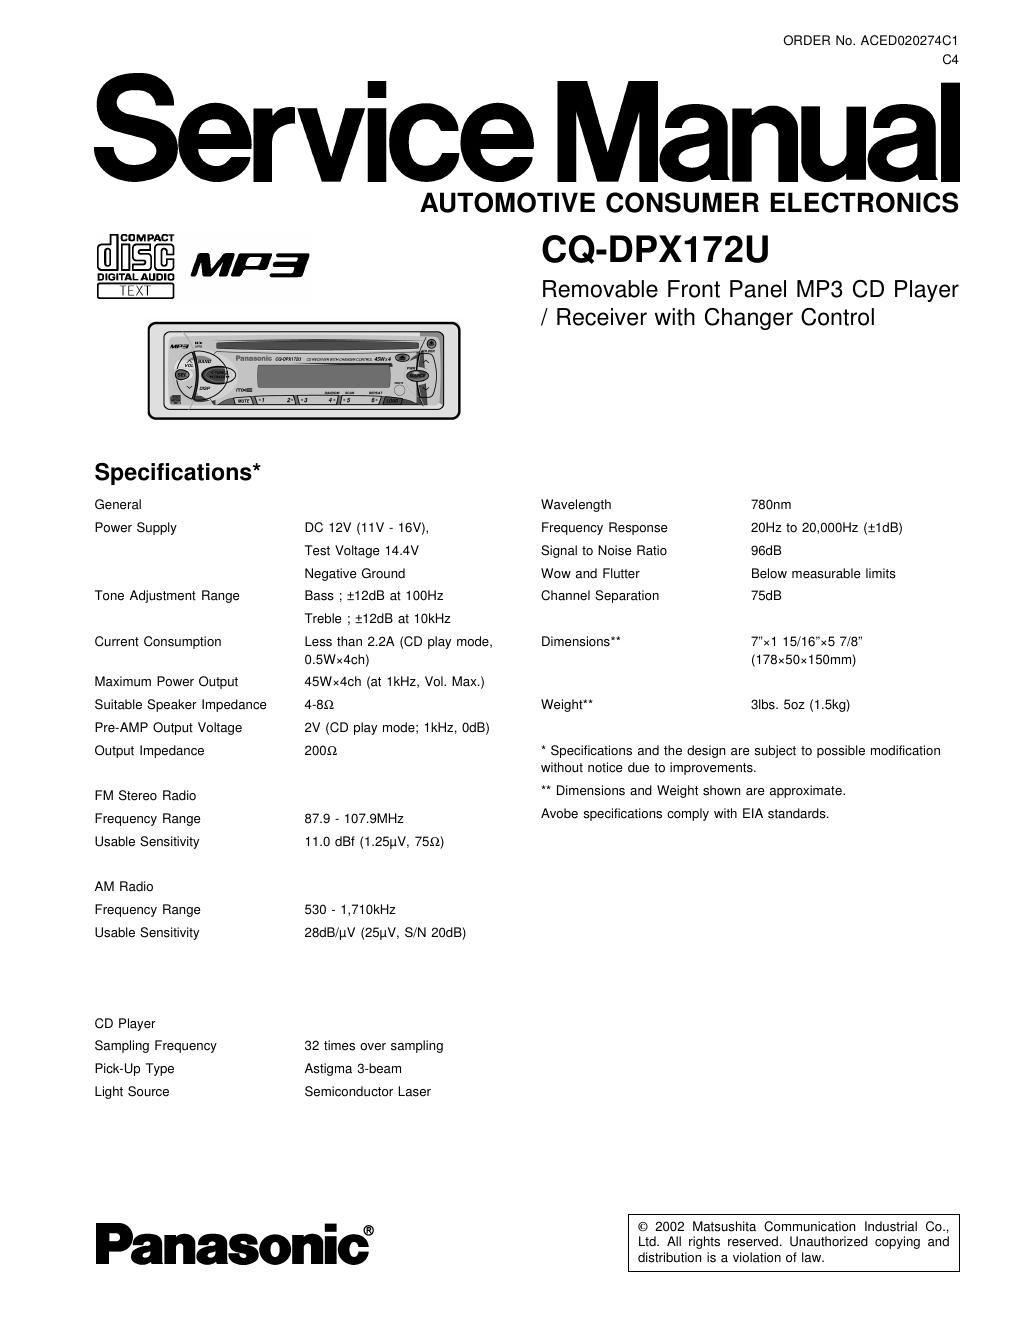
Panasonic cq dpx 172 u service manual

This is the 29 pages manual for panasonic cq dpx 172 u service manual.
Read or download the pdf for free. If you want to contribute, please mail your pdfs to info@audioservicemanuals.com.

Page: 1 / 29
left right
panasonic cq dpx 172 u service manual

Extracted text from panasonic cq dpx 172 u service manual (Ocr-read)


Page 2

CG-DPXI 72U

AWARNING

This service information is designed for experienced repair technicians only and is not designed for use by the general public.

It does not contain warnings or cautions to advise non-technical individuals of potential dangers in attempting to service a product.
Products powered by electricity should be serviced or repaired only by experienced professional technicians Any attempt to service
or repair the product or products dealt with in this service information by anyone else could result in serious injury or death.

IMPORTANT SAFETY NOTICE

There are special components used in this equipment which are important for safety, These parts are marked by A in the Schematic
Diagrams, Circuit Board Diagrams. Exploded Views and Replacement Parts List. It is essential that these critical parts should be replaced
with manufacturer's specified parts to prevent shock, fire or other hazards Do not modify the original design without permission of

manufacturer.

CONTENTS

1 FEATUEFlS--
2 REPLACEING THE FUSE

3 MAINTENANCE ....................................................................... 2
4 NOTES .................................................................................... 2
5 DIMENSIONS --------

e LASER PRODUCTS-
7 WIRING CONNECTION
a BLOCK DIAGRAM ................................................................... 4
9 TERMINALS DESCRIPTION ..................................................... 5

1 FEATUERS

~ PLL (Phase Locked Loop) synthesized tuning.
~ 18-FM, 6-AM presets with preset scan

~ Digital servo for reliable CD playback.

~ Removable face plate.

2 REPLACEING THE FUSE

Use fuses of the same specified rating (15A). Using different
substitutes or fuses with higher ratings, or connecting the unit
directly without a fuse, could cause fire or damage to the stereo
unit.

3 MAINTENANCE

Your products is designed and manufactured to ensure a
minimum of maintenance. Use a soft cloth for routine exterior
cleaning. Never use benzine. thinner or other solvents.

4 NOTES

[RADIO BLOCK]

Do not align the AM/FM package block. When the package
block is necessary, it will be supplied already aligned at the
factory.

[CD DECK BLOCK]

This model has no servo alignment
microcomputer controls the servo circuit.

points because

Page
10 PACKAGE AND Ic BLOCK DIAGRAM 7
11 REPLACEMENT PARTs LIST ---------- -1o
12 EXPLODED VIEw (Unit) -------------------------------------------------------- 15
13 CD PLAYER PARTs -------------------------------------------------------------- 1s
14 EXPLODED VIEw (CD Deck)- -17
15 PACKING PARTS LIST- -1a
16 WIRING DIAGRAM ----- -19
17 SCHEMATIC DIAGRAM -1 ----------------------------------------------------- 24
1s SCHEMATIC DIAGRAM -2 ----------------------------------------------------- 25

5 DIMENSIONS

6 LASER PRODUCTS

CAUTION:
This product utilizes a laser diode with the unit turned "on".
laser radiation is emitted from the pickup lens.
Laser radiation from the pickup lens is safety level. but be
sure the followings:
1. Do not disassemble the optical pIckup unit. since
radiation from exposed laser diode is dangerous.
2. Do not adjust the variable resistor on the pickup unit.
It was already adjusted.
3. Do not look at the focus lens using optical instrumens.
4. Recommend not to look at pickup lens for a long time.

Deck Ass'y (Upper Side)

Caution

This Product utilizes a laser.

Use of controls or adjustments or performance of
procedures other than those specified herein may
result in hazardous radiation exposure.