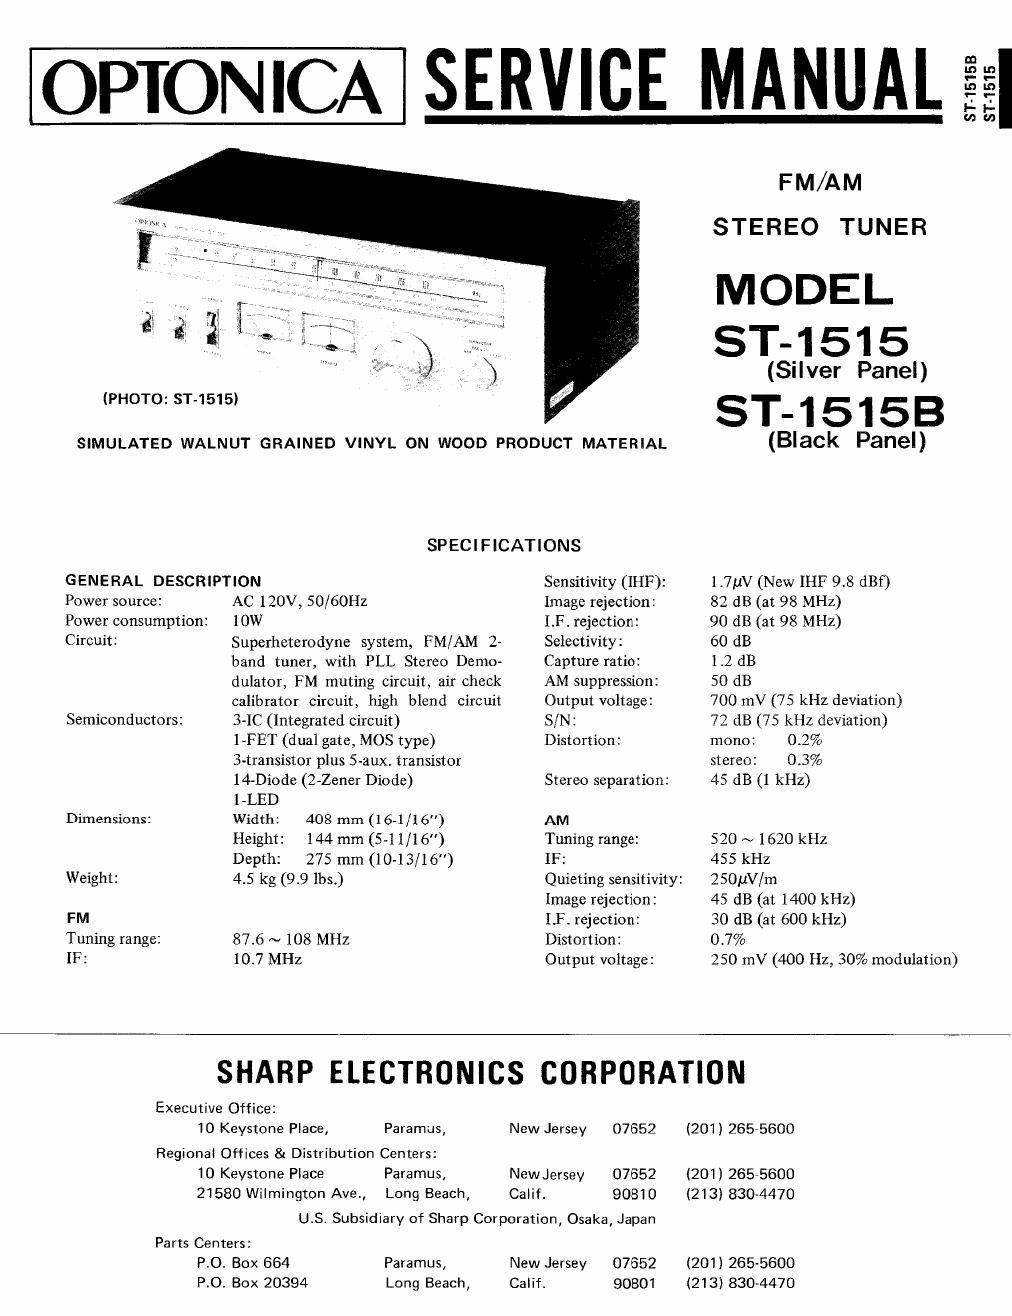
Optonica st 1515 service manual

This is the 30 pages manual for optonica st 1515 service manual.
Read or download the pdf for free. If you want to contribute, please mail your pdfs to info@audioservicemanuals.com.

Page: 1 / 30
left right
optonica st 1515 service manual

Extracted text from optonica st 1515 service manual (Ocr-read)


Page 2

FEATURES

0 4-gang variable capacitor is used for FM frontvend
circuit and it assures a better high-frequency charac-
teristic. As a result of the employment of high-precision
wide-gap variable capacitor, highly accurate frequency
display is available for FM oscillation section.

0 Variable capacitors for both FM and AM receptions are
of frequency linear display type and thus easier to read.

0 Low noise dual-gate MOS-FET is employed in FM RF
(high frequency) amplifier section and it further im-
proves crossrnodulation characteristic and spurious char-
acteristie.

1' AS 2 {Walt of the employment of quadraure detection,
the linear region of detection is made larger so that
distortion factor be further reduced as well as better
dynamic range be ensured.

O P.L.L. (Phase Locked Loop) stereo demodulator circurt,
being outstanding in stability and highly resisting the

aging change, assures very stabilized stereo separation in
a wider range.

Built-in IC soft muting circuit is to eliminate station-t0-
station noises in PM reception and detuning noises,
which ensures agreeable reception in any conditions,
Built-in air check calibrator enables easier record level
setting when recording FM reception on a tape, thus
preventing any trouble of recording.

Large-scaled two meters, the tuning meter and signal
meter provide easier and yet more accurate reception of
broadcasts.

Irv-Inning a long dial scale (220mm-rravel distance) and a
large-scaled flywheel, the tuning mechanism is further
ameliorated.

As a result of the employment of a wider range ceramic
filter with priority given to FM Hi-Fi reproduction,
higheselectivity and high-fidelity design is achieved.

DISASSEMBLY

Prior to removing the chassis, be sure to
disconnect the power cord plug from wall
outlet. Then proceed with the following steps
after removing all of the connection cords
located at the rear of the set.

(1) How to remove the cabinet

1. Remove the 8 screws ®retaining the
decoration plates provided at both
lateral surfaces of the set, then take
out the decoration plates.

2. Remove the 2 screws @ located at
both sides of the cabinet, then the
cabinet can be taken out of the set.

(2) How to remove the bottom plate

Turn the set over and remove the 2

screws @ retaining the bottom plate,

then the bottom plate can be taken out if
withdrawed frontward.

Then, it becomes able to repair the PWB.

However, in order to further remove the

front panel, take the following proce»

(lures.

(3) How to remove the front panel

1. Draw the 5 knobs@out of the front
panel.

2. Remove the 4 screws®retaining the
front panel, then the front panel can
be taken out.

Figure 1 DISASSEMBLY