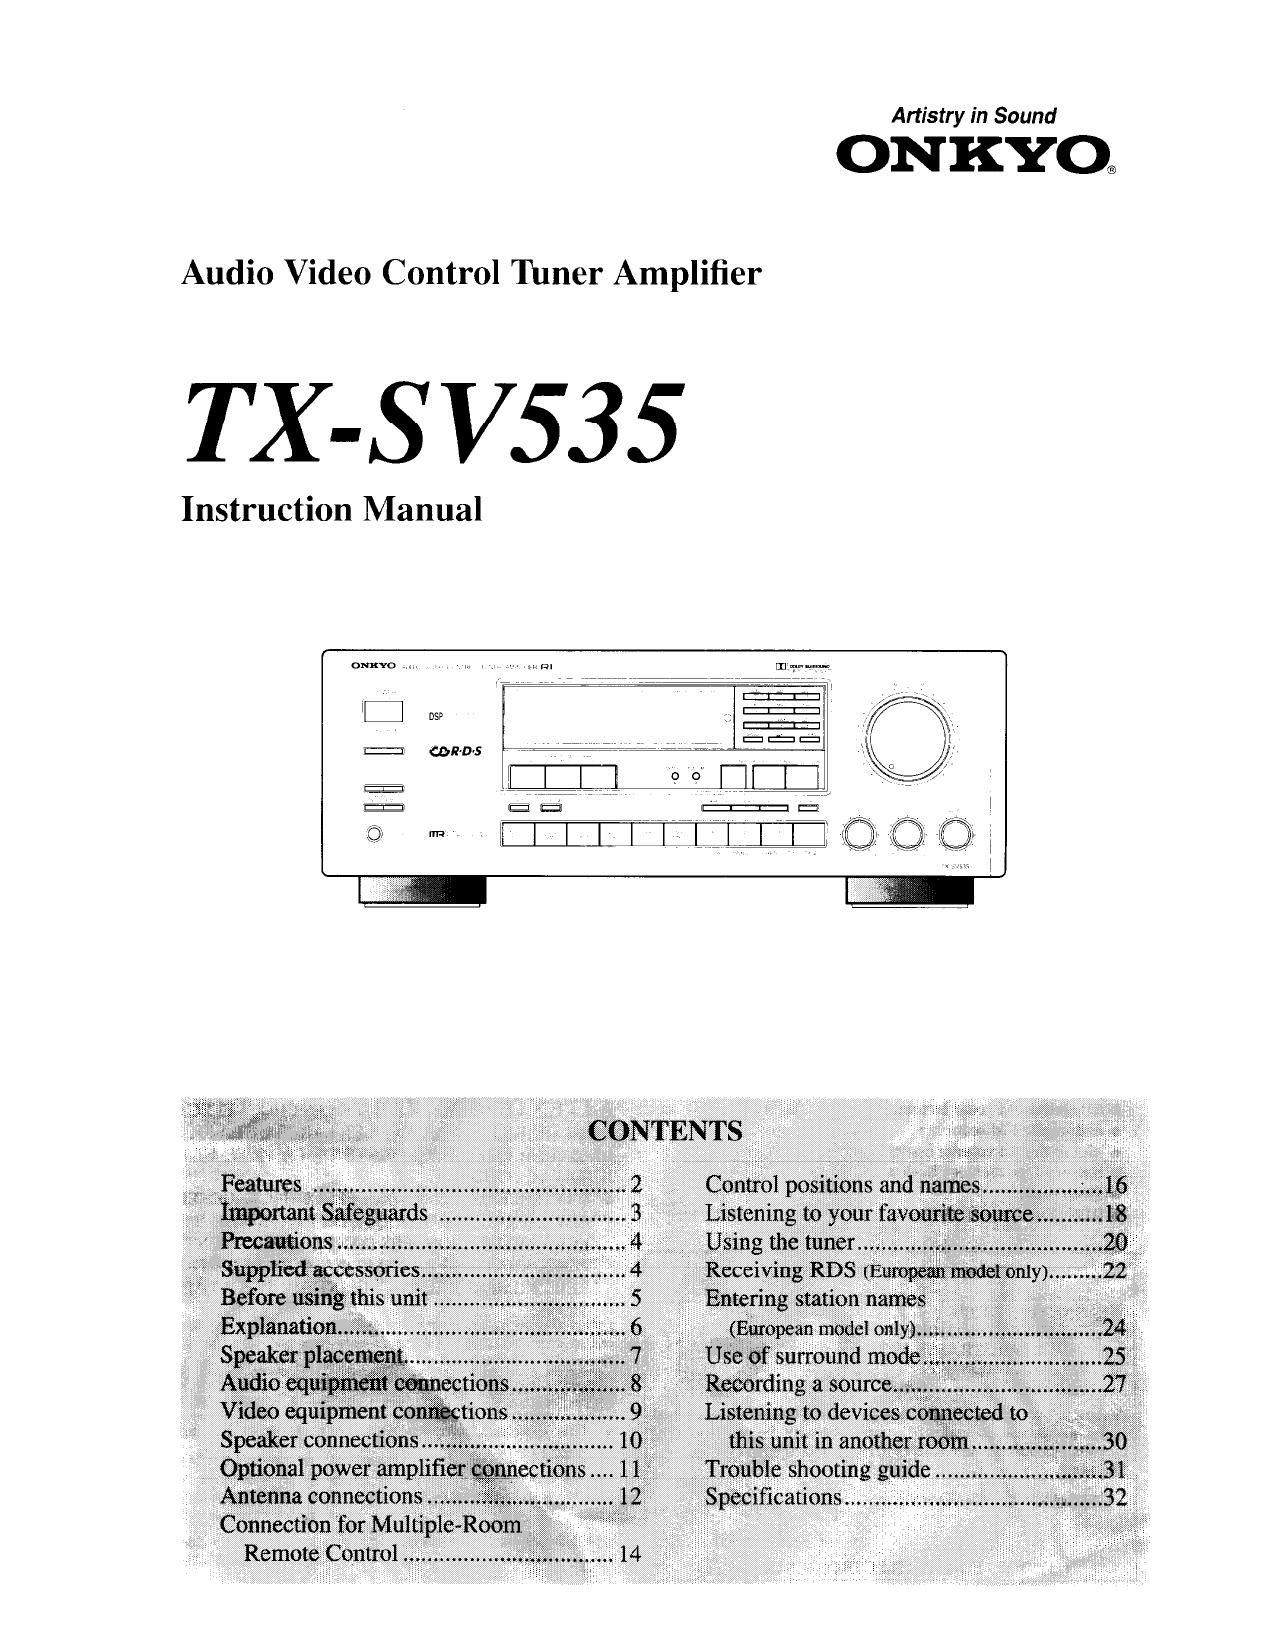
Onkyo TXSV 535 Owners Manual

This is the 32 pages manual for Onkyo TXSV 535 Owners Manual.
Read or download the pdf for free. If you want to contribute, please mail your pdfs to info@audioservicemanuals.com.

Page: 1 / 32
left right
Onkyo TXSV 535 Owners Manual

Extracted text from Onkyo TXSV 535 Owners Manual (Ocr-read)


Page 1

Artistry in Sound

ONKYO@

Audio Video Control Tuner Amplifier

T X-S V535

Instruction Manual

omom

Cl DSP

CORD'S

Page 2

Thank you for your purchase of the Onkyo A/
V' luner Ainplilier.
Please read this tnanual thoroughly before making connec- .

Note to CATV system installer:

This reminder is provided to call the CATV system installers

lions and turning on the power.

Following the instructions in this manual will enable you
to obtain optimum performance and listening enjoyment
from your new A/V Tuner Amplifier.

Please retain this manual for future reference.

Features

I Powerful A/V Receiver with Discrete Outputs
Plenty of pristine power drives your hoine theater system to per-
fection. In suriound mode you get 65 watts per channel (8 ohms)
to your front HR and center speakers. plus 25 watts per channel to
youi L/R surround speakers.
Stereo mode: 80 watts per channel (8 ohmsi. Discrete output stage
circuitry for all channels t'oiiti'ihiites :intl hemy-tliity power \HP»
plies help the TXESVSSS excel at driying accurately the most
demanding lowiinpedance speakers.

I Dolby Pro Logic & 4 Digital Soundfields
In addition to fully digital Dolby Pro Logic (tor the most accurate
surround sound). your TX-SVSSS gives you a choice of four ambi-
encerprodticing DSP surround modes (Theater. Hall. Live and
Alena) so you cart select the listening environment that best suits
your sotiice and your mood.


1 _ Intelligent Poster Management thM) system switches on
the 'lXrSV535 and automatically selects Vidcorl when you turn on
your TV. givnig you instant surround sound.

I Multiroom and Multisouree Capability
You can listen to a CD in the bedroom while someone else enjoys
the radio or any other source tn the main room. tRequires addi
tional speakers and optional accessories. The necessary accesso~
ries may differ. depending on area where sold. Your authorized
()nkyo service center has details.)

I RI Compatible Remote Control

I Useful Extras You'll Enjoy
0 3 Video and 6 audio Inputs
0 Heavy-duty. multiway binding posts for front L/R speakers
0 30 Random FM/AM presets and 3-group classification
0 Recording selector
0 Selective tone control
0 All channels Preout terminals
I Automatic FM scanning
o Motor-driven volume control
0 Battery-free memory backup
0 Sleep timer
0 RDS tEurupean model only)

We. ONKYO EUROPE
ELECTRONICS GMBH

Declaration of Conformity
INDUSTRIESTRASSE iii/20
all IUGERMERING.

GERMANY c E

declare iit own responsibility. that the ONKYO product described
in this instruction manual is in compliance with the corresponding
technical standards such as ENSSO]3.EN55()2().EN6055572.

ENoOOoS %

(iERMERlNCiOERMANY
K. KOBAYASHI

ONKYO EUROPE ELECTRONICS GMBl-l

attention to Section 820-4001 the NEC which provtdes guidelines
for proper grounding and. in particular. specifies that the cable
ground shall be connected to the grounding system of the building.
as close to the point of cable entry as practical.

FCC INFORMATION FOR USER
CAUTION:

Changes or modifications not expressly approved by the manufac-
turer for compliance could void the user's authority to operate the
equipment.

NOTE:

This equipment has been tested and found to comply with the time
its for a Class B digital device. pursuant to Part 15 of the FCC
Rules. These limits are designed to provide reasonable protection
against harmful interference in a residential installation. This
equipment generates. uses. and can radiate ratio frequency energy
and. if not installed and used in accordance with the instructions.
may cause harmful interference to radio communications. Howe
cier. there is no guarantee that intertcrencc Wlll not occur in a par
ticular installation. If this equipment cause harmful
interference to radio or television reception. which can be deter
mined by turning the equipment off and on. the user is encouraged
to try to correct the interference by one or more of the followtng
measures:
0 Reorient or relocate the receiving antenna.
c Increase the separation between other equipment and receiver.
0 Connect the equipment into an outlet on a circuit different from
that to which othei receiver is connected.
0 Consult the dealer or an experienced radio/TV technician for
help.

dose

o For models having a power cord with a polarized plug.

CAUTION: TO PREVENT ELECTRIC SHOCK. MATCH
WIDE BLADE OF PLUG T0 WIDE SLOT. FULLY INSERT.

0 THIS DIGITAL APPARATUS DOES NOT EXCEED THE

CLASS B LIMITS FOR RADIO NOISE EMISSION FROM DlGr
lTAL APPARATUS SET OUT IN THE RADIO INTERFER-
ENCE REGULATIONS OF THE CANADIAN DEPARTMENT
OF COMMUNICATIONS.

Sur les modeles dont ta fiche est polarisée
ATTENTION: POUR EVITER LES CHOCS Et ECTRIQUES
INTRODUIRE LA LAME LA PLUS LARGE DE LA FICHE DANS
LA BORNE CORRESPONDANTE DE LA PRISE ET POUSSER

JUSQU'AU FOND.

o LINTERFERENCE. RADIO ELECTRIQUE GENEREE PAR
CET APPAREIL NUMERIQUE DE TYPE B NE DEPASSE PAS
LES LIMITES ENONCEES DANS LE REGLEMENT SUL LES
PERTURBATIONS RADIO ELECTRIQUES. SECTION APPAV
REIL NUMERIQUE. DU MINISTERE DES COMMUNICAV
TIONS.

o This apparatus complies with requirements of EC directive 87/
308/EEC.

Page 16

16

Control positions and names

l-nr more Initirmmitm about buttons or controls. turn [0 the page number lined in the brackets after each item.

Front panel

@

vnso LQNIRD) UNER

1' I

1 Power button and stand-by received
indicator (POWER) [18, 19]

7 MR oft button (MFI OFF) and indicator
[30]

3 By-Pass button (BY-PASS) [25]

A DSP mode button (DSP MODE) [25, 26]

5 Dolby Pro Logic button [25, 26]
(DOLBY PRO LOGIC)

6 Memory button (MEMORY) [21]

7, FM muting/mode button
(FM MUTE/MODE) [20, 21]

8 Remote control sensor [5]

9, Group button (GROUP) [21]

10,, Number buttons (1 to 9. 0/10)

[20, 21, 24]

11 Preset Scan button (PRESET SCAN)
[21] (Except tor the European model)
Scan button (SCAN)

[21, 23] (European model only)

Display

12 Direct access tuning button
(DIRECT TUNING) [20]

13 Tuning selector buttons
(DOWN, UP) [20, 23]

15 Volume control knob and indicator
(MASTER VOLUME) [18, 19]

15, Recording out button
(REC OUT) [27, 28, 29]

176,, Speaker selector buttons
(SPEAKERS MAIN/REMOTE)
[18, 19, 30]

1] Headphone jack (PHONES) [19]

is) Multi-source button
(MULTI SOURCE) [30]

'19! Center mode button
(CENTER MODE) [25, 26]

20 Delay time button (DELAY TIME)
[25. 26]

[2]) Input selector buttons
[18, 27, 28, 29, 30]
Audio selectors (CD, PHONO, FM, AM,
TAPE-1, TAPE-2 MONITOR)
Video selectors (VIDEO-1 TV/VDP,
VIDEO-2 VCR, VIDEO-3 VCR)

2g Character button (CHARACTER) [24]
(European model only)

23) Display button (DISPLAY) [23]
(European model only)

24, PTY/TP button (PTYITP) [23]
(European model only)

@5 Selective tone control button
(SELECTIVE TONE) [18, 19]

26 Bass control knob (BASS) [1 8, 19]

reble control knob (TREBLE) [1st, 19]

269 Balance control knob (BALANCE)
[18, 19]

y

J

®

Video input selector indicators
Speaker selector indicators
FM muting on/oft indicators
FM stereo indicator

Audio muting indicator

Tuned indicator

Memory indicator

\mwbwm

J}; Sleep indicator

L9) Selective tone control indicator

if) Multifunction display
frequency / input selector / character I
preset station / sleep timer / multi-
source volume level I delay time I cen-
ter, rear volume level

(11, Recording out / multi-source indica-
tors

Q; RDS indicator (European model only)

Tape-2 monitor indicator

__ , Surround mode indicators

Page 23

Receiving RDS (European model only)

SCAN

PTVITP
DISPLAY


1. Press the PTY/T? button. to select "PTY".
If the station you are receivtng is not broadcasting RDS. "Not
RDS" {this is not an RDS station) will be shown on the display,

2. Use the 4 DOWN TUNING UP b buttons to select the pro-

gram type (PTY) (for example, ROCK M).

See the PTY description on the previous page.

Press the SCAN button to start searching for the chosen PTY

station. When a station is received with the desired PTY. the scan-

ning stops for approximately 5 seconds. bcforc the utut starts scan»
ning again.

4. When the desired station is reached. press SCAN button again

to stop scanning.

3

1, Press the PTY/TP button to select TP.
[1' f _ P 1 is shown on the display. it indicates that the current size
tion is broadcasting traflic information

2. Press the SCAN button to start searching for 3 TP station.
When the unit receives 21 TP station. it stops scanning. It the unit
cannot receive any TP station. Not find (cannot find the station)
is shown on the display.

[f the station you arc listening to is not an RDS station. this function

cannot be used.

1. Each time you press the DISPLAY button. the display changes
as follows.

Frequency _, character.» Program
Service Name

Radio TeXI a;

if the current station you are listening to is not an RDS station. only
the frequency ot the station and the characters (see pages 24) appears.
(if there have been no characters entered. only the frequency ts
shown.)

When RT is received. it can sometimes take up to 15 seconds more or
less) to show RT on the display.

Sometimes the following messages will be shown on the display.

Wait: When the information is received. the characters will scroll
across the display.

No text: this appears for 3 seconds and indicates that even though an
RDS station is being received. there is no RT information included.

23