Onkyo TXNR 727 Service Manual

This is the 94 pages manual for Onkyo TXNR 727 Service Manual.
Read or download the pdf for free. If you want to contribute, please mail your pdfs to info@audioservicemanuals.com.

Page: 1 / 94
left right
Onkyo TXNR 727 Service Manual

Extracted text from Onkyo TXNR 727 Service Manual (Ocr-read)


Page 1

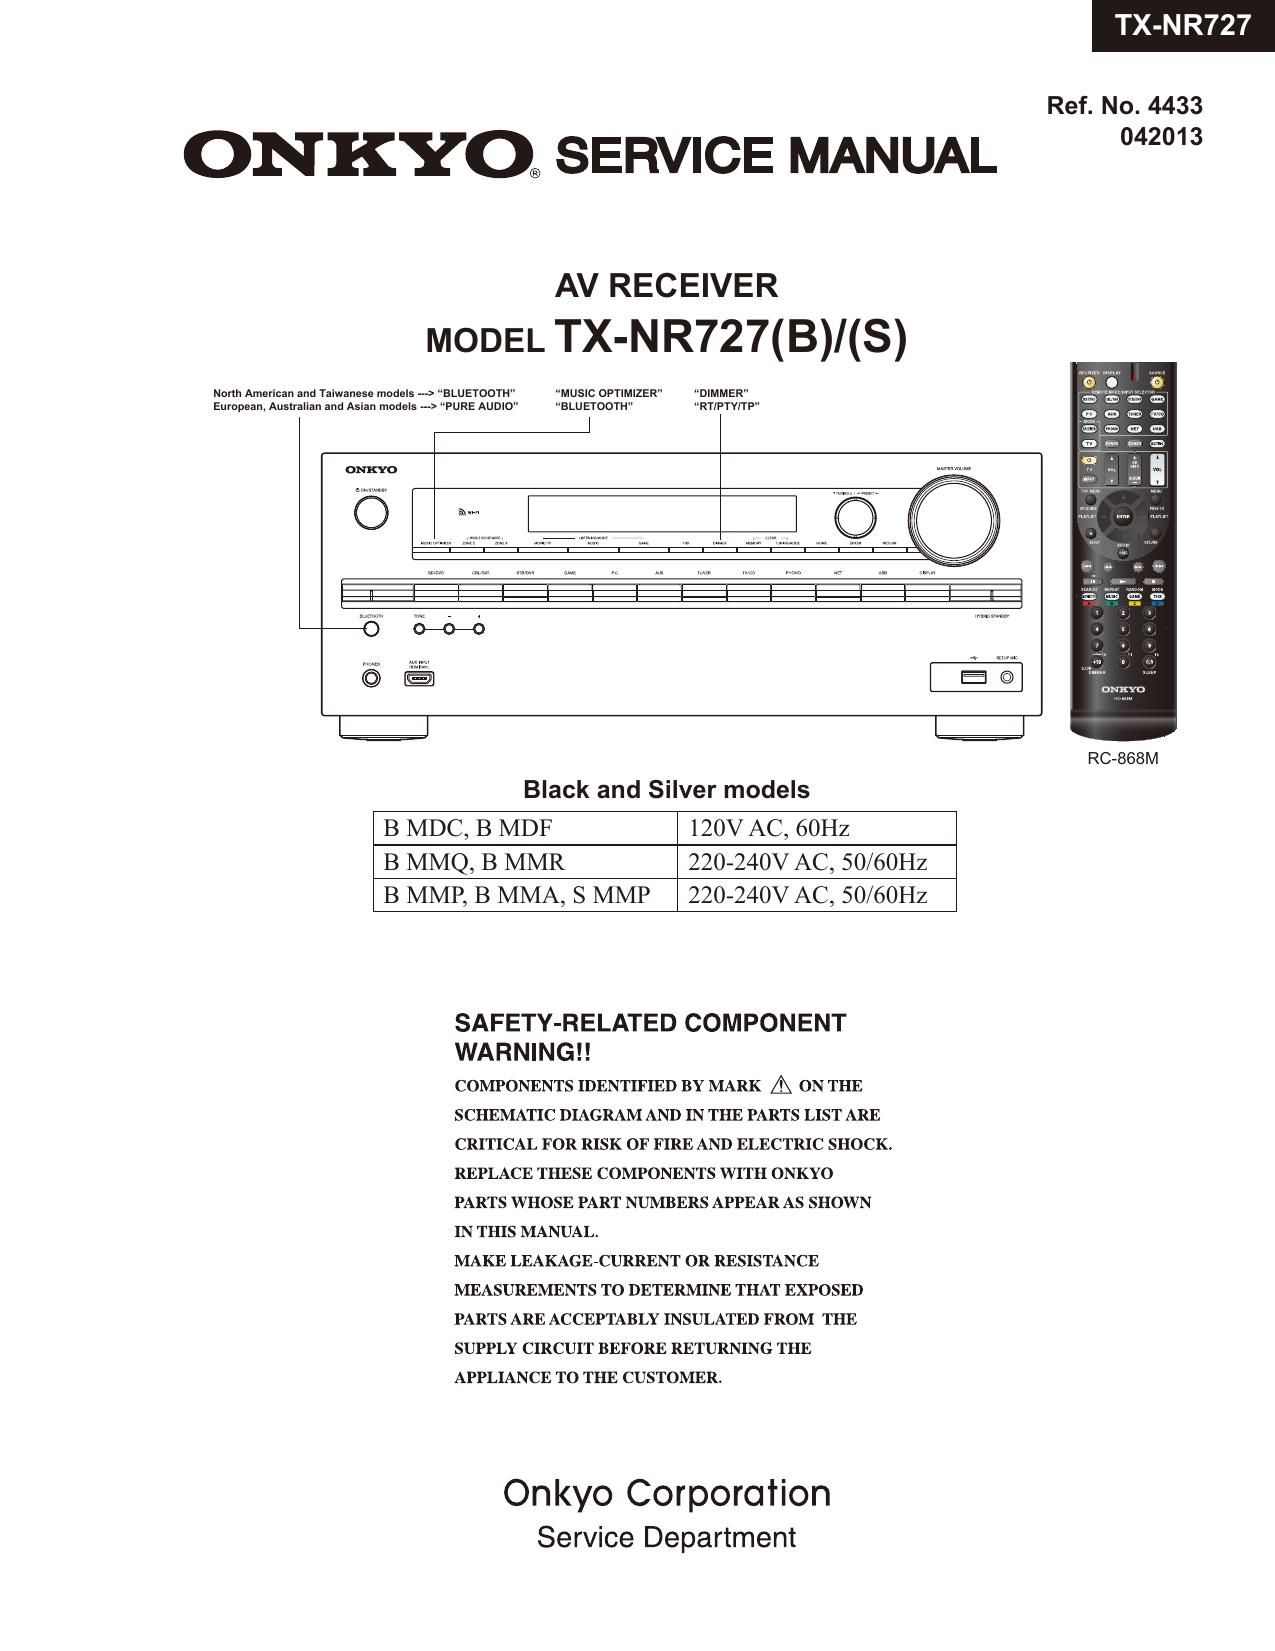
ONKYO® SERVICE MANUAL

North American and Taiwanese models ---) BLUETOCTH MUSIC OPTIMIZER" DIMMER
European, Auslrallan and Asian models ---> PURE AUDIO" ELUETOOIH nanny/w"

AV RECEIVER
MODEL TX-N R727(B)/(S)

ouxsm

. :3 ©

Black and Silver models

B MDC, B MDF 120V AC, 60Hz

B MMQ, B MMR

220-240V AC, 50/60Hz

B MMP, B MMA, S MMP

220-240V AC, 50/60Hz

SAFETY-RELATED COMPONENT
WA R N l N G l !

COMPONENTS IDENTIFIED BY MARK A ON THE
SCHEMATIC DIAGRAM AND IN THE PARTS LIST ARE
CRITICAL FOR RISK OF FIRE AND ELECTRIC SHOCK.
REPLACE THESE COMPONENTS WITH ONKYO
PARTS WHOSE PART NUMBERS APPEAR AS SHOWN
IN THIS MANUAL.

MAKE LEAKAGE-CURRENT OR RESISTANCE
MEASUREMENTS TO DETERMINE THAT EXPOSED
PARTS ARE ACCEPTABLY INSULATED FROM THE
SUPPLY CIRCUIT BEFORE RETURNING THE
APPLIANCE TO THE CUSTOMER.

Onkyo Corporation
Service Department

TX-N R727

Ref. No. 4433
042013

RC-868M

Page 2

TX-N R7 7

SERVICE PROCEDURE-1

1. Replacing the fuses

EE' This symbol located near the fuse indicates that the
fuse used is slow operating type, For continued protection against

fire hazard, replace with same type fuse, For fuse rating, refer to [33:21) : 120V,Canadian model
the mark'9 adJacent 0 the SVmbOI- : 220-240V,CE(European) country model
a I I I I I : 220/230-240V,Hong kong model
Ce symbole Indlque que le fusible utilise est e lent. . 220-240V,Australian model

Pour une protection permanente, n'utiliser que des fusibles de meme : 220/230-240V,Chinese model
type. Ce demier est indique la qu le present symbol est apposre. ; 120V,Taiwanese model

REF NO. PART NAME DESCRIPTION PART NO. REMARKS

F6401, F6402 FUSE 15A-TUL-250V 2523036R !

F6401, F6402 or FUSE 15A-UL/T-314 252197GR !

F9002 FUSE 10A-UL/T-233 2523306R !

F9002 or FUSE 10A-T/UL-ST2 252333GR !

F9002 FUSE 5A-SE-EAK 25207SGR !

F9002 or FUSE 5A-SE-TL250V 25227BGR !

F9001 FUSE 1A-SEUL-TL250V 252397T !

F201 FUSE 4A-SEUL-TL250V 252392T !

2. Safety check out
(U.S.A. model only)
After correcting the original service problem, perform the following safety check before releasing the unit to the customer.
Leakage current Check
Measure the leakage current to a known earth ground (water pipe or conduct etc.) by connecting a leakage current
tester between the earth ground and exposed metal parts of the unit (inputJoutput ground terminals,
screw heads or metal overlays etc.).
Plug the power supply cord directly into a 120Vac 60Hz wall socket and turn ONISTANDBY button on.
Any current measured must not exceed 0.5mA.

3. To initialize the unit
Press ONISTANDBY button while pressing down CBL/SAT button
when the unit is POWER ON. then the FL displays "CLEAR. and turn to STAND-BY. Remove power cord from power line.

4. To check version of each Firmware

a. Push ONISTANDBY key while pushing down DISPLAY key to display MMPU(Main Microprocessor) version.
eg.

M1. 04/13515AE 7* Version of MMPU displayed only for 3 seconds.

b. In display version, - (TONE) key and + (TONE) key are pushed to display another FNV version.

: -(TONE) (TONE

5.9. M1.04/13515AE
i +(TONE)
V

4gMMPU
(Main Microprocessor)

A
-(TONE) 5
59- D1.07/13514AEA -'-DSP

A 5 +(TONE)
-(TONE) i V -

e-QA V1.02/13325AE

HDMI/VIDEO Microprocessor Version displayed
only for 3 seconds.

5 A i +(TONE)

: -(TONE) E V .

i . . i VSP

e g K1'01/13322AE07 I (Video Signal Processor)
: A : +(TONE) 5

g -(TONE) 5 :

V
01.00/12218AE : VSPZ

: (Video Signal Processor)

Page 13

TX-NR525/ 626/ 727/ HT-RC55 56

DEBUG MODE-10
SERVICE INFORMATION MODE
Displaying Service information

This service information display system is helpful in analyze the status when the unit goes into Protect mode and is powered off.
Pay attention that the status will change if a button is pushed.

1. Press twice the ON/ STANDBY key while pressing the DISPLAY key.

69- M1 01/13204ALN _ The version of main microprocessor is
' displayed only for 3 seconds.

2. Press HOME button within 3 seconds above.

eg. - 80 0F 27 DD *7 Information Displayed (Record this Information)
l if __ fil
Power off Cause Temperature Volume Level Listenning Mode
T : Thermal Protect :XX F or xx C ---> Refer to the code list below,

V : Voltage Protect
| : Current Protect

- : Other
Listening Mode Code List
01 C_LM_LAST D0 CfLMfiAUDYSSEY F4 C_LM_ASC
02 CfLM'PURE 48 CiLMiDTSSS F5 C_LMfiFLASH
03 CfLMfiDIRECT 06 CfLMfiORCHESTRA F5 C_LM7DEBUGMODE
04 CVLMfiSTEREO 07 CrLMUNPLUGGED F7 C_LM7FLASH2
05 CfLMVMONO 08 CrLMSTUDIOMIX F8 CfiLMiFLASH3
20 CgLMSURR o9 CrLMTVLOGlC F9 C_LMJ:LASH4
50 C_LM_THX_MUSIC 0A CfLMfiALLCHST FA C_LM_FLASHrCHECK
70 CgLM'THX_GAME OB CiLMiFULLMONO oo C_LMfiRPG
90 CfLMiTHXiCINEMA oc CgLMfiTD 0E CVLM_ACTION
A0 CVLMVTHX_U2GAME F1 CrLMTESTTONE 0F C_LM7ROCKBAND
A8 CgLM_THXfU2MUSlC F2 crLMJESTTHR 1o CgLMfiSPORTS
BO CfLMfiTHXfiUZClNEMA F3 CrLMTESTAUTO

3. Press HOME button again. The following information are displayed.

e.g. 01:23 10h 7* Information Displayed (Record this Information)
Time after Power on Time after Initialize
xx : xx XX hour

4. Press ONISTANDBY button to exit the display of service information.
(Ref: Press RETURN button to initialize the data in the service information.)

ProtectData CLR
I

Normal display

Page 14

TX-NR626/727/828/ HT-RC560 TR-30 5/4

OPERATION CHECK-1
1.0PERATION CHECK(1I3)

1-1. OPERATIONS OF VOLTAGE-DETECTION PROTECTORS.
See OPERATION CHECK-4,-6" for TEST MODE operation.
NOTE: Don't connect load nor short speaker terminals.
a. Change the state to TEST-4-21".
b. It tests by being automatic in order of TEST 4-21(FL+) a 22(FR-) a 23(C+) a 24(SL-) a 25(SR+) a ( 26(SBL-)
a 27(SBR+) ). If TEST 4-27 is OK, it becomes the display of "TEST-4455.
c. it will complete, if displayed on FL TUBE as "TEST 4-35".

1-2. OPERATIONS OF CURRENT-DETECTION PROTECTORS
See OPERATION CHECK-4,-6" for TEST MODE operation.
a. Change the state to TEST-4-35".
b. Even if you connect 3-ohm load for every channel of L, R, C, SL, SR, SBL and SBRch, a relay should not cut off.
c. if 1-ohm load is connected for every channel of L, R, C, SL, SR,SBL and SBRch, a relay should hold the state of ON.

1-3. CONFIRMATION OF RDS (RADIO DATA SYSTEM) OPERATION (Applied to MPPIMPBIMM" type)
a. Input 98MHZ,30dBp signal modurated with RDS data.
b. When a PS information is received, the name of the station "RDS TEST" shall be displayed within 2 seconds instead
of the frequency.

1-4. CONFIRMATION OF HEAD PHONE OPERATION.
Confirm the Listening Mode is automatically switched to "STEREO mode when headphones plug is inserted into
the PHONES jack.

1-5. COMFIRMATION OF FRONT USB
See OPERATION CHECK-4,6 for TEST MODE operation.
a. Connect ipod to AVR USB port.
b. When set to TEST 3-09, confirm that the display of AVR change device name after few seconds.

1-6. COMFIRMATION OF NETWORK
See OPERATION CHECK-4,6 for TEST MODE operation.
a. Connect the receiver to the router.
b. When set to TEST 3-18 confirm that the display of AVR change IP adress.
*Please wait for about 1 minute after turning on the power supply of the set when you use TEST 3-18.

1-7. CONFIRMATION OF OUTPUT SENSOR AND THERMAL SENSOR

See OPERATION CHECK-4,-6 for TEST MODE operation.

a. Set the TEST MODE to "TEST 4-36".
After light "FM STEREO on FL display,
the relays RL641/642 is OFF and FM STEREO"is off.

b. Push ON/Standby button 2 times while pushing down DISPLAY button to display CPU Debug PROGRAM version.
Push TONE button while displaying CPU PROGRAM version to display value of temparature sensor.
Confirm outside temperature :20C is displayed immediately after energizing.
Note that the error margin is caused by the rise of the temperature of the heat sink when time passes.

FL Display

000 034 Q S.'H

Voltage Temparature FAN condition Amplifier power

of VOLH port of thermal sensor x: Stop supply voltage condition
L: Low speed H: High-B
M: Mid speed L: Low-B
H: High speed

1-8. CONFIRMATION OF OSD(ON SCREEN DISPLAY) OPERATION
a. When SETUP button is pushed, confirm that setup menu is displayed in HDMl Out.
b. Confirm that specified operations for ENTER(with 4-cursor) buttons are made.