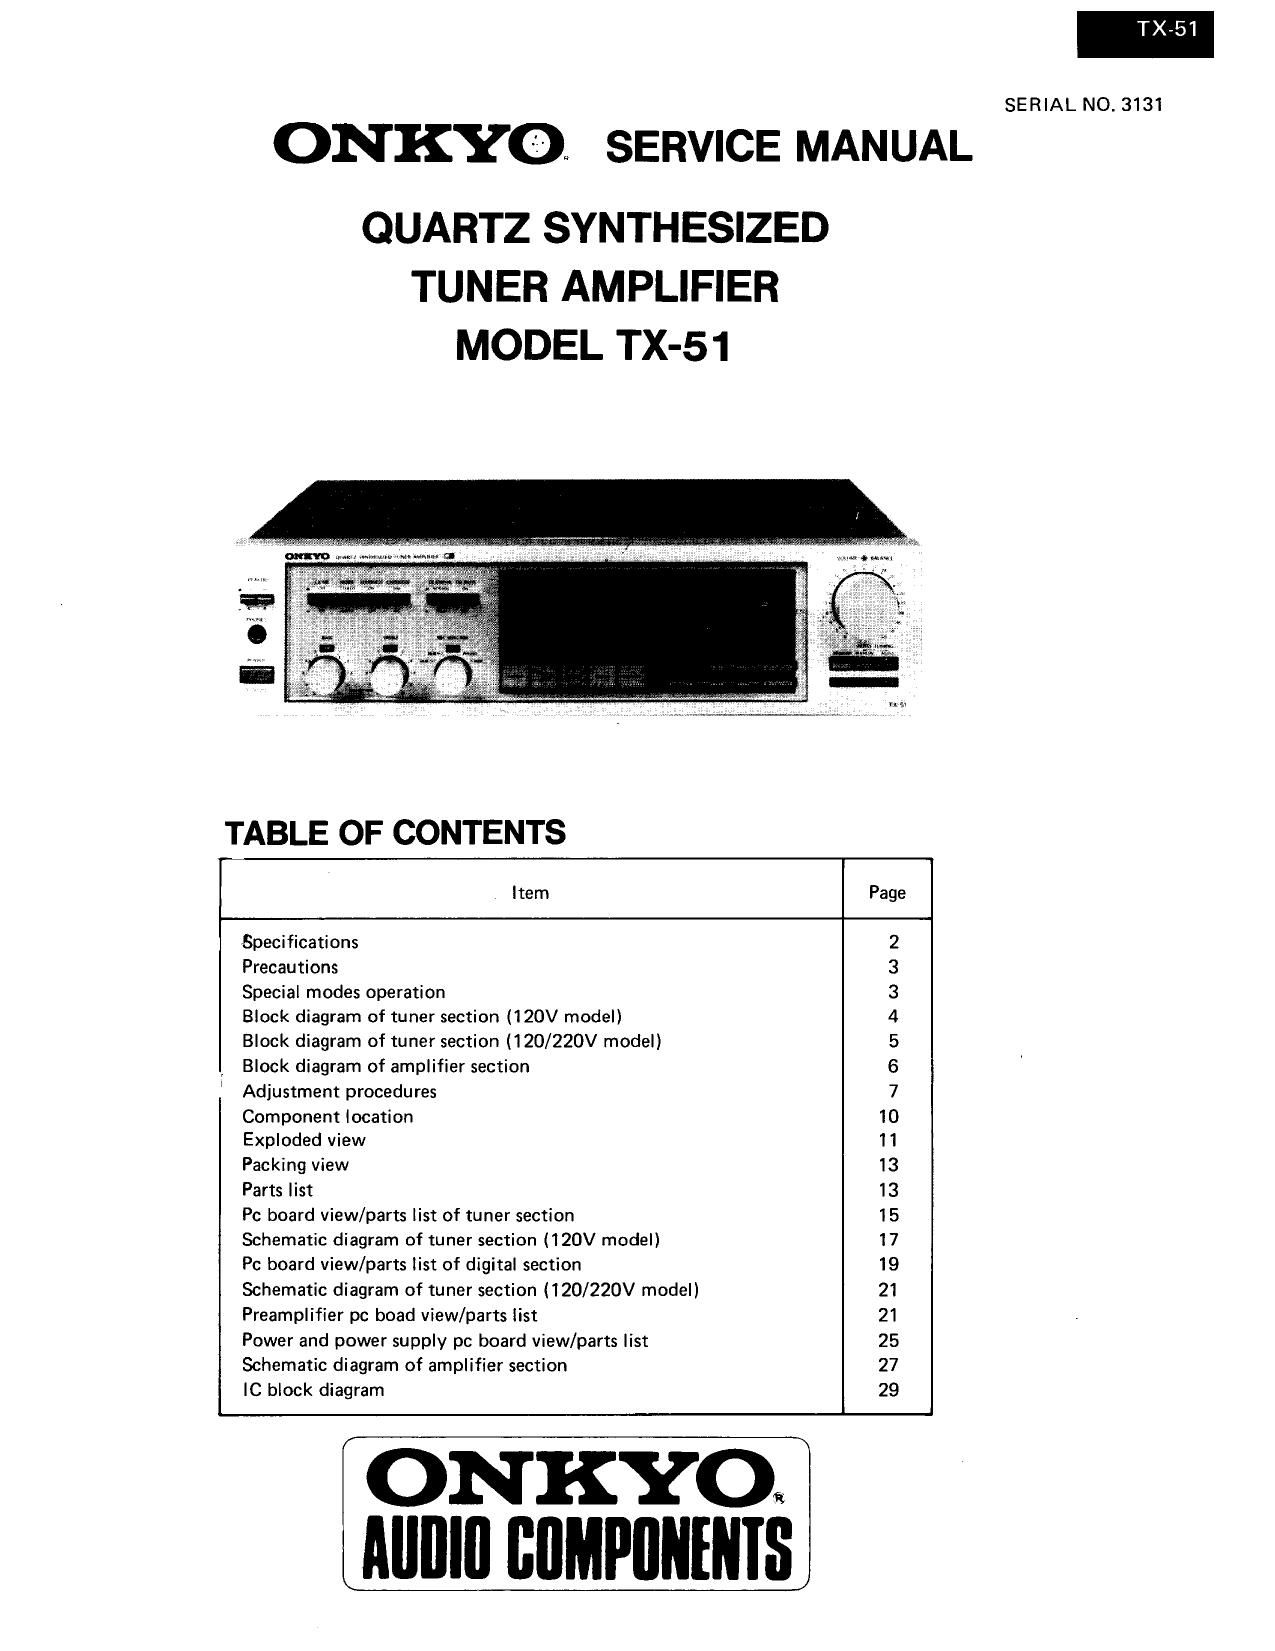
Onkyo TX 51 Service Manual

This is the 27 pages manual for Onkyo TX 51 Service Manual.
Read or download the pdf for free. If you want to contribute, please mail your pdfs to info@audioservicemanuals.com.

Page: 1 / 27
left right
Onkyo TX 51 Service Manual

Extracted text from Onkyo TX 51 Service Manual (Ocr-read)


Page 1

ONKYQ SERVICE MANUAL

QUARTZ SYNTHESIZED
TUNER AMPLIFIER
MODEL TX-51

TABLE OF CONTENTS

Item Page
Specifications 2
Precautions 3
Special modes operation 3
Block diagram of tuner section (120V model) 4
Block diagram of tuner section (120/220V model) 5
, Block diagram of amplifier section 6
Adjustment procedures 7
Component location 10
Exploded view 11
Packing view 13
Parts list 13
Pc board view/parts list of tuner section 15
Schematic diagram of tuner section (120V model) 17
Pc board view/parts list of digital section 19
Schematic diagram of tuner section (120/220V model) 21
Preamplifier pc boad view/parts list 21
Power and power supply pc board view/parts list 25
Schematic diagram of amplifier section 27
IC block diagram 29

ONKYOi
LAIIIIIII flflMPflNfNiS

TX-51

SERIAL NO. 3131

Page 7

TX~

ADJUSTMENT PROCEDURES

INSTRUMENTS REQUIRED GENERAL ALIGNMENT CONDITIONS

1. DC Voltmeter 1. Signal input should be kept as low as possible.

2. AM Sweep Generator 2, Standard modulation is 400Hz 30% (AM), 1kHz 100%

3, AM/FM Signal Generator (FM MONO), pilot 9% sub and main 91%(FM STEREO).

4. AC VTVM 3. Standard knob position

5. Oscilloscope SPEAKERS ............................ A

7. Distortion Analyzer BASS, TERBLE & BALANCE ............ Center

8. Stereo Modulator MODE .......................... STEREO

9. Frequency Counter LOUNDNESS ........................ OFF
TAPE 1, 2 ................... OFF (SOURCE)

1. +132 Voltage Adjustment
Connect the DC voltmeter between the +B2 and E terminals
on the power supply pc board. Adjust the semi-fixed

resistor R915 so that the indication of voltmeter become
25V.

2. CX Decoder Adjustment

1. Apply the sine wave signal of IkHz, 2.5mV to the
PHONO terminal of left-ch. (rightch).

2. Insert the shorted pin to the PHONO terminal of
right-ch. (left-ch). (See Fig. 8) Gene 792 Foo-

3. Connect the DC voltmeter to the terminal "PP-2. 90W CWWS

4. Adjust the variable resistor R731 (R732) on the
back panel so that the reading of voltmeter become
5V. Confirm that the LED of back panel light on.
Specifications; 4.6 to 5.4V 5-

5. Connect the DC voltmeter to terminal TP-3L(TP-3R).
Adjust the semi-fixed resistor R765 (R766) so that
the reading of voltmeter become lSOmV.

6. Proceed for right channel in the same manner.

7. Apply the tone burst signal of 1kHz, 2.5mV as shown
fig. 7 to the PHONO terminal of left-ch. (right-ch).

8. Connect the DC voltmeter to the terminal TP-3R
(TR-3L). Adjust the R760 (R759) so that the reading
of voltmeter become 0V.

9. Proceed for right channel in the same manner.

U6
NACX-l337

@UUUUUU

Fig. 6

0.1 (K) 3.3K Switch

3.3k Isec on-off lkHz

10k cycle

2.5mV
4)

1KHz

Shorted Pin
Fig. 7 Fig. 8